Get Ready for The Spooky Holiday with Halloween Wall Art
Halloween is cartoon closer, and we're adamant to go things correct this yr! So, decorating our home seems to be the perfect fashion to go into the spirit of things, right? That'southward what we thought! Plus, making things ourselves means that nosotros go to customize everything to arrange our specific tastes and needs. This time around, we thought that a niggling bit of Halloween wall art is going to exist the reply to our needs.
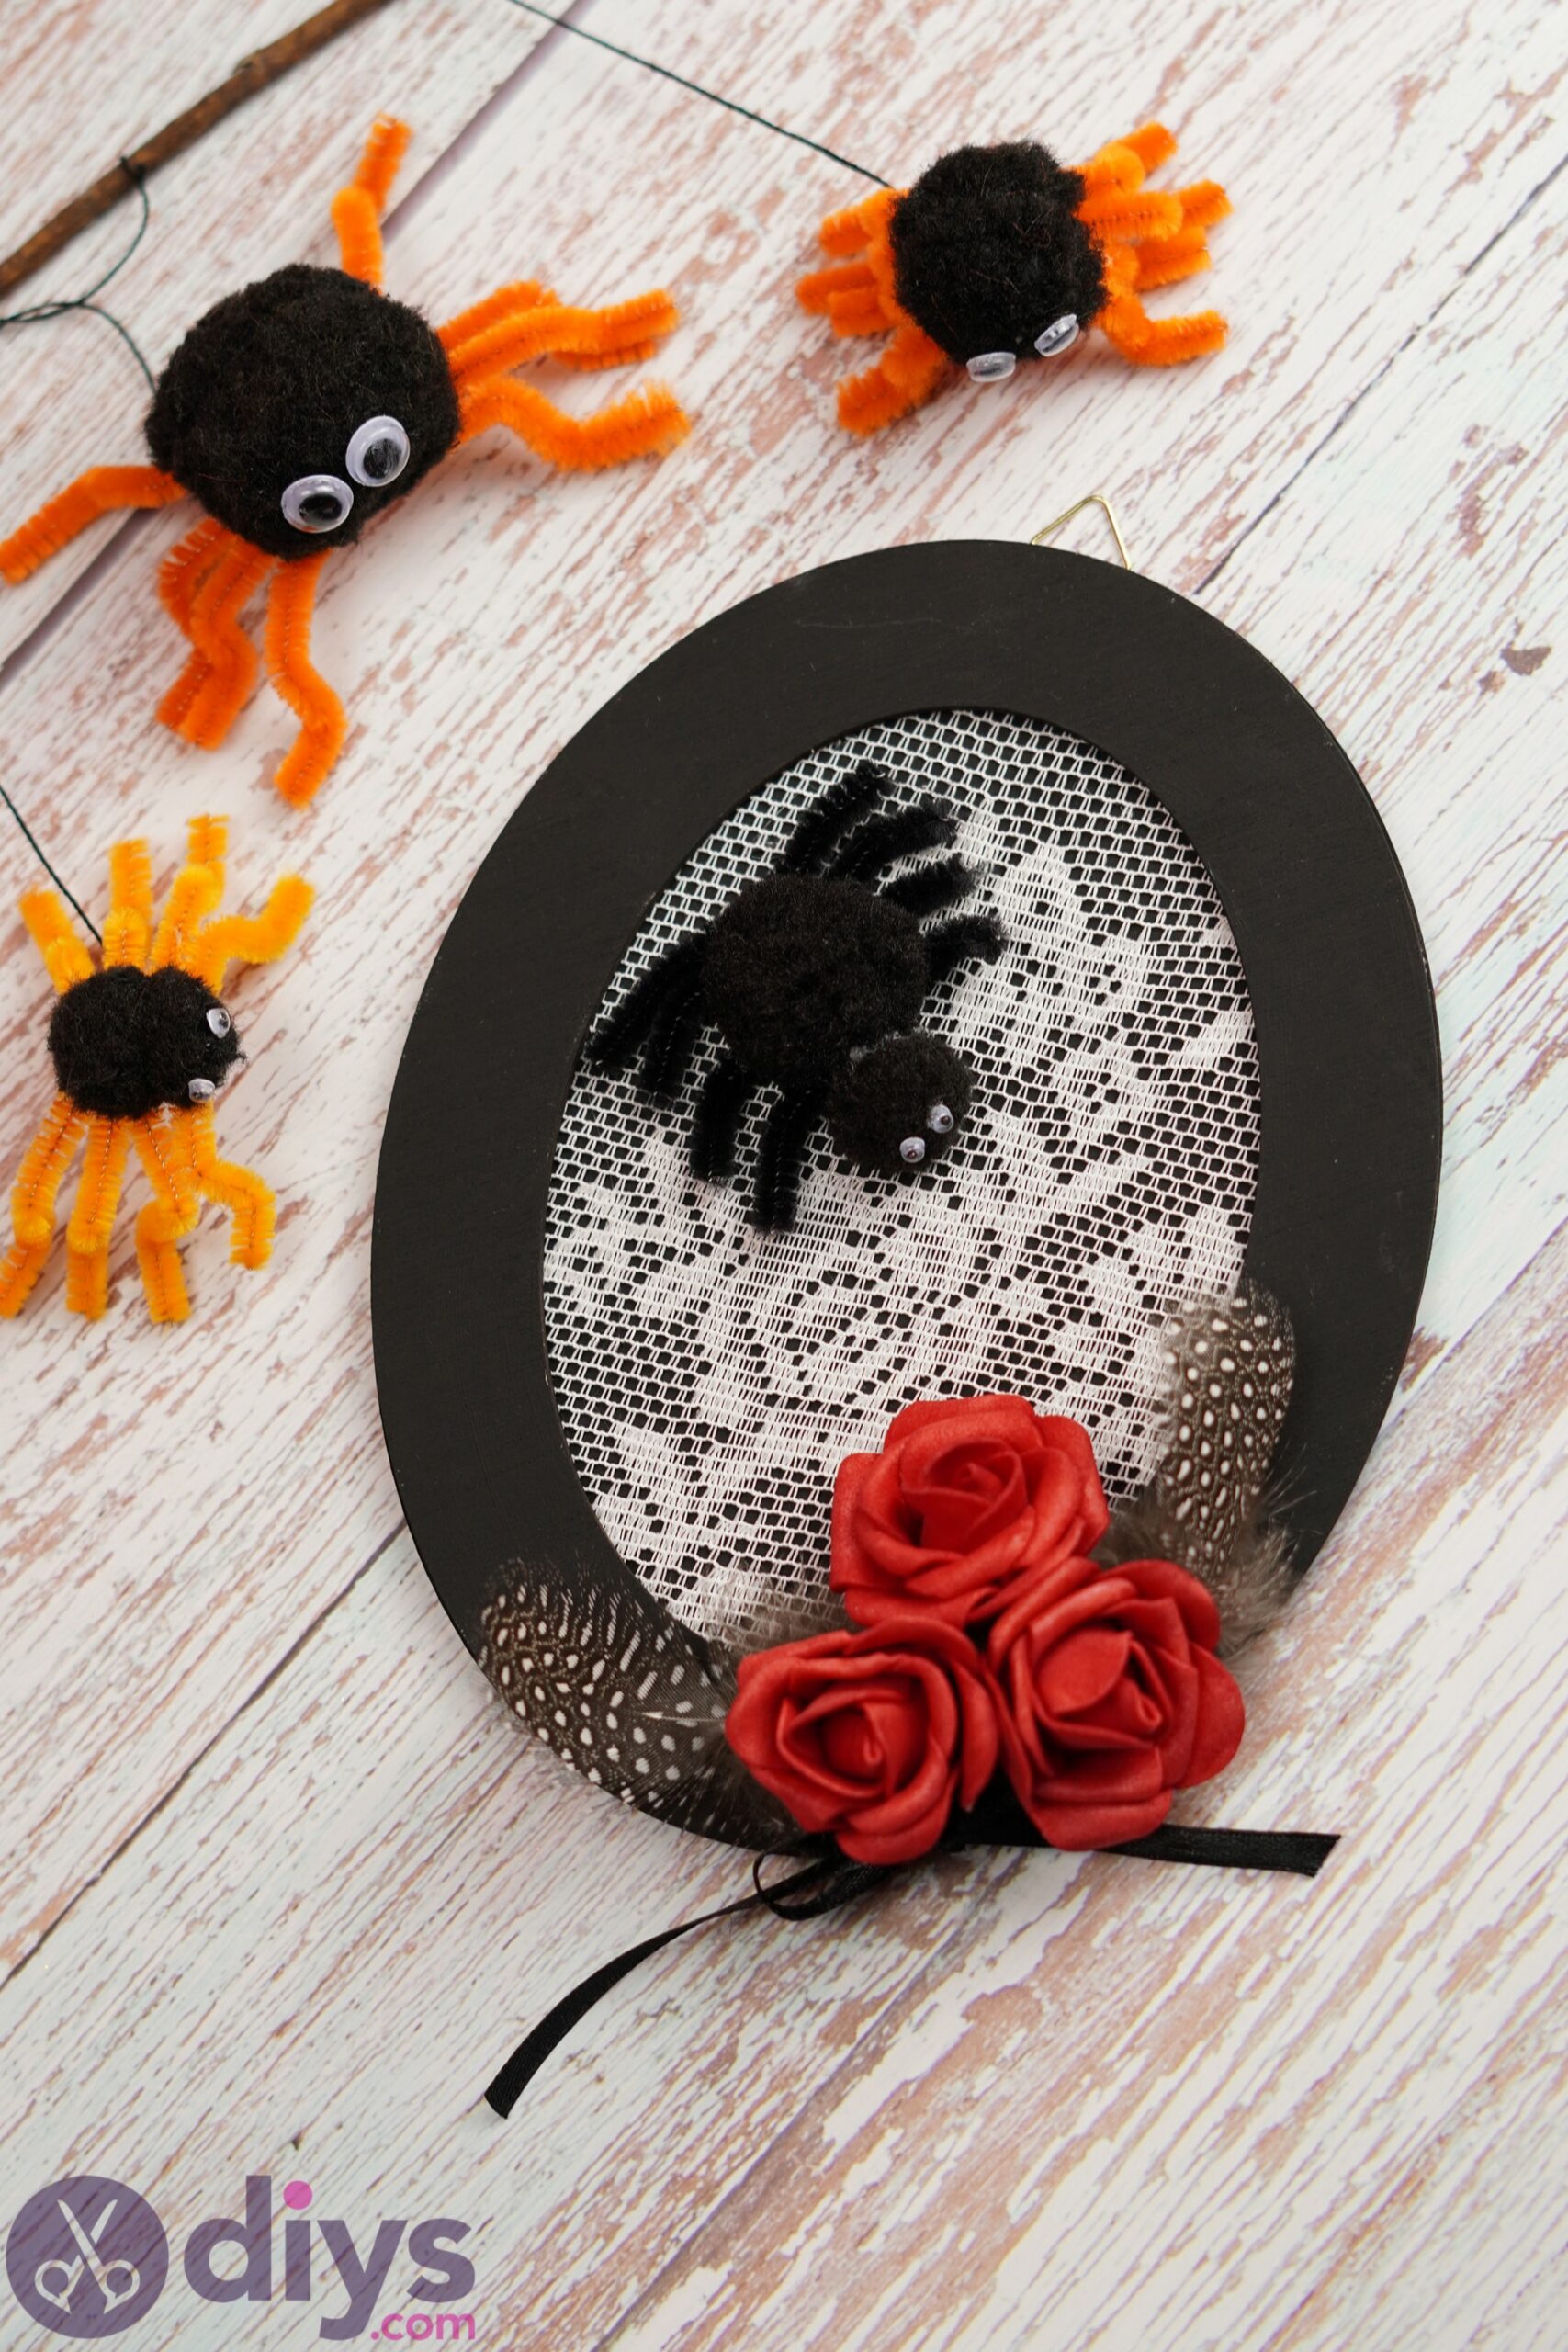
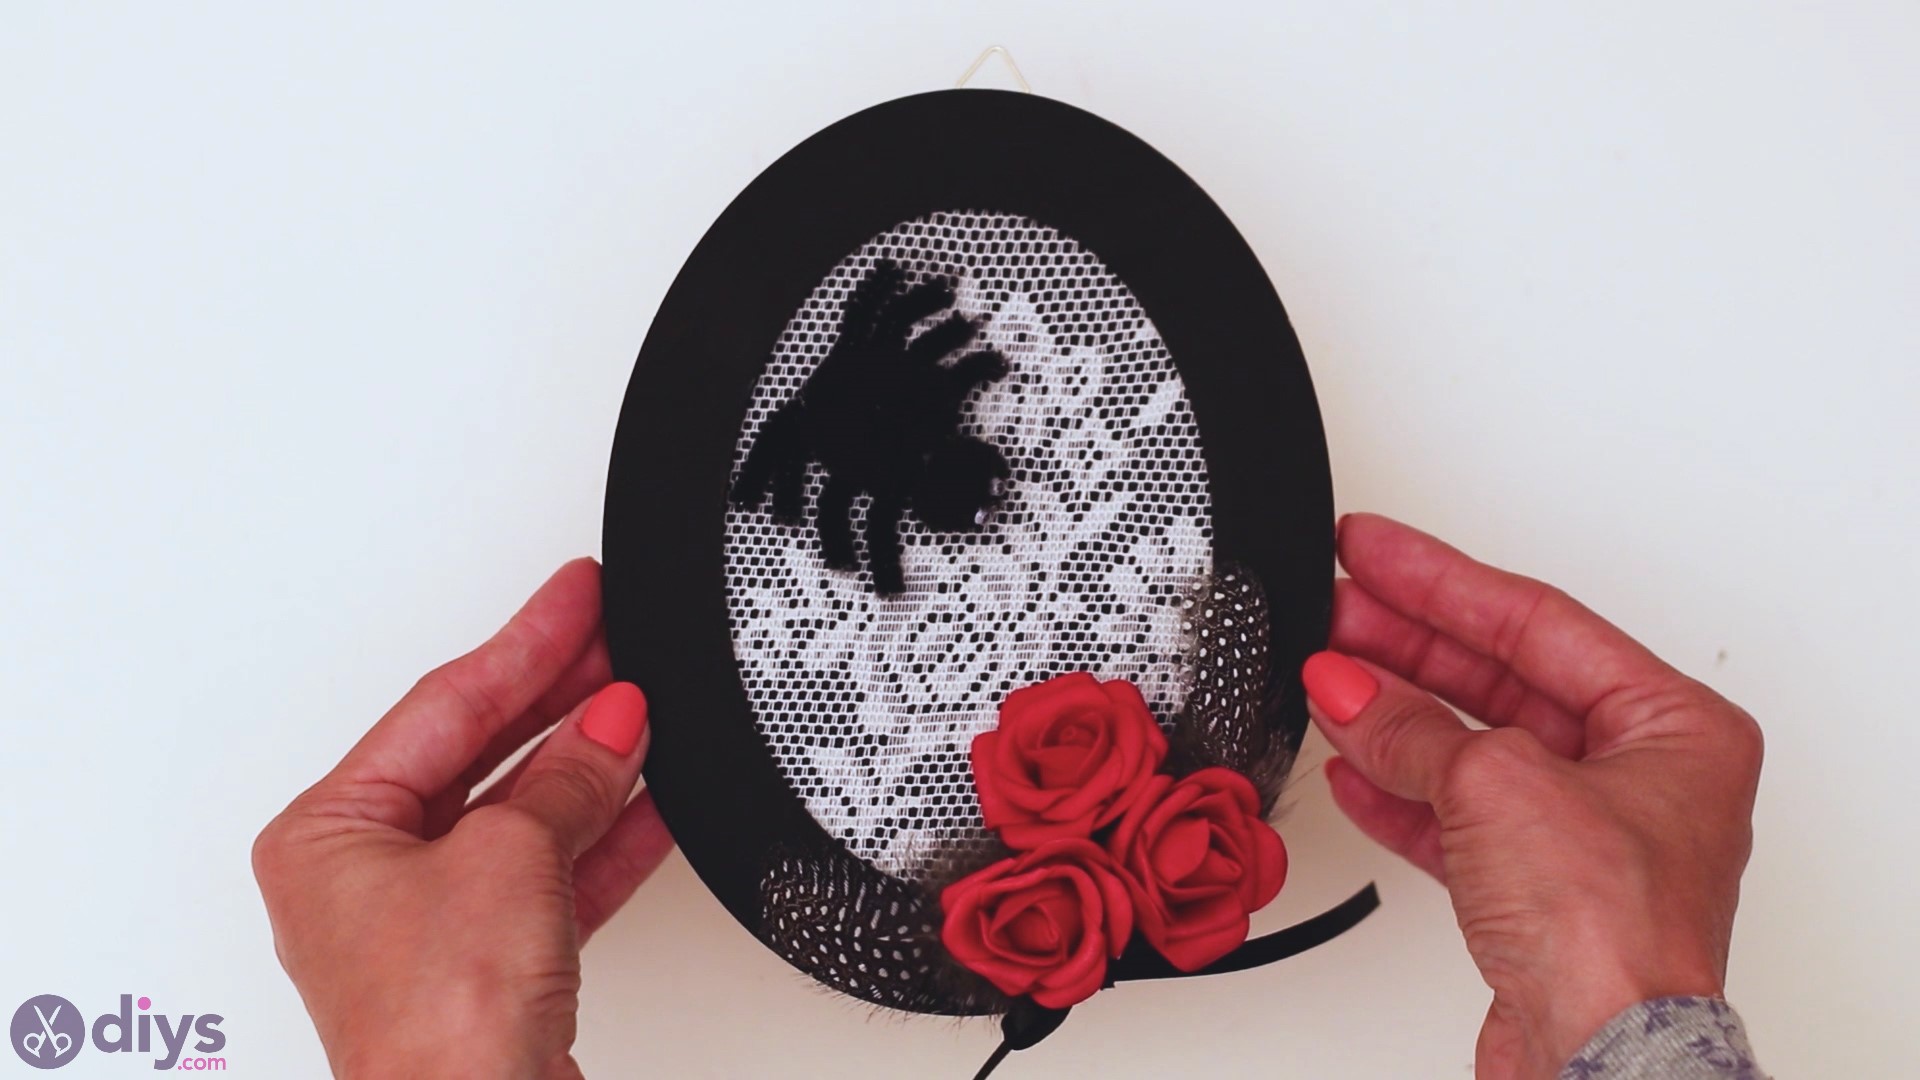
Now that you got a sneak peek at our lovely Halloween wall decor slice we're making, nosotros should probably get started. This one will piece of work great for the walls of the room you're hosting your dinner party in or even as a souvenir. Even improve, y'all can get your kids to help you out with this project!
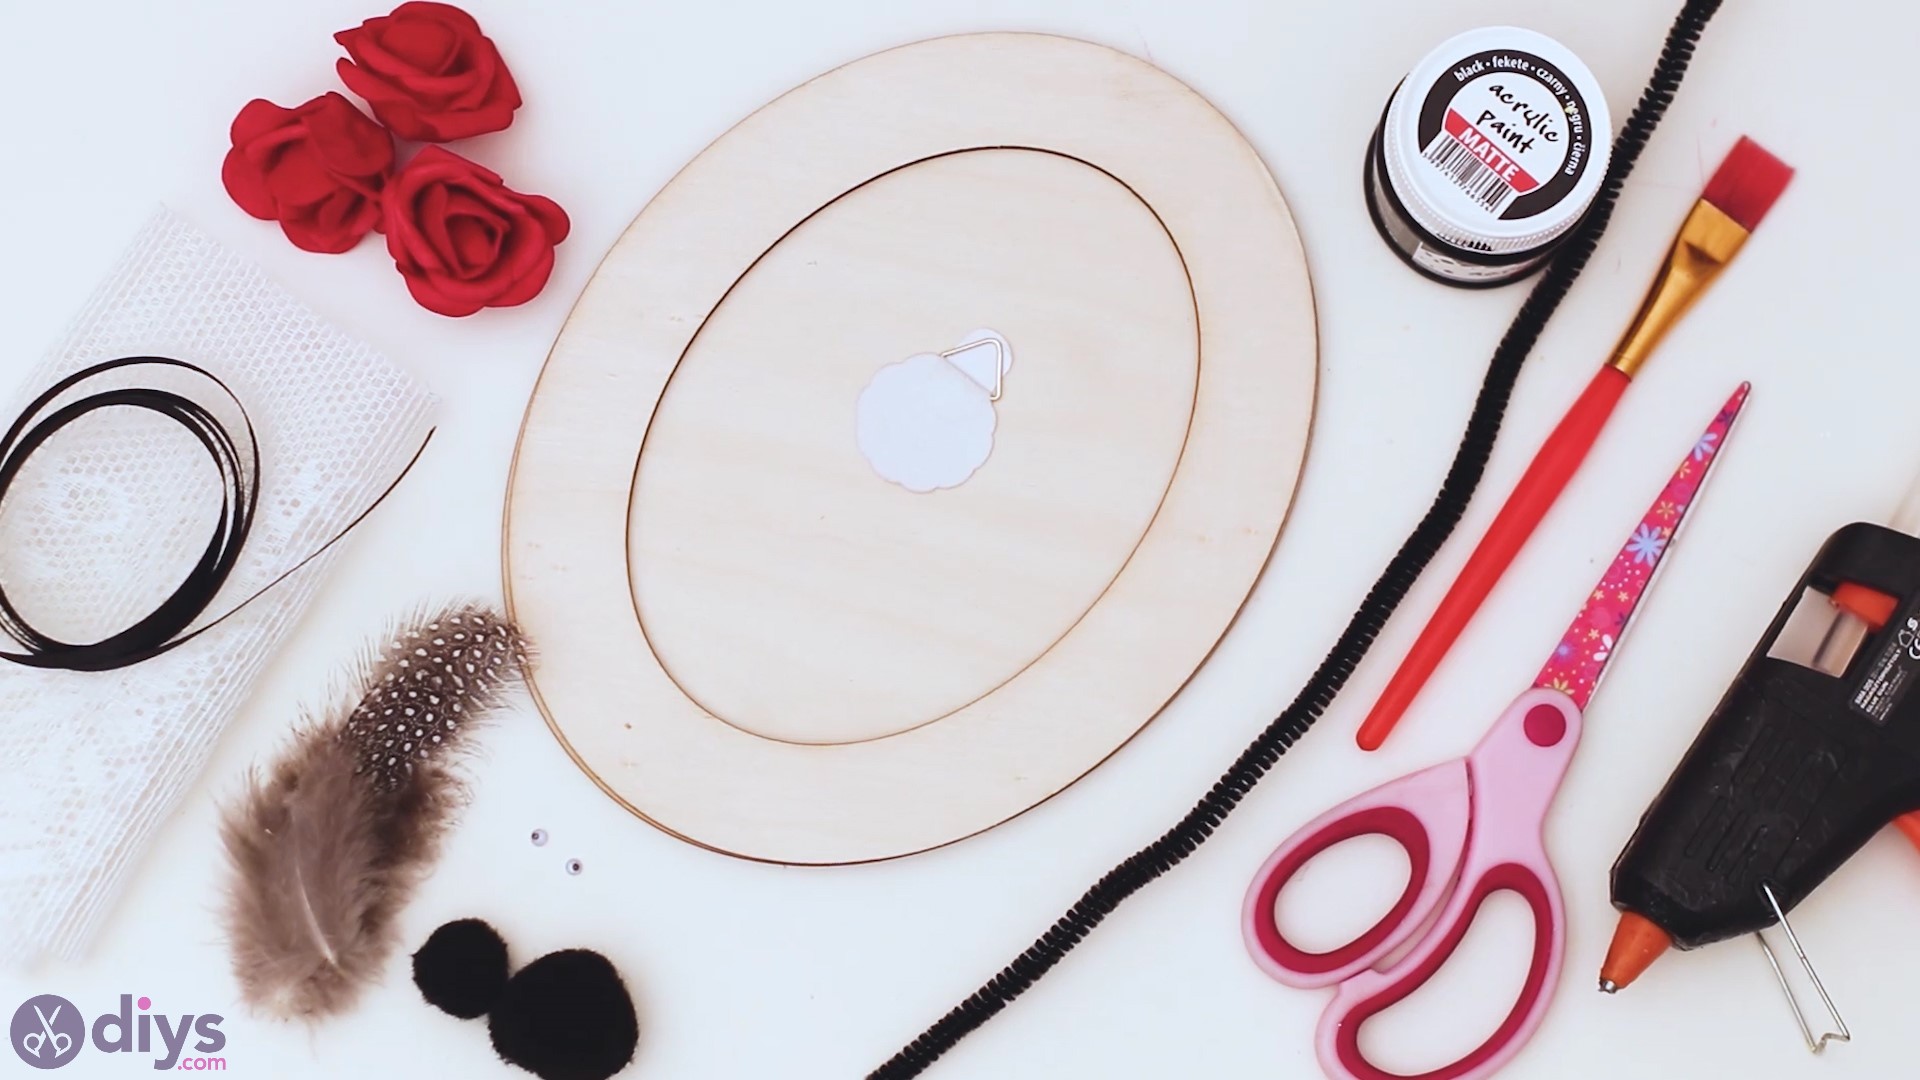
Materials for Halloween Wall Fine art
- Pair of scissors
- Glue gun
- Paintbrush
- Black pipe cleaner
- Black acrylic pigment
- Forest frame
- Hanger
- Black pompoms
- Googly eyes
- Plumage
- Artificial roses
- Black silk ribbon
- Lace
How to Brand Halloween Wall Fine art?
Before we even go started, we desire to make certain that yous have all the materials on hand. That'southward rather important as whatsoever interruptions will severely impact your creative period, so just make certain you lot have everything yous need on your work table.
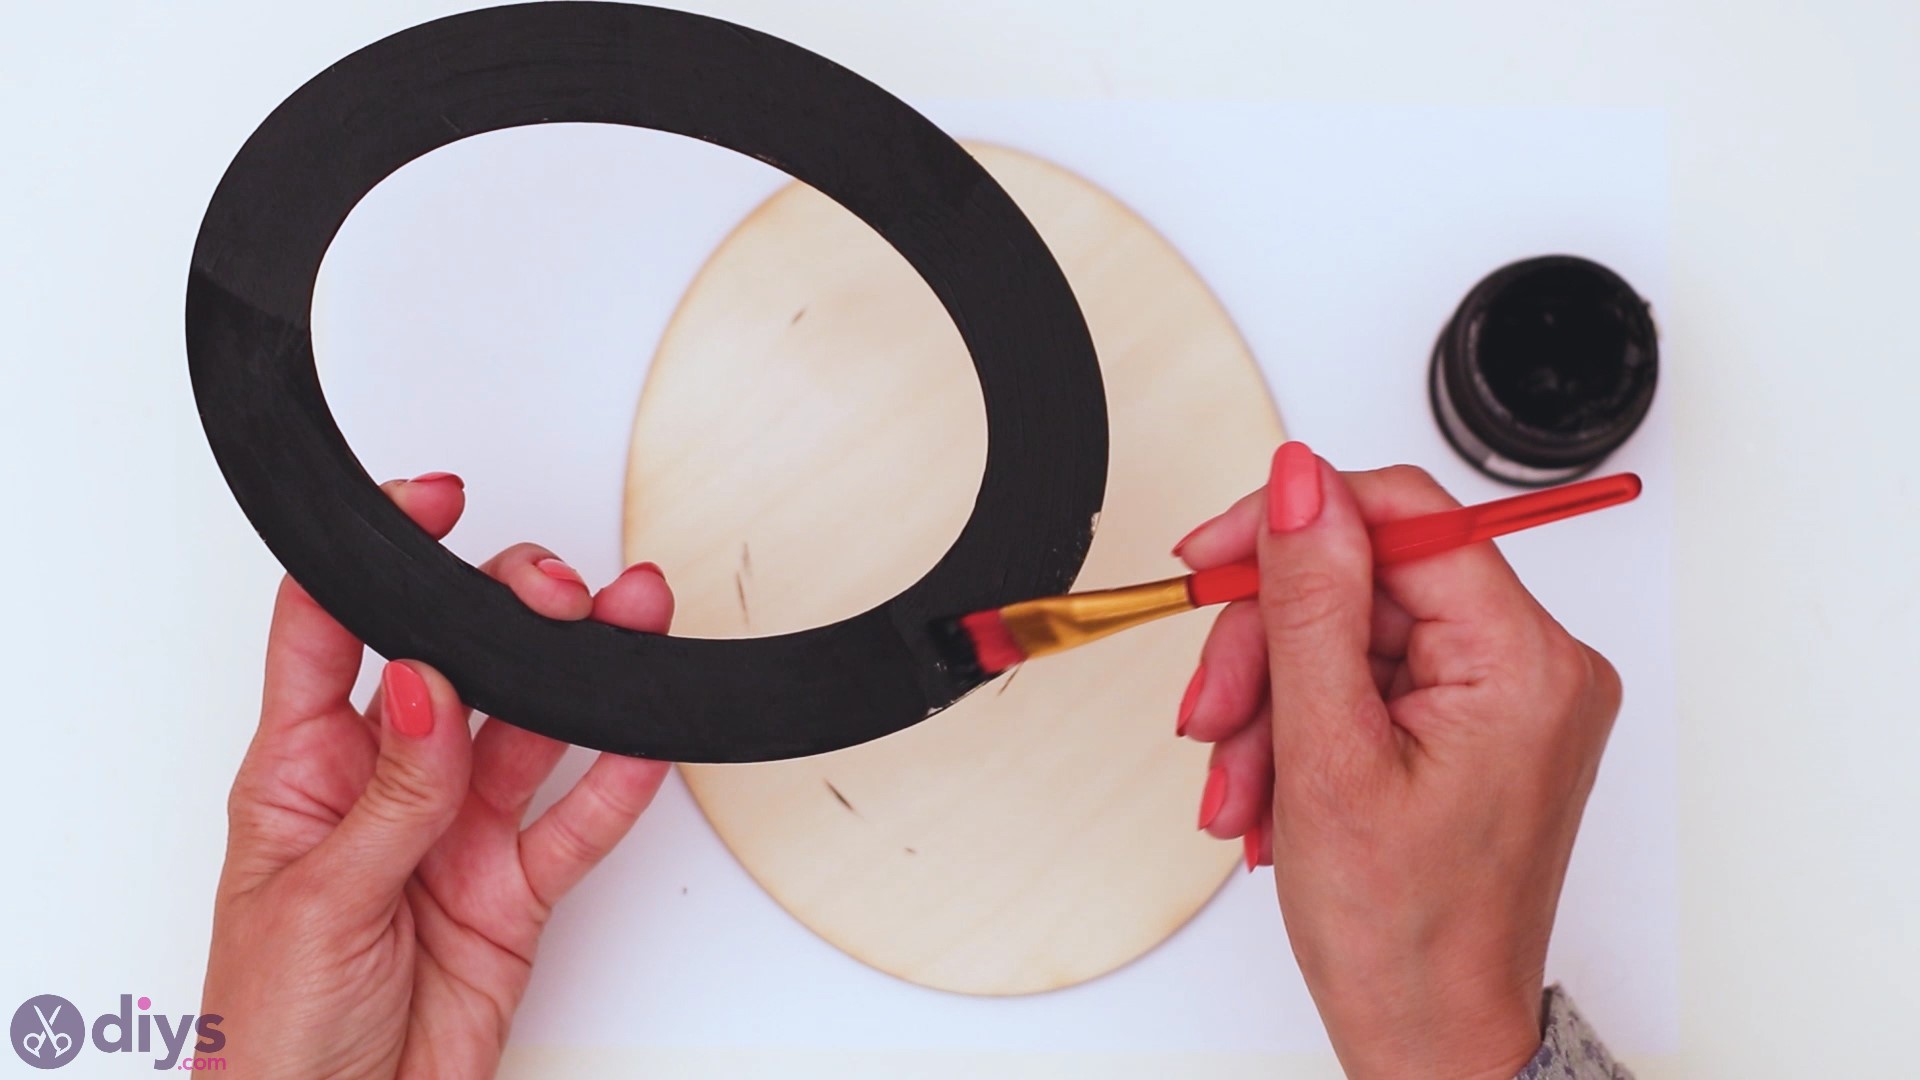
Step 1: Paint the Frame
The first matter we're going to do is to paint the moving picture frame. Ours is an oval shape, and we've used quite a few of these before. Nonetheless, allow'south get started.
Grab your paintbrush and the black acrylic paint and start laying down the colour on the moving-picture show frame.
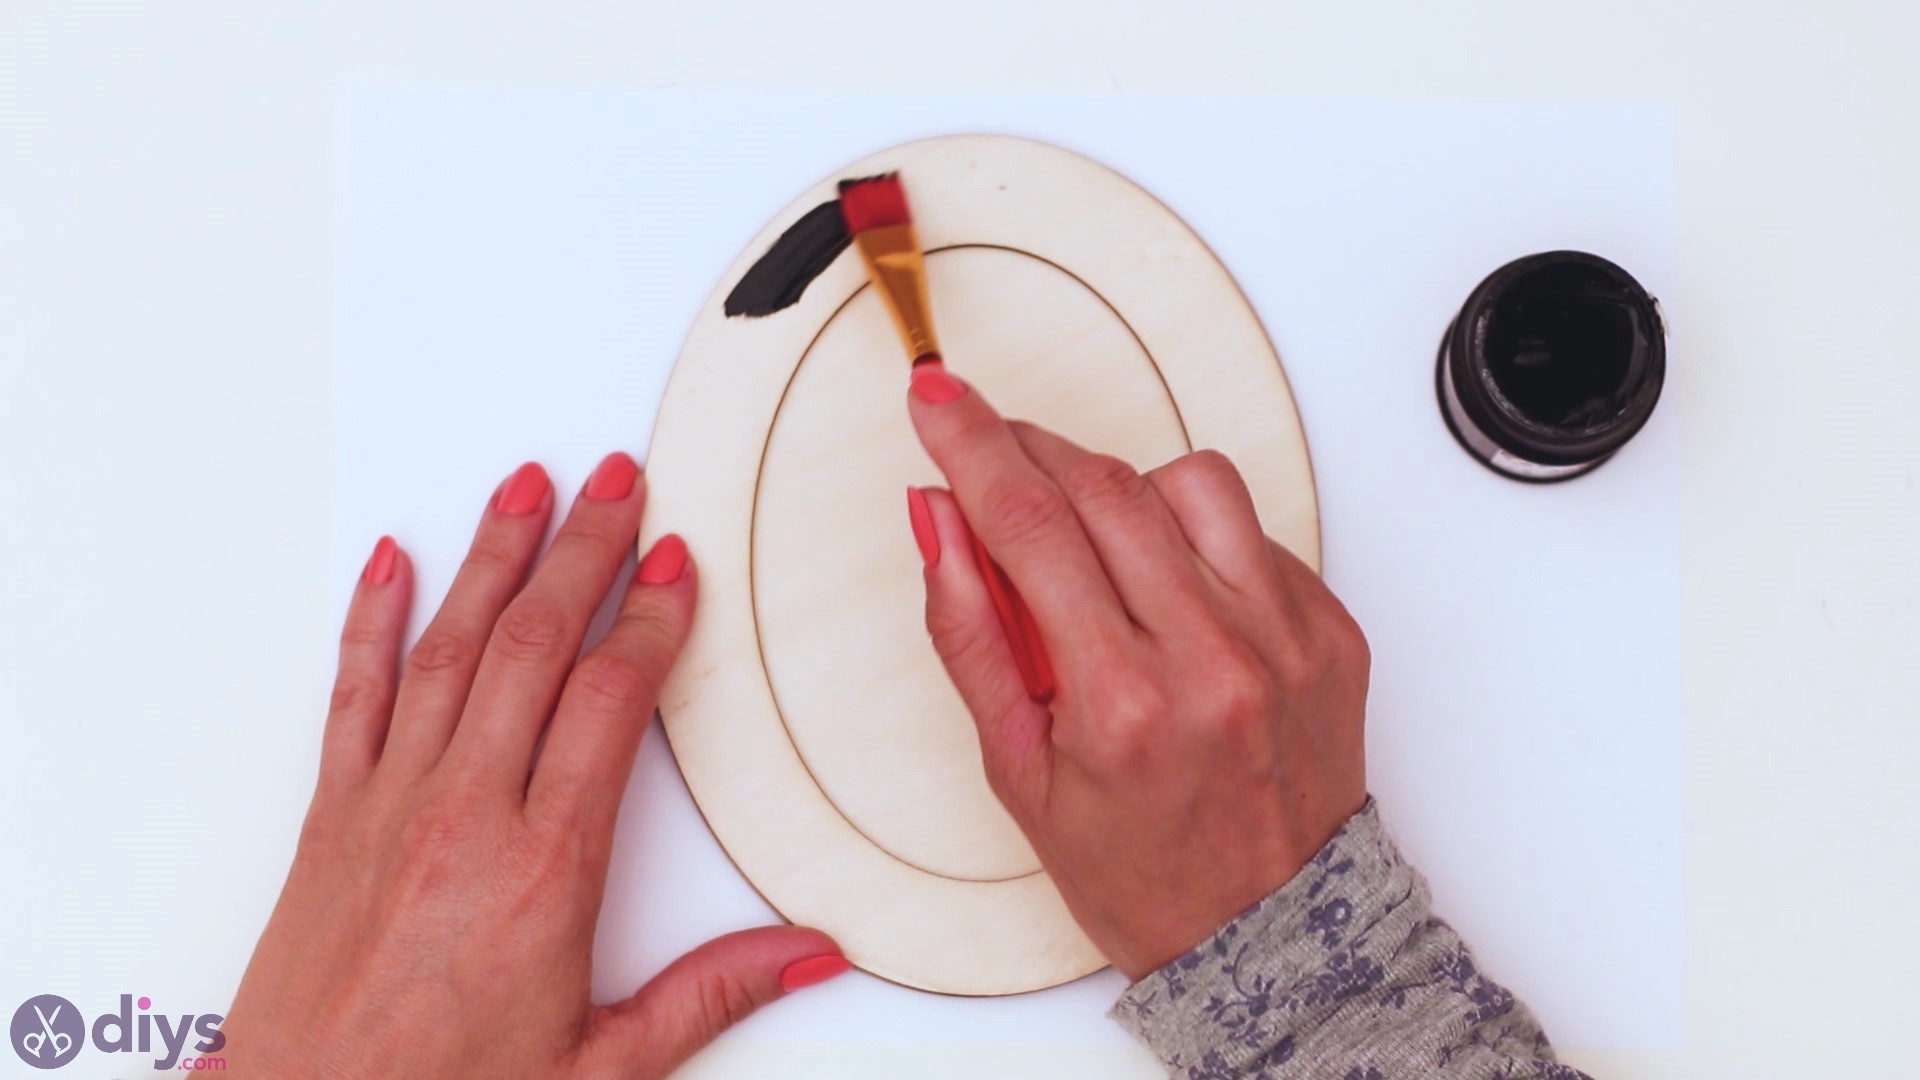
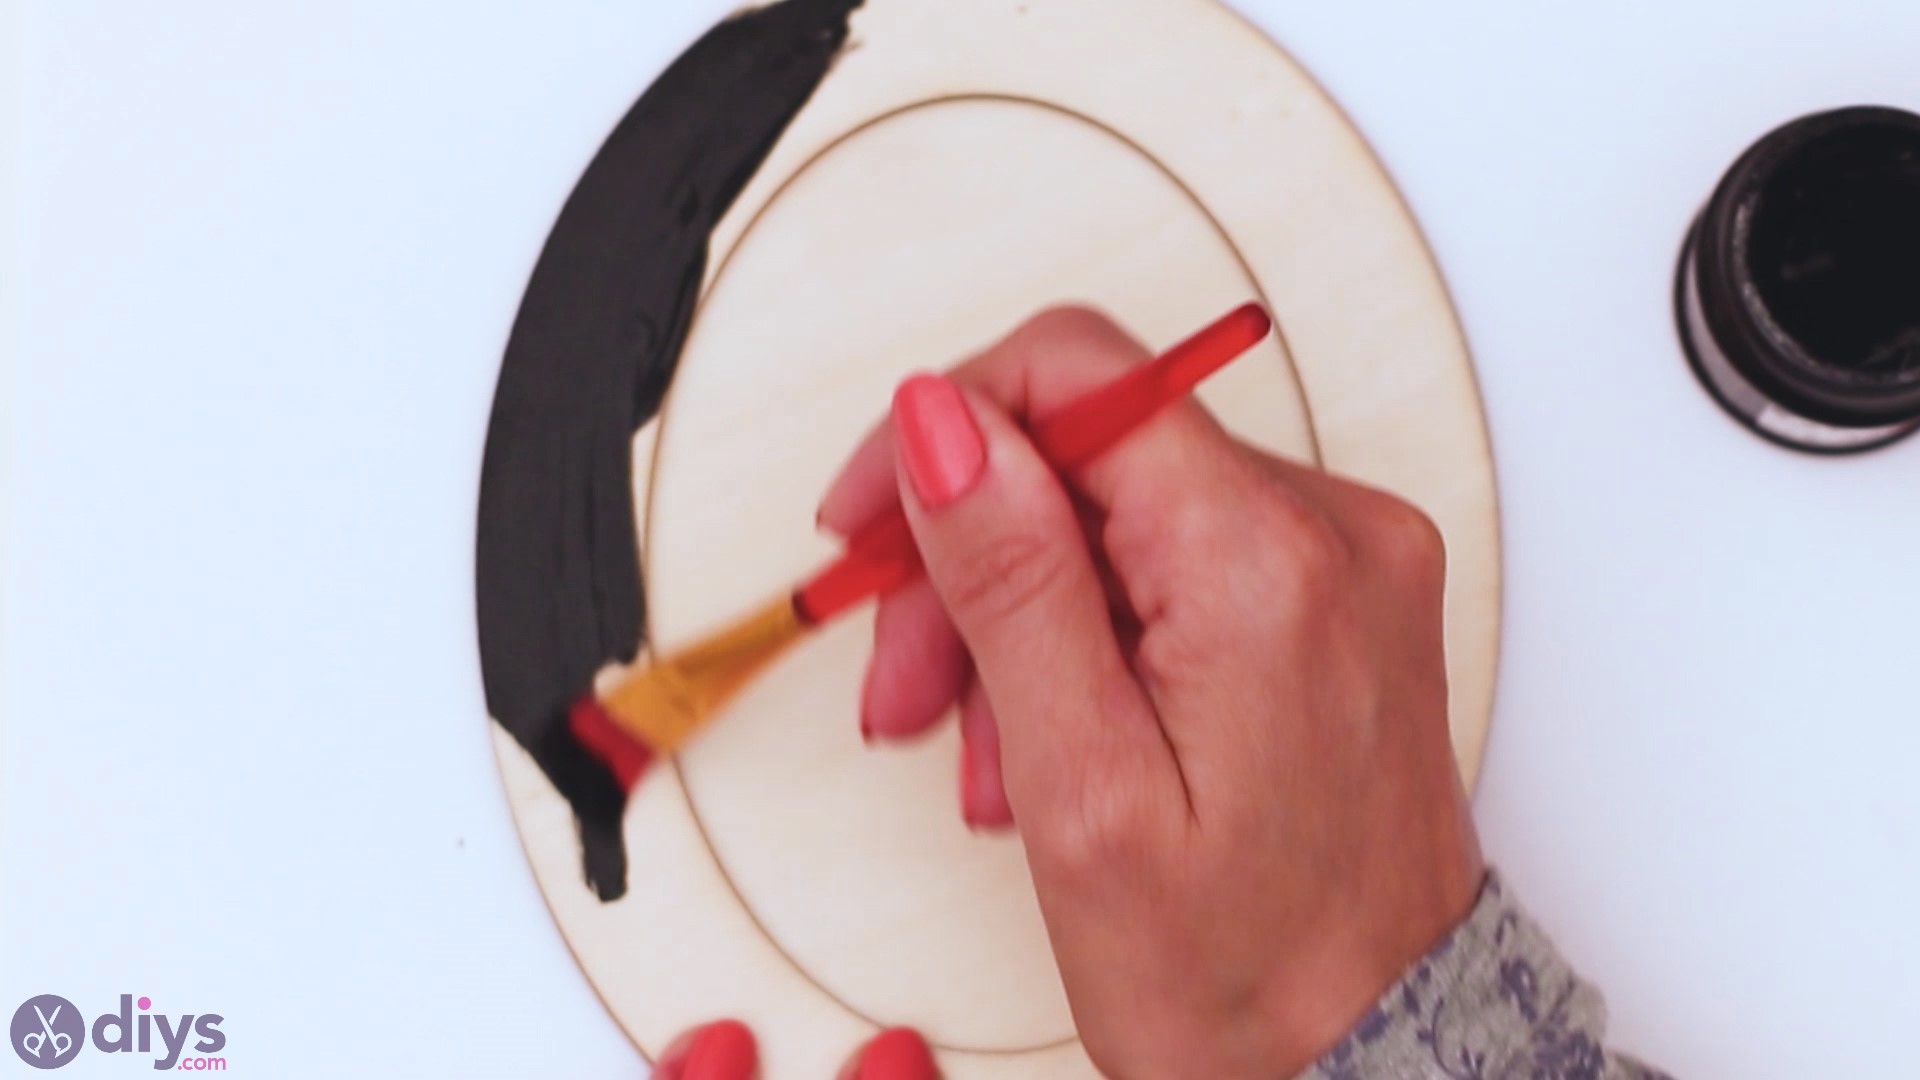
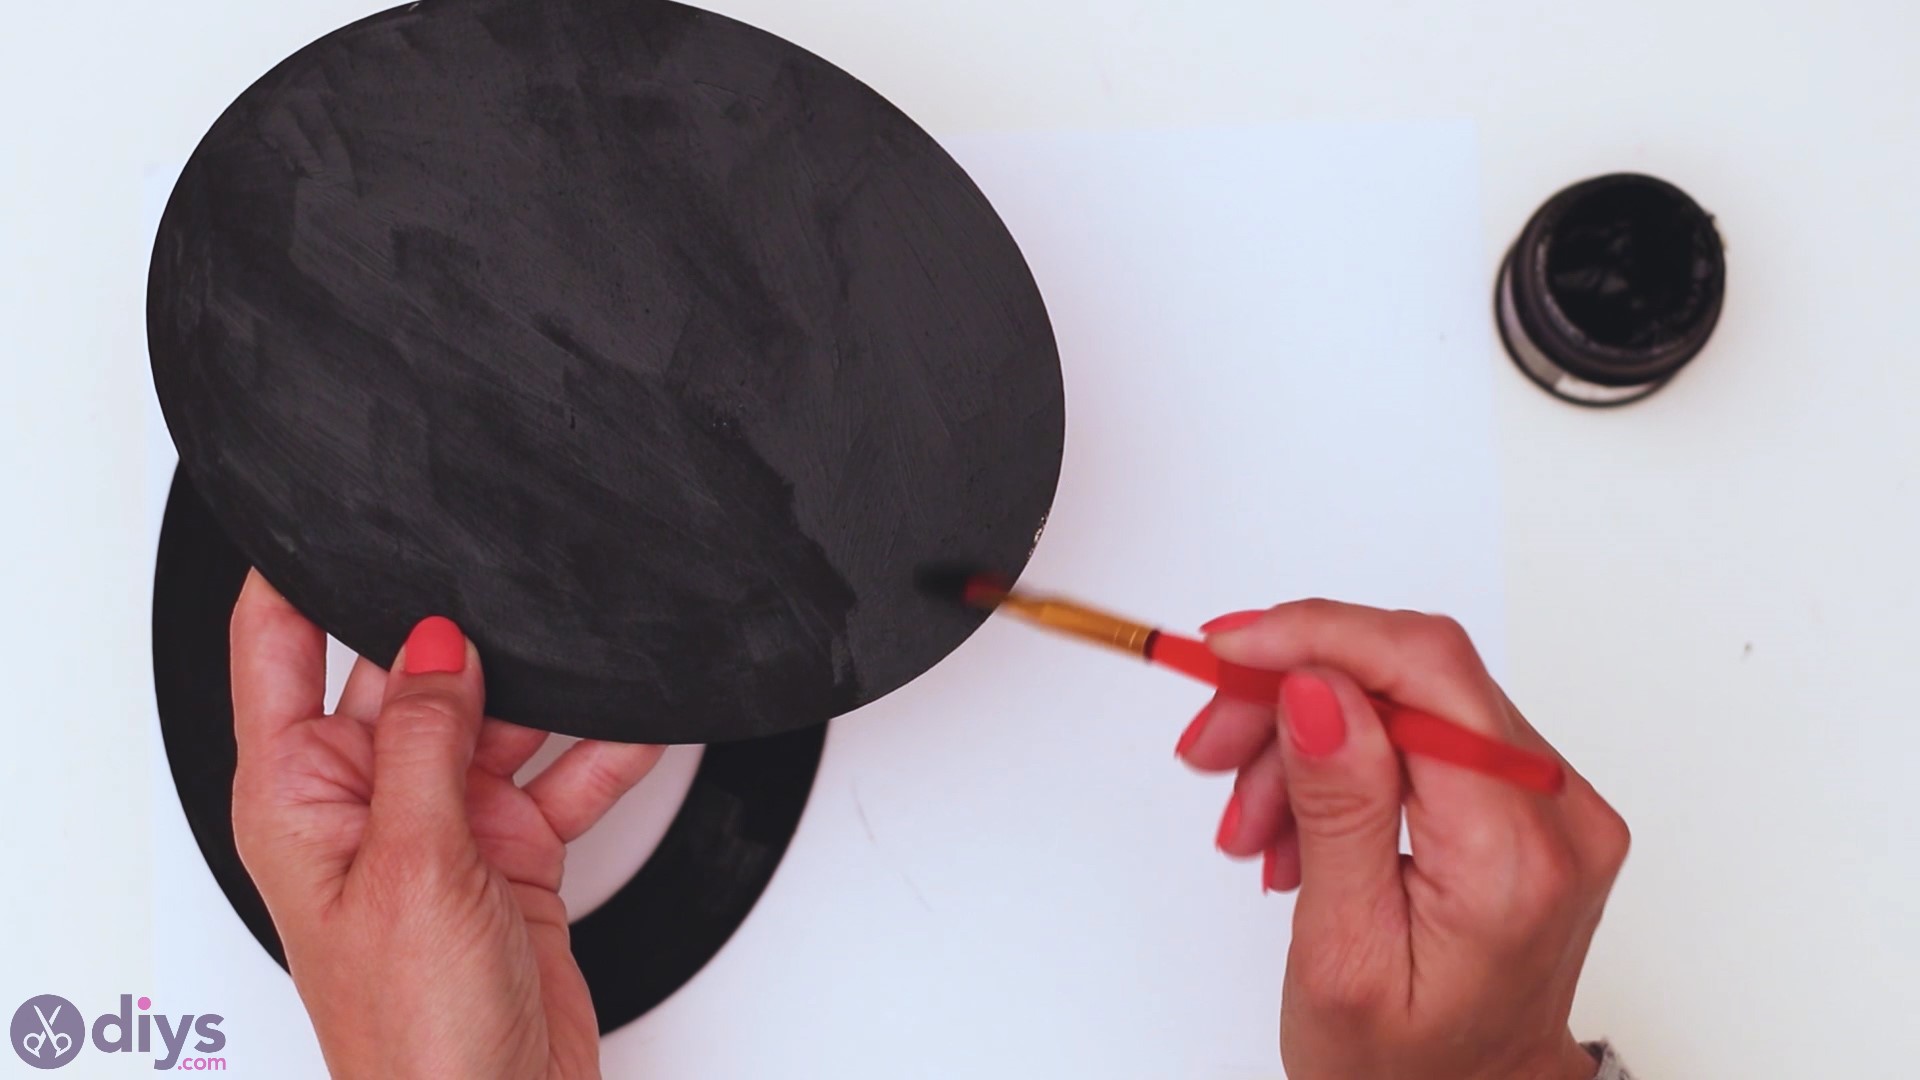
One time you're washed with the meridian layer, you'll want to motion on to the second frame background also!
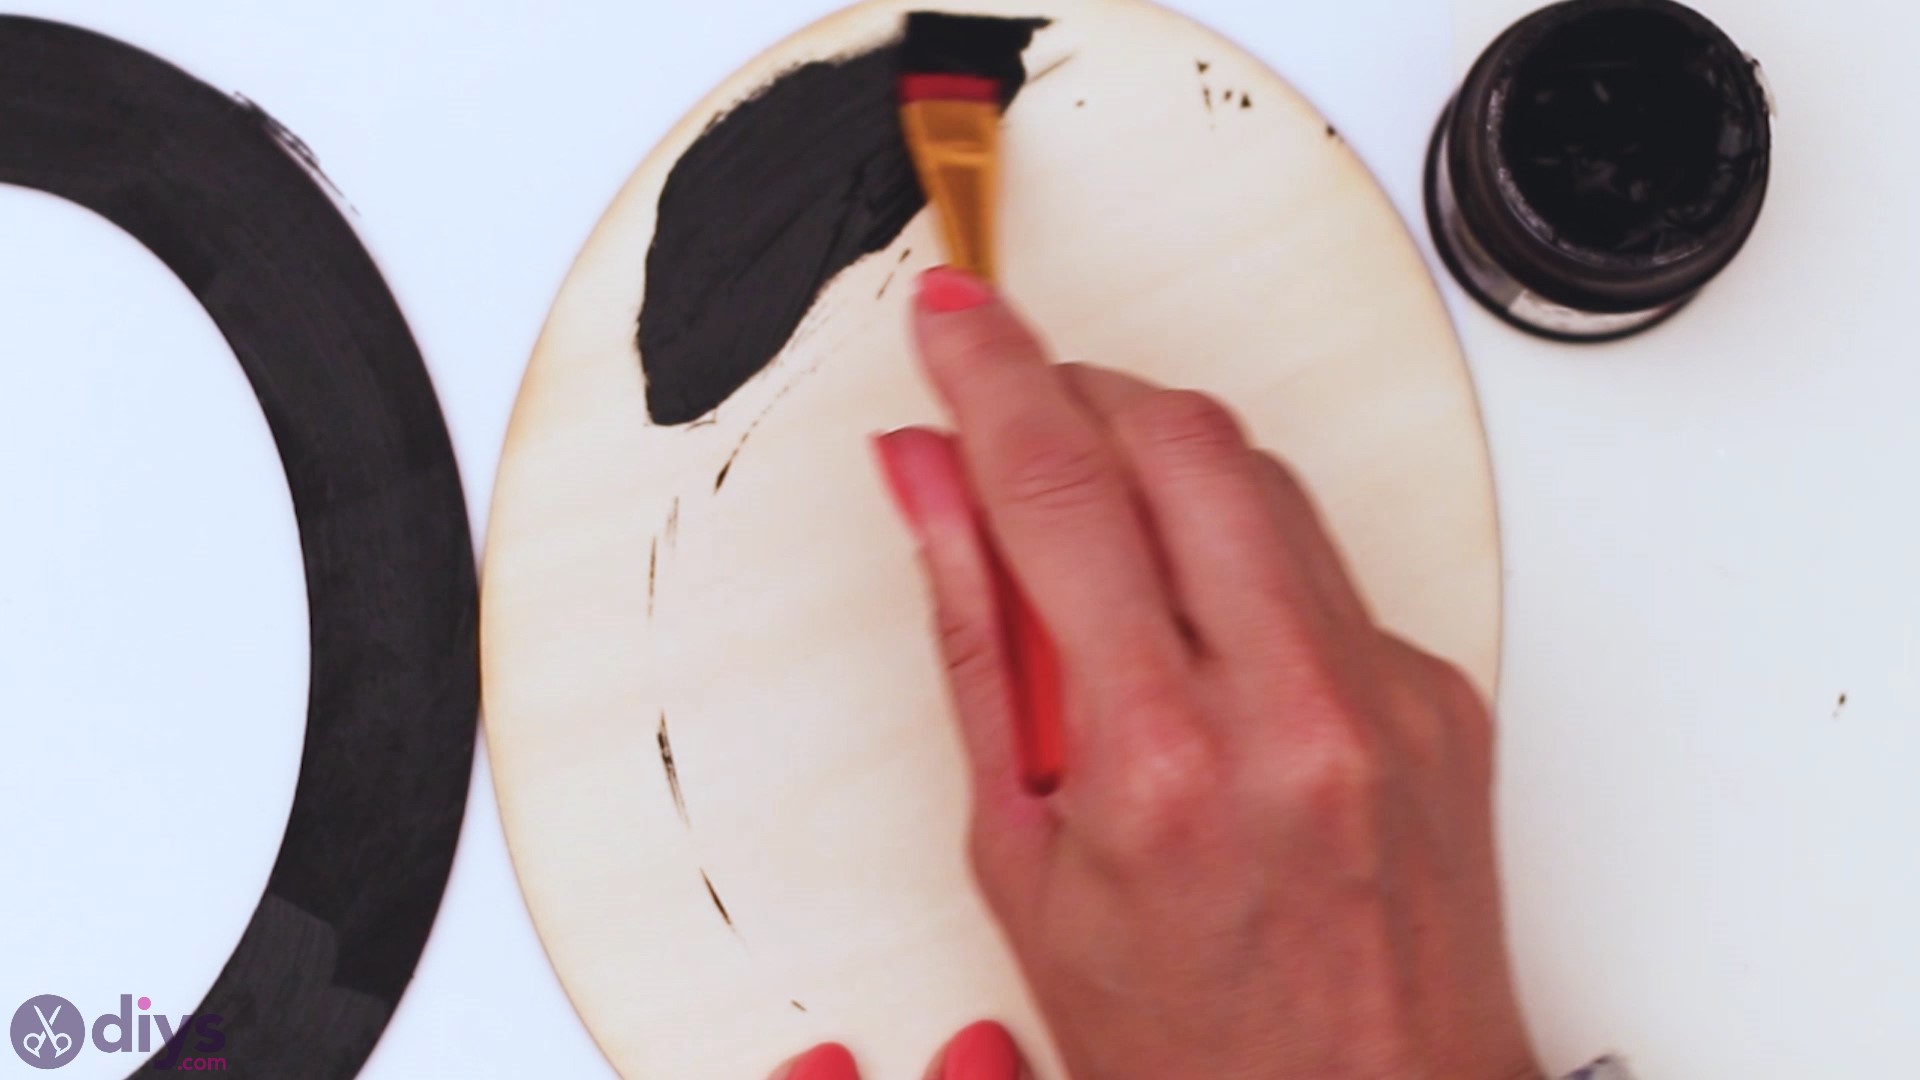
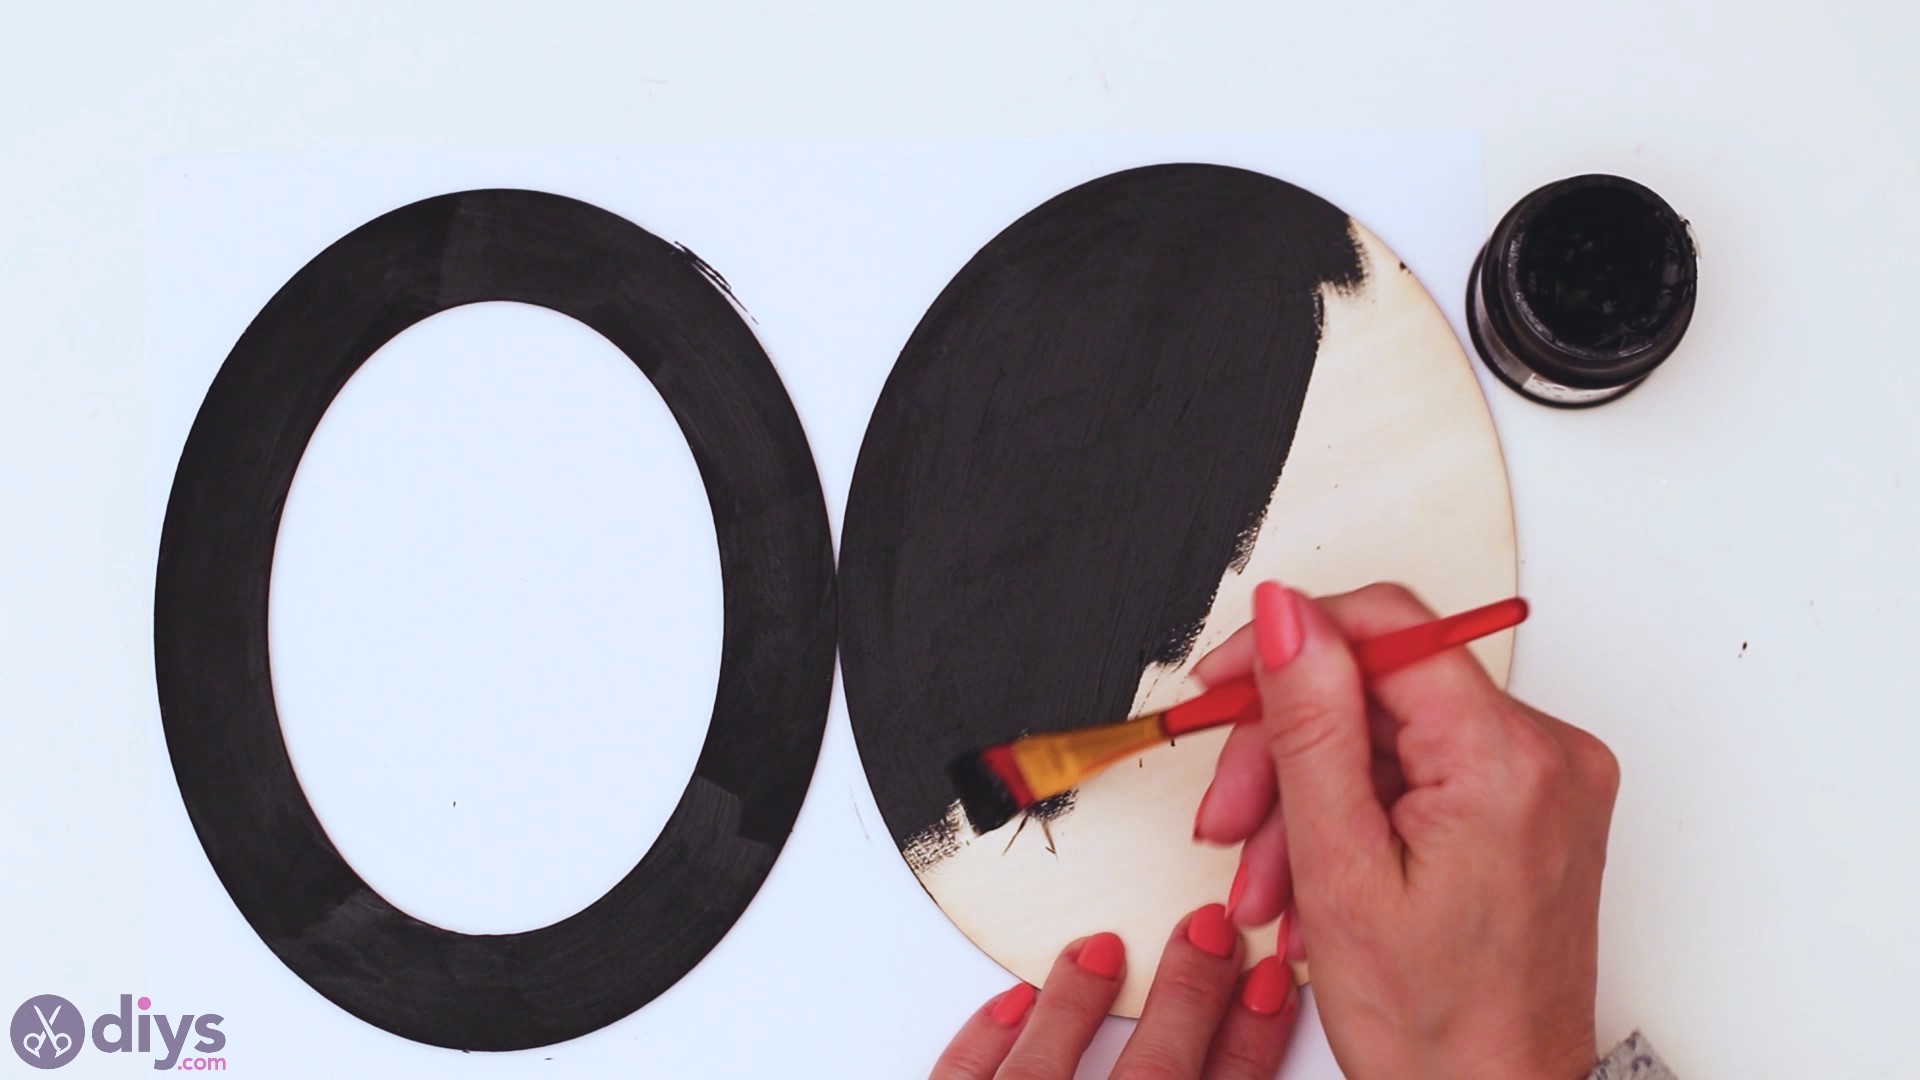
You'll want to brand sure to properly spread the black paint over the frame. Even so, make certain there are no see-through areas merely that at that place are no paint bumps either, as those will take longer to dry. Talking about drying times – since we're using acrylic paint, that shouldn't take very long.
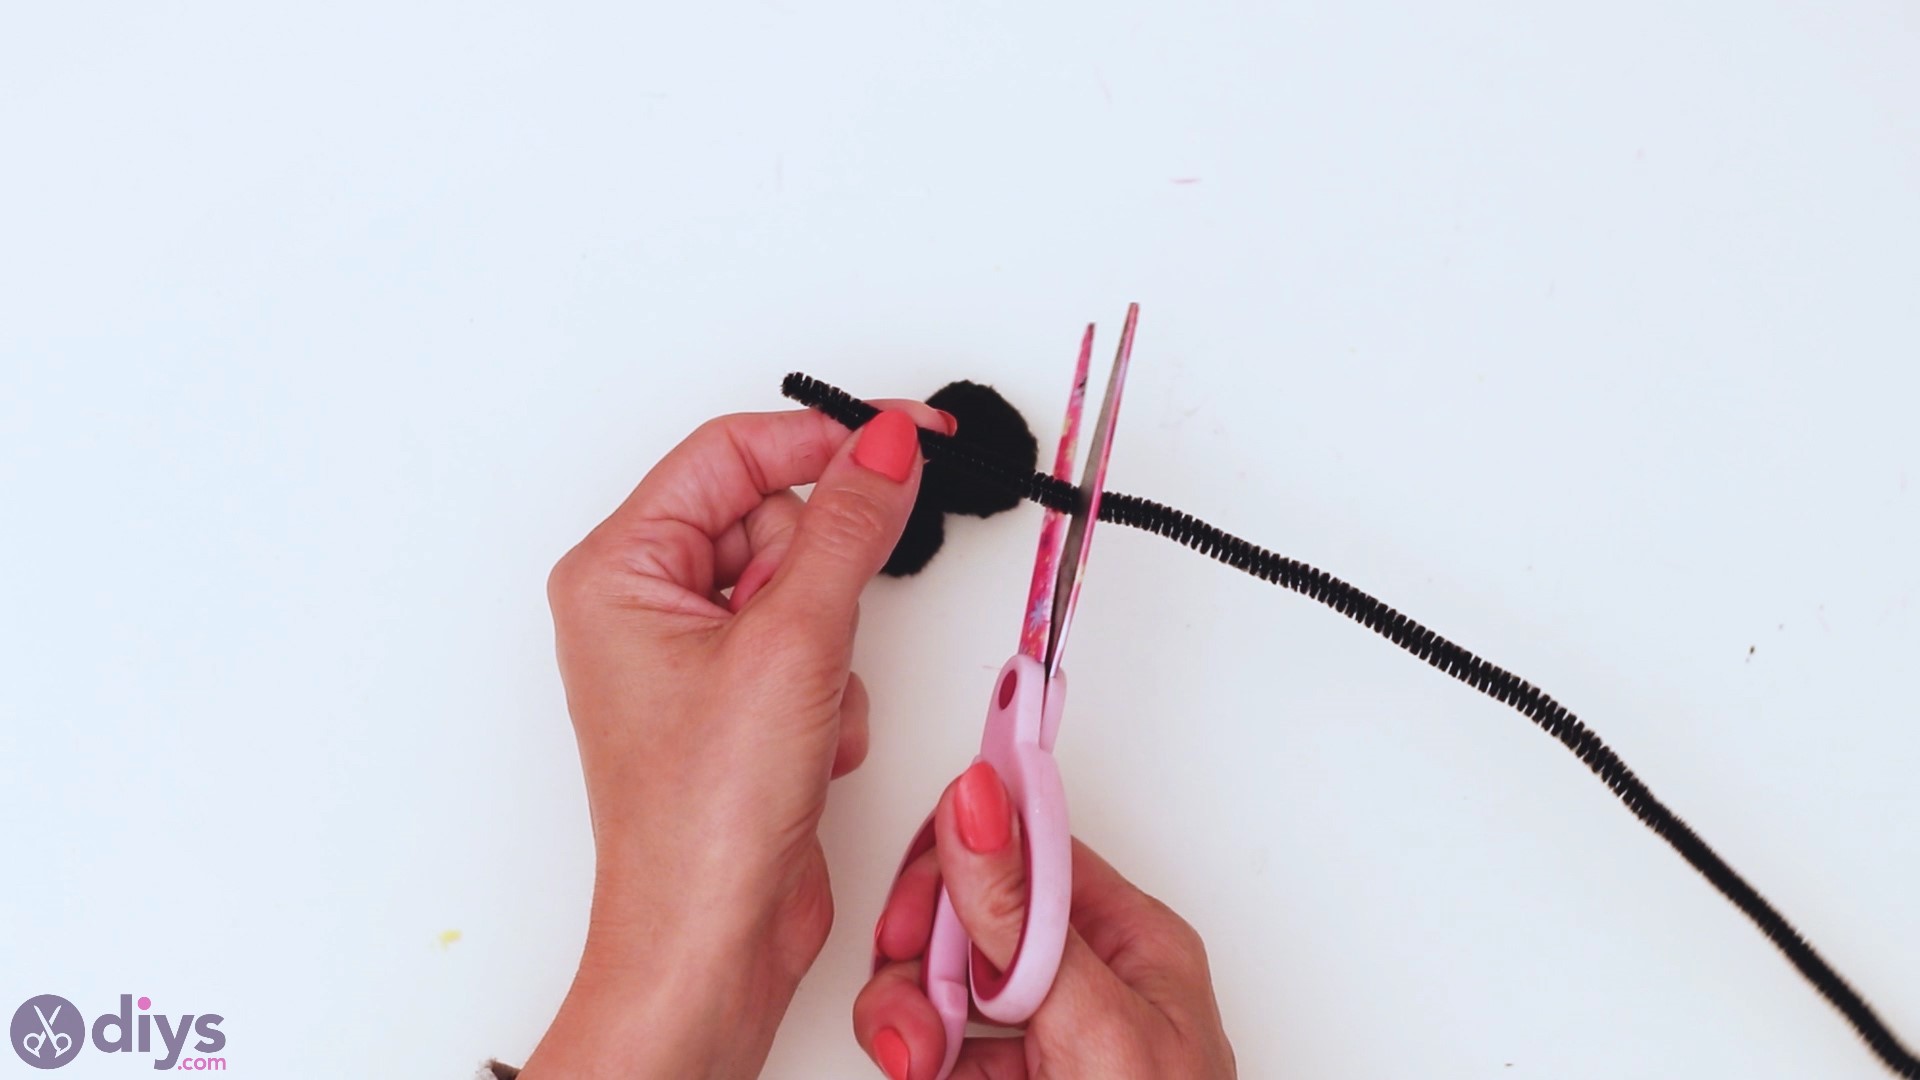
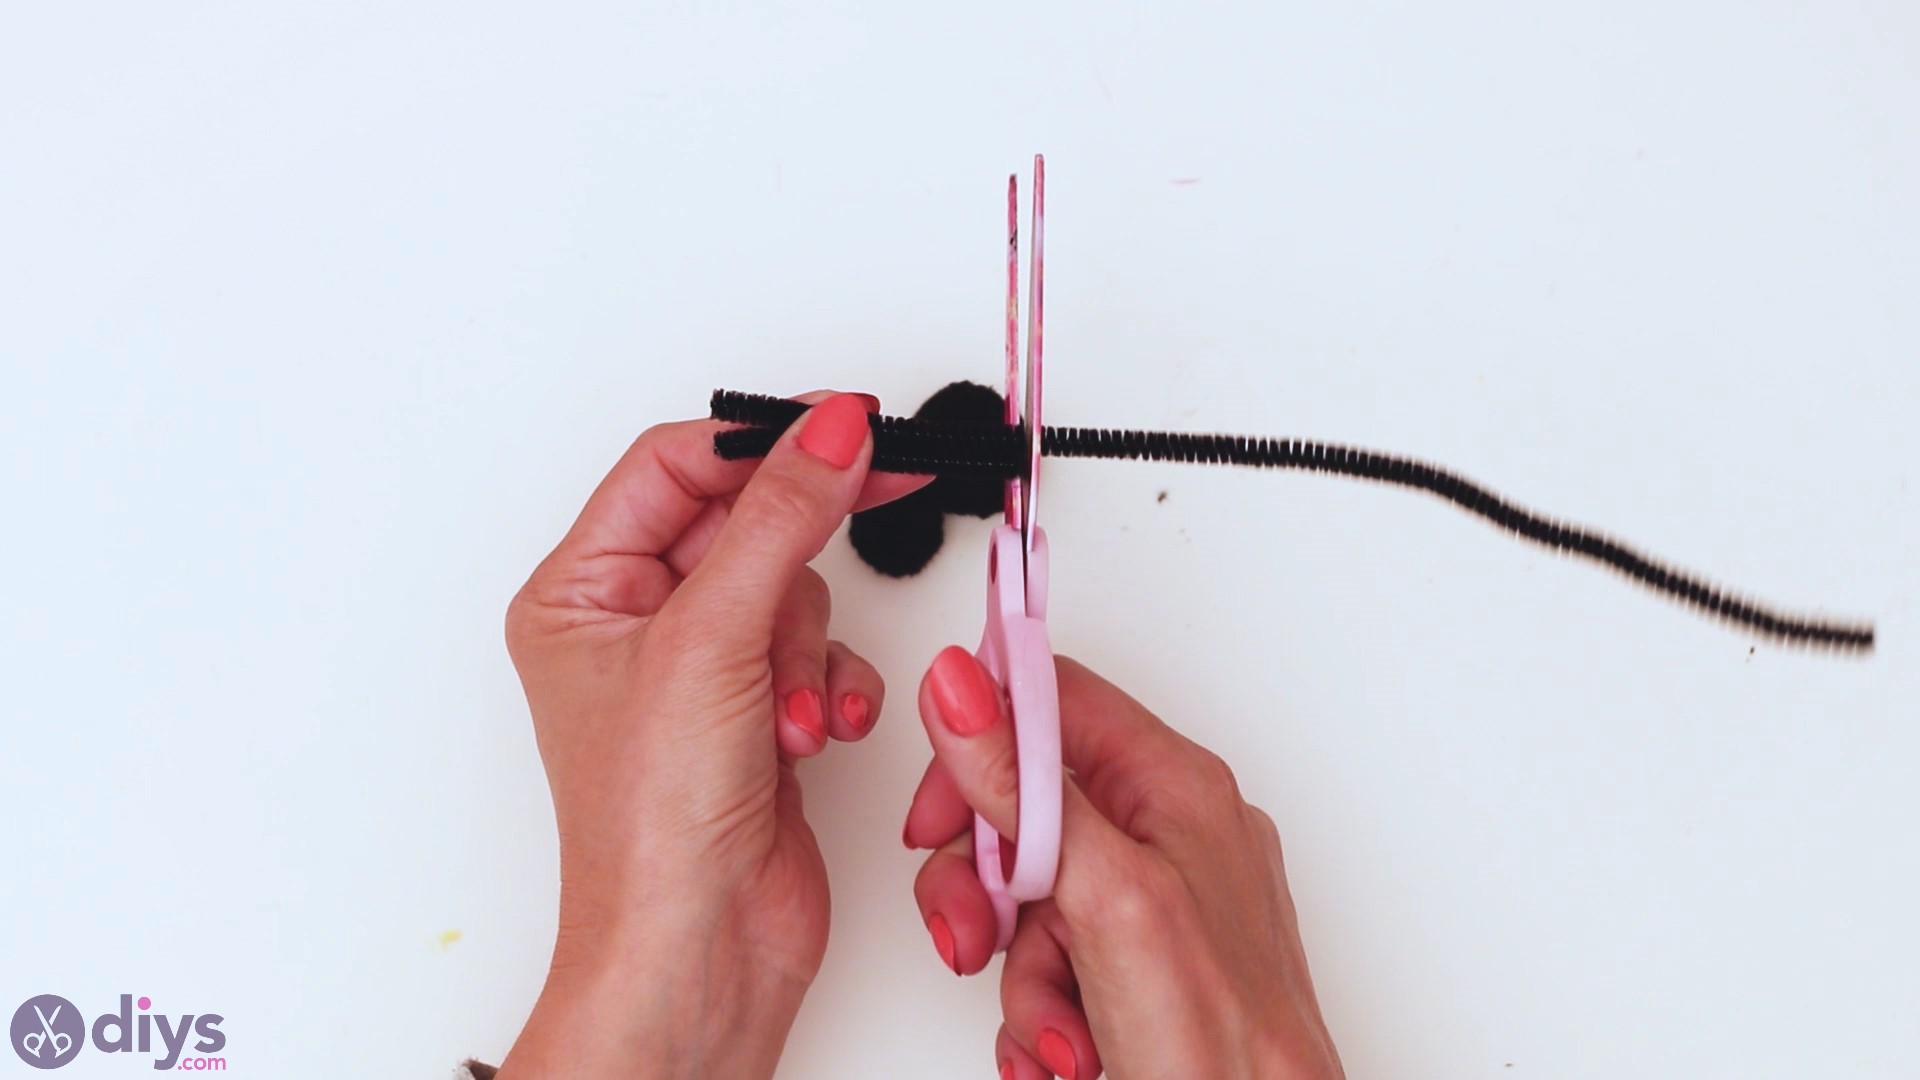
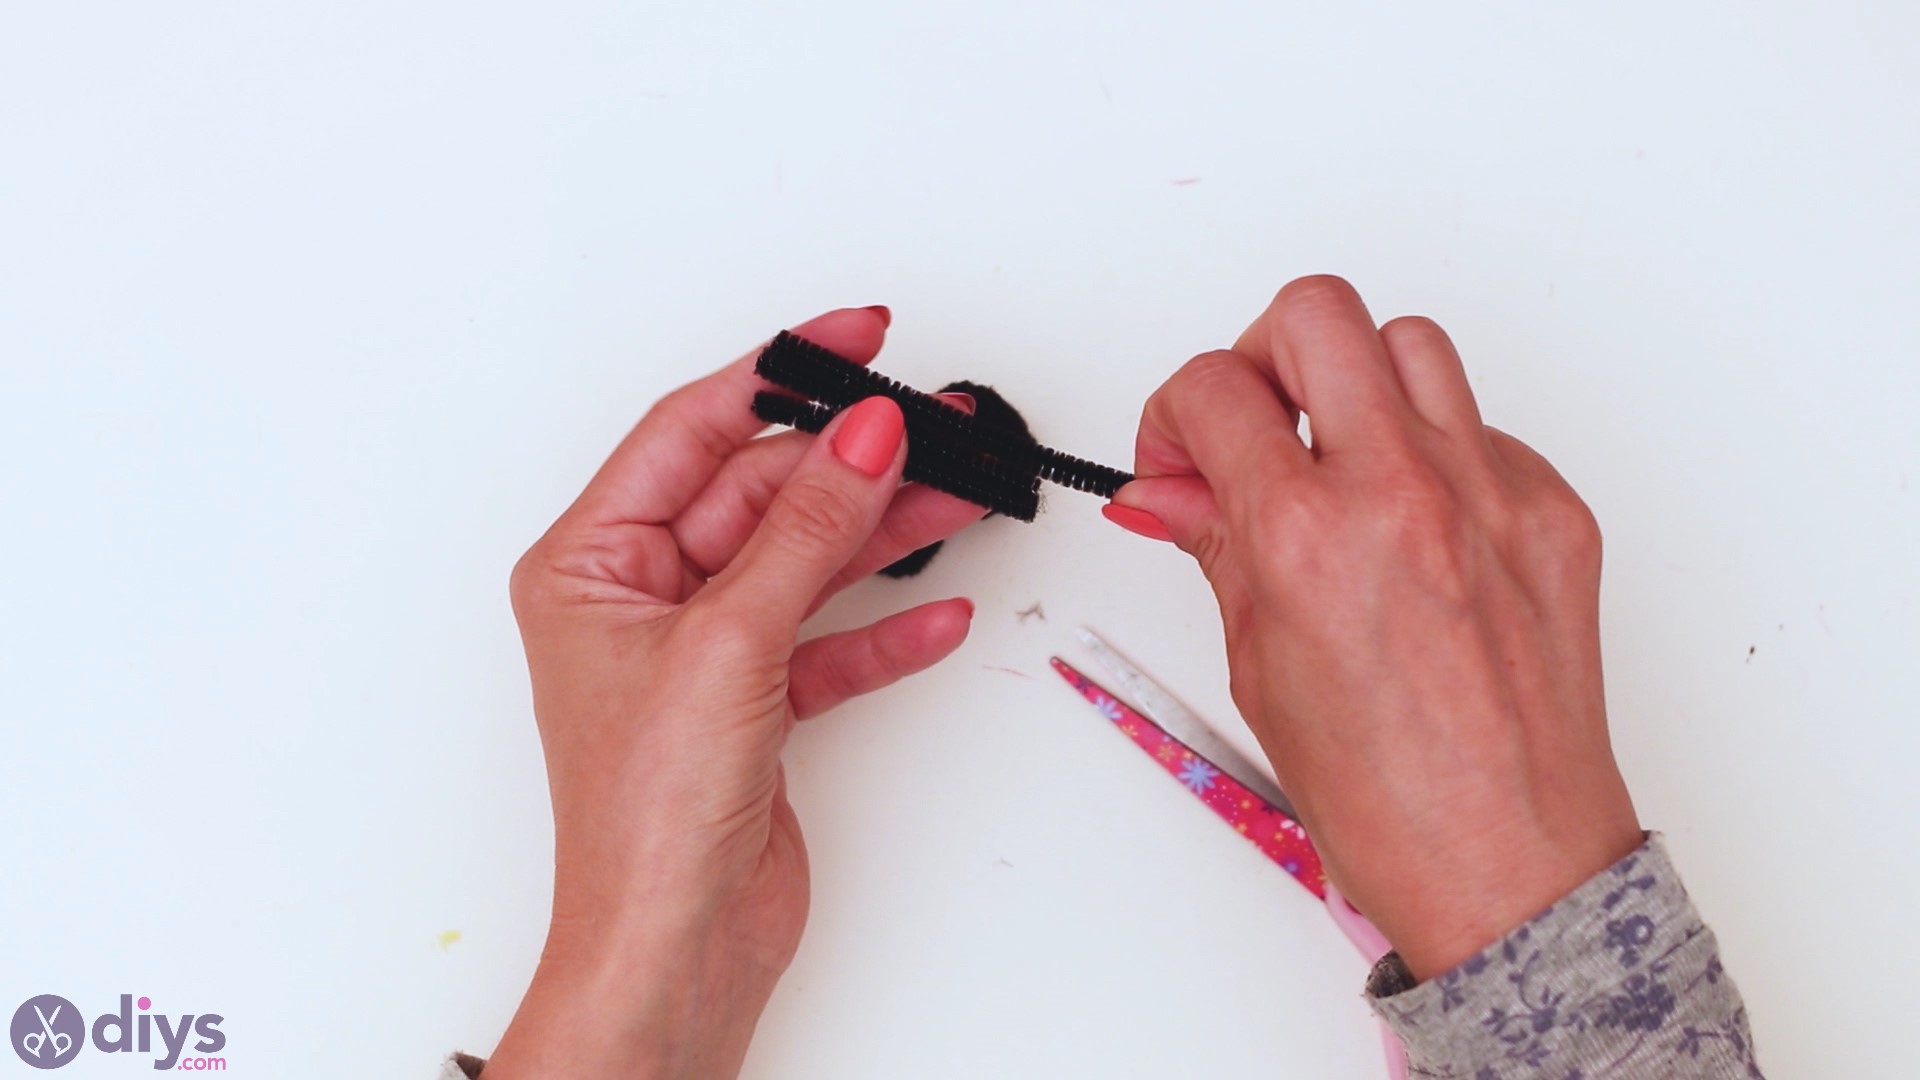
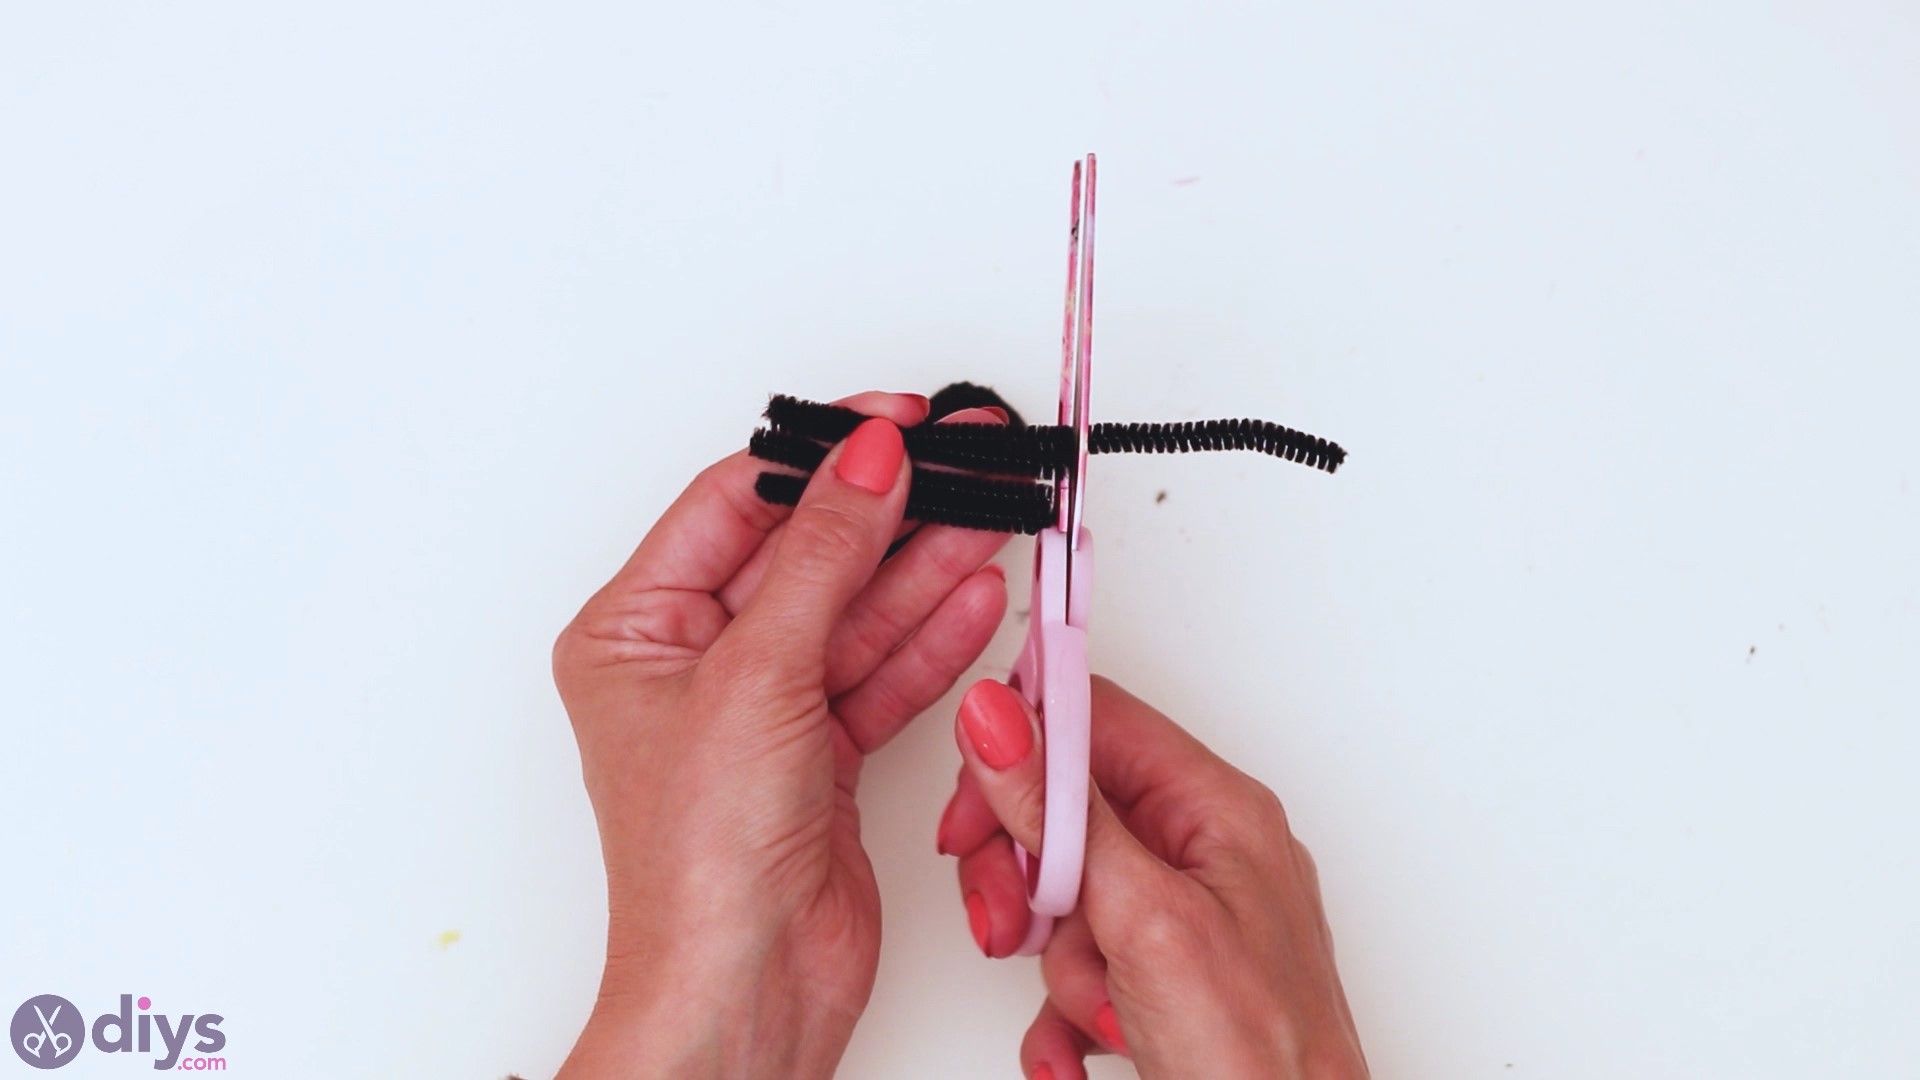
Step 2: Create the Spider Legs
Mr. Spidey is upwardly adjacent on our list! You're going to want to take the blackness piping cleaner and the pair of scissors. You'll want to cutting the piping cleaner into every bit sized pieces. Nosotros chose to brand them most 2 inches long.
Step 3: Create the Spider Head
Now that we accept all the wiry legs washed, it'southward time to create a head for our footling spider. For this, y'all'll need the smaller pompon and the googly optics, as well equally the mucilage fun.
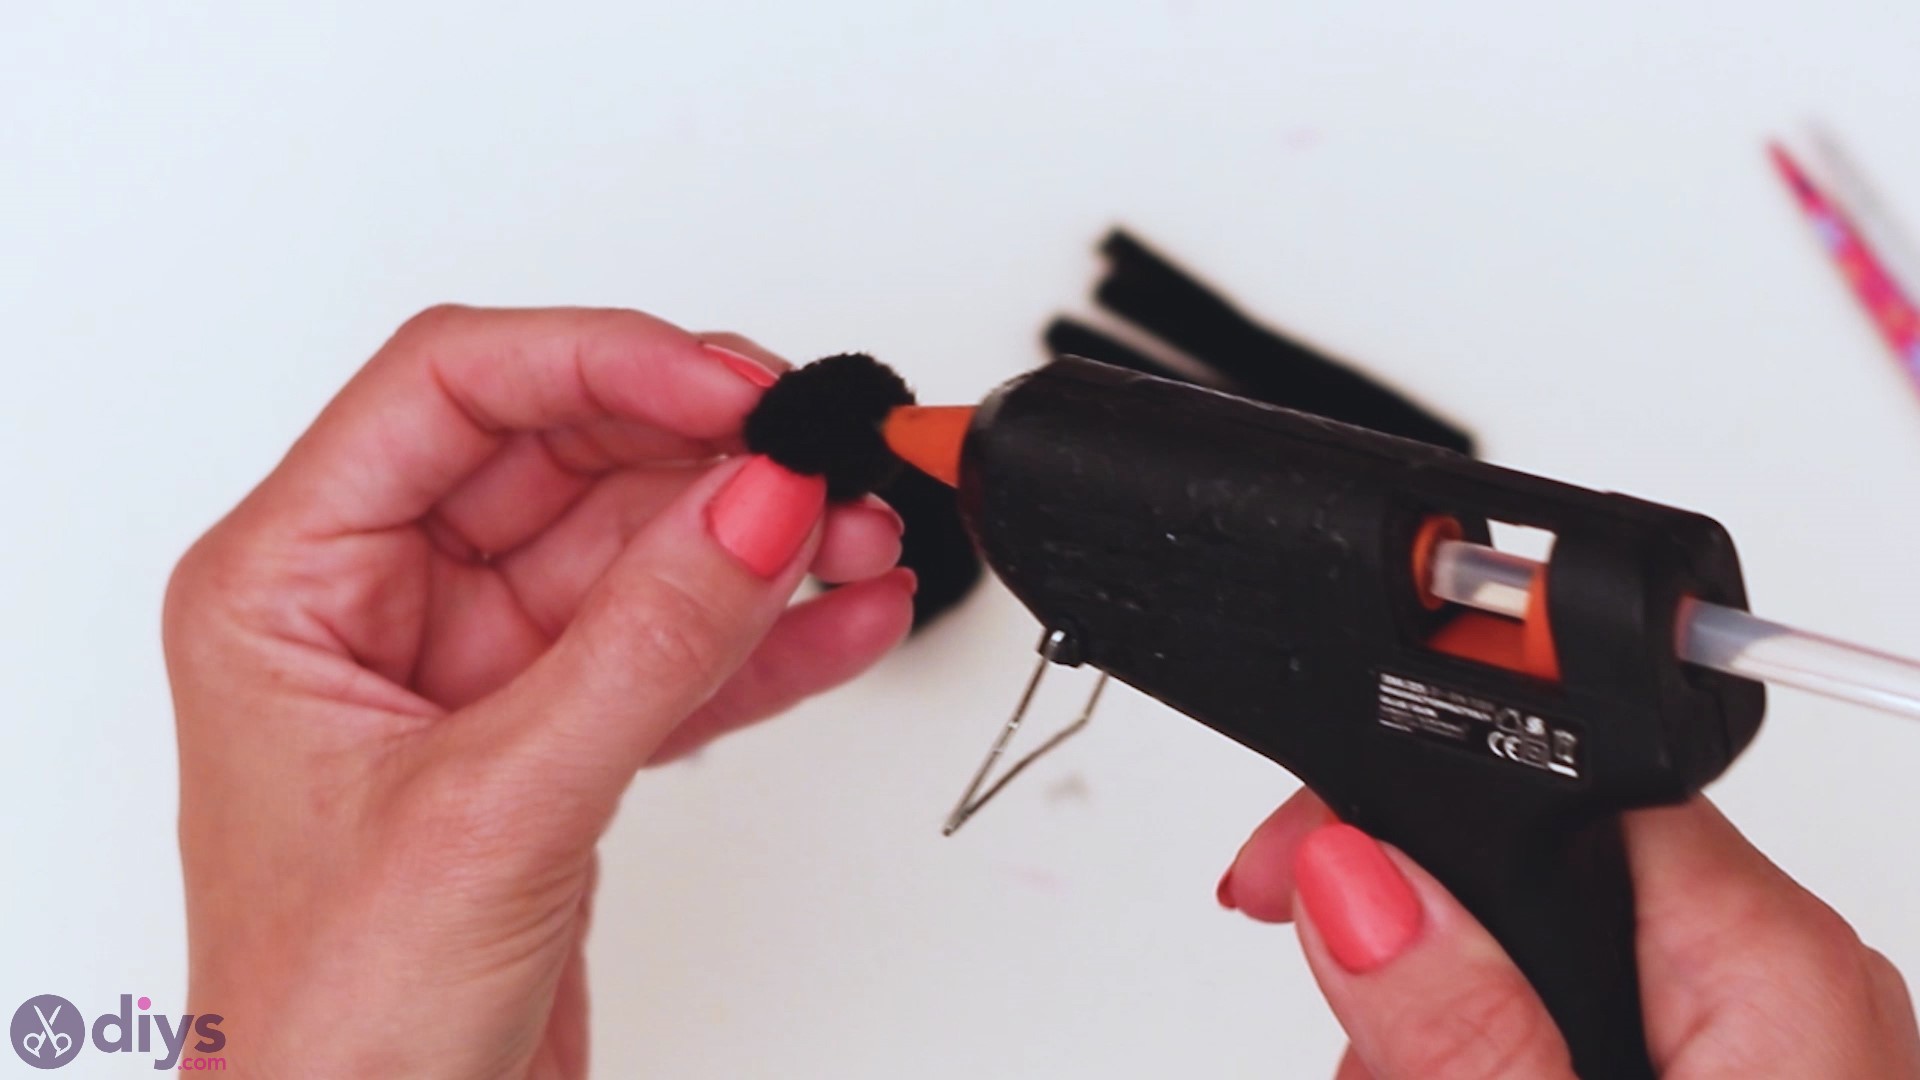
Make sure to add together just a tiny bit of hot glue to the pompon and so you can stick the googly eyes on it.
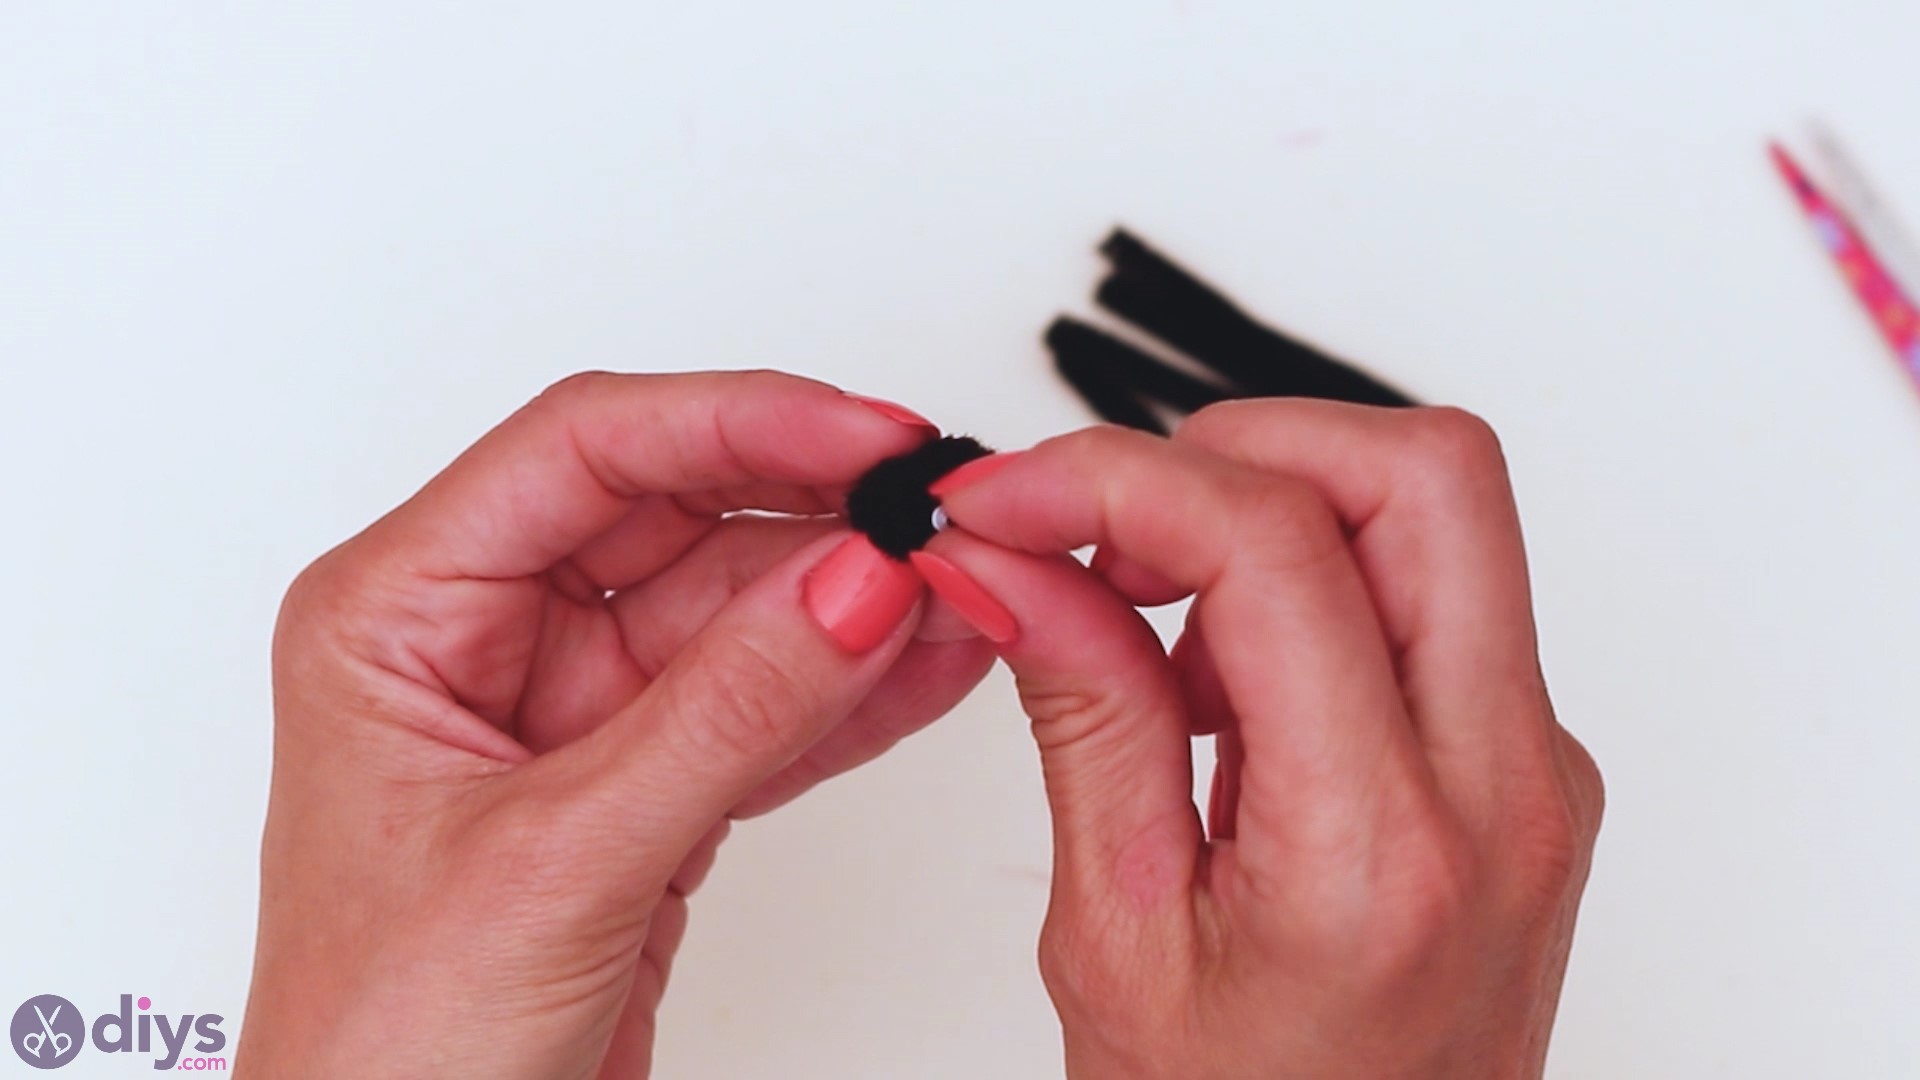
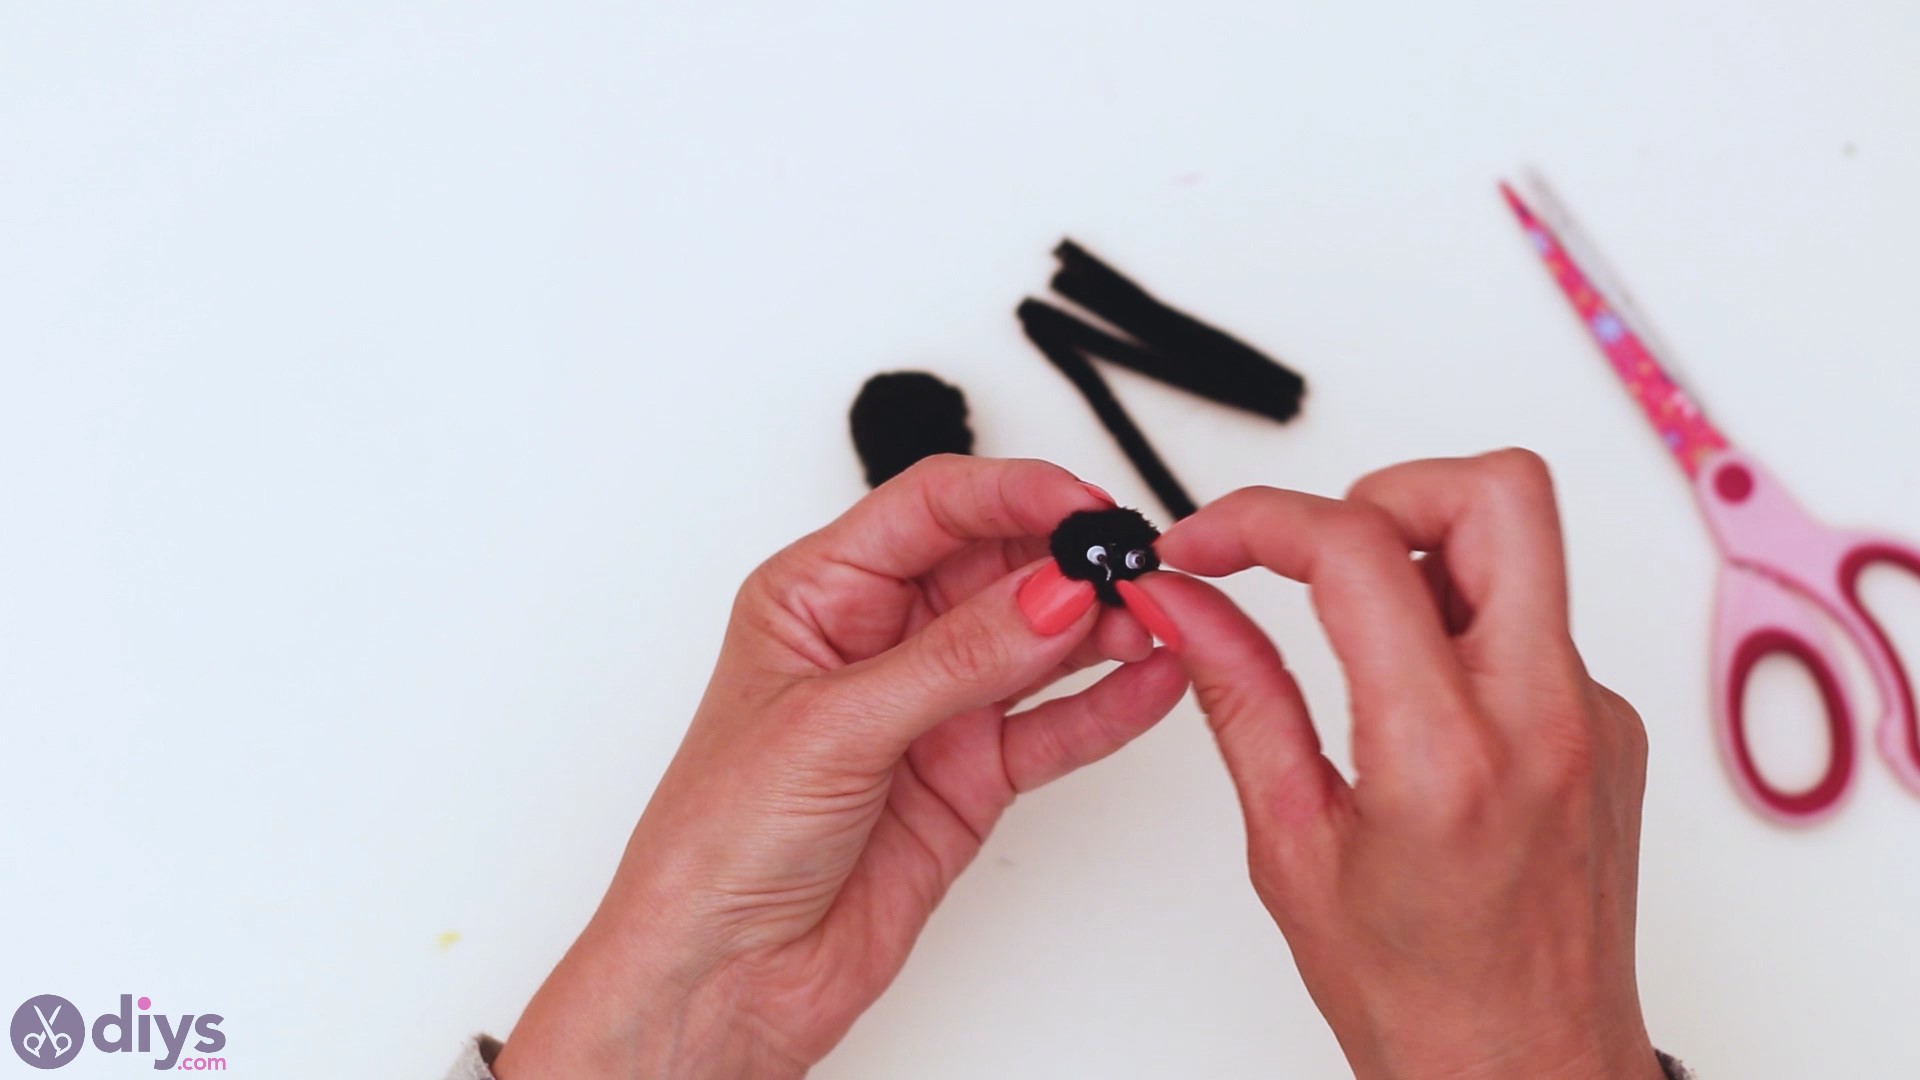
Once you place the googly middle, make sure to hold it pressed for a few seconds, so the glue solidifies. Wait how cute it is!
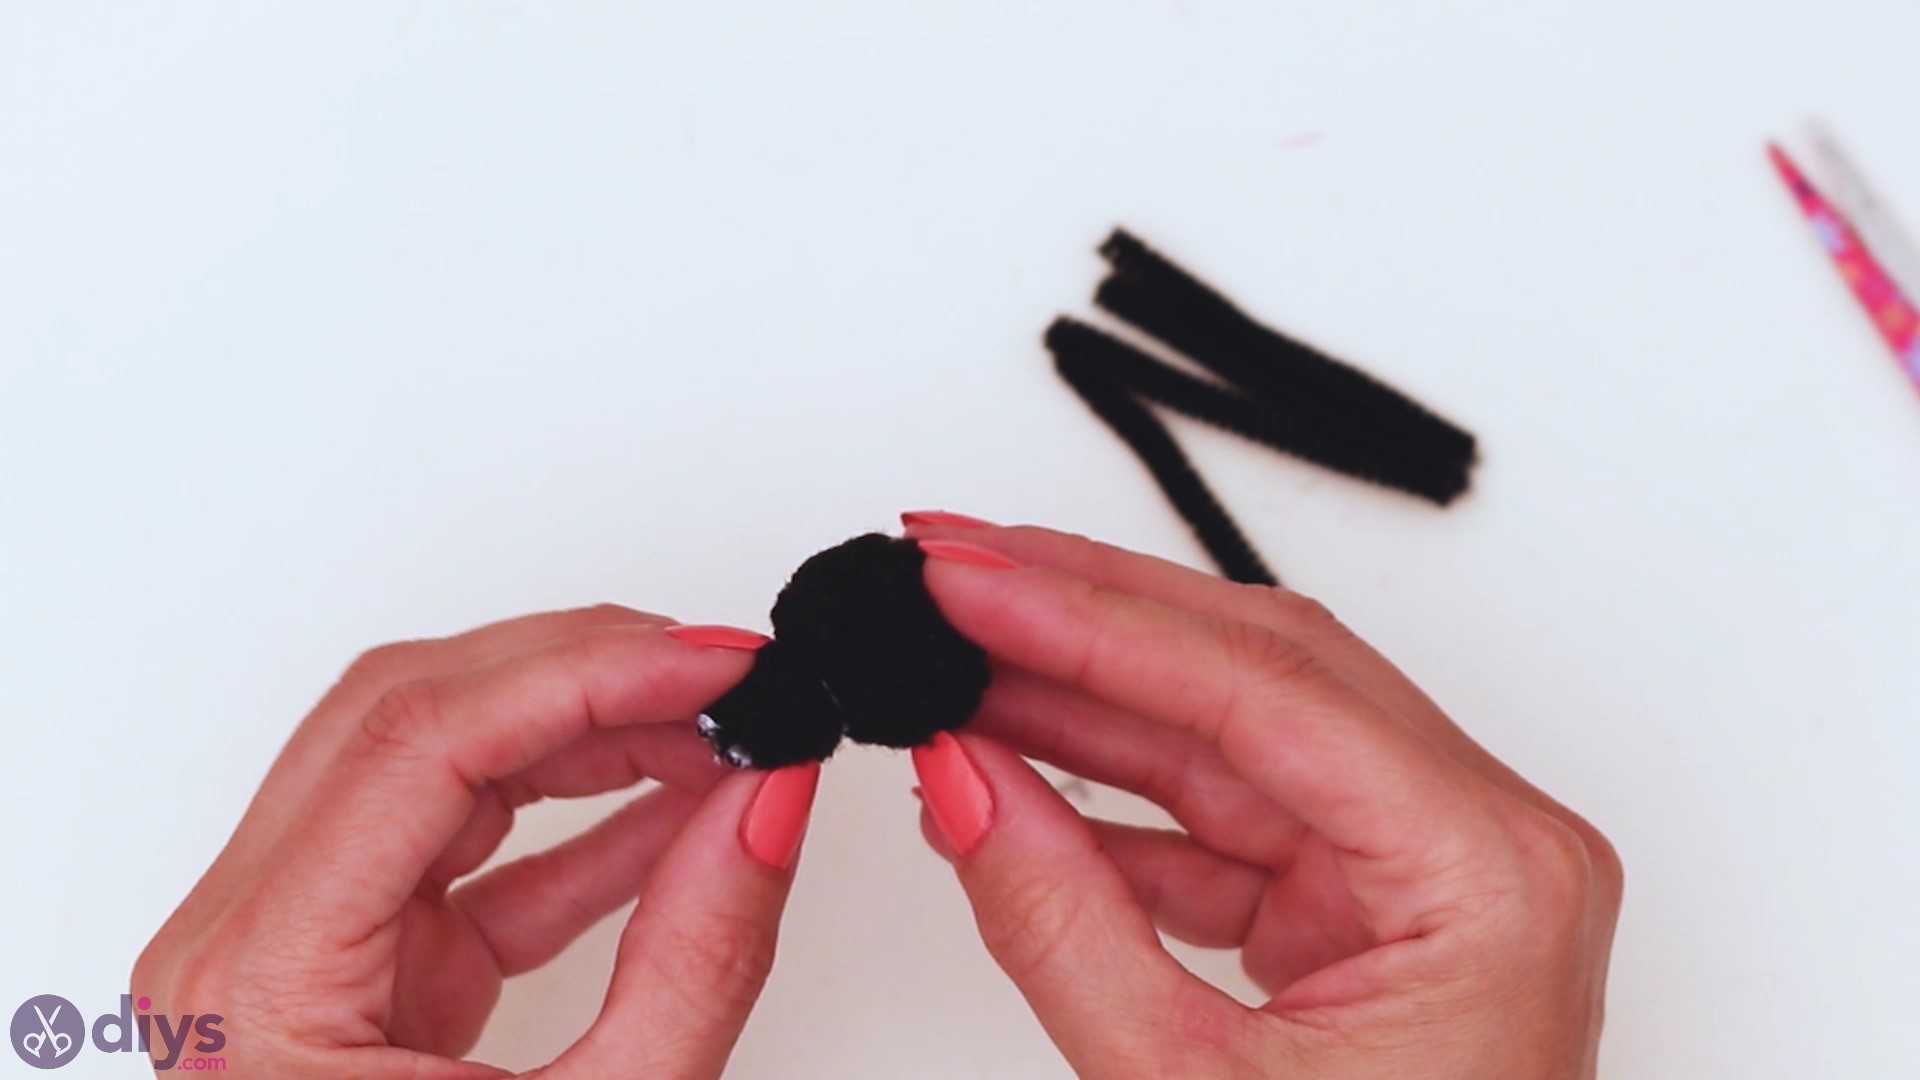
Step iv: Create the Body of the Spider
Now that we accept a super cute spider caput, nosotros tin create the body! You'll need the newly created spider head, the bigger pompon, and the glue gun!
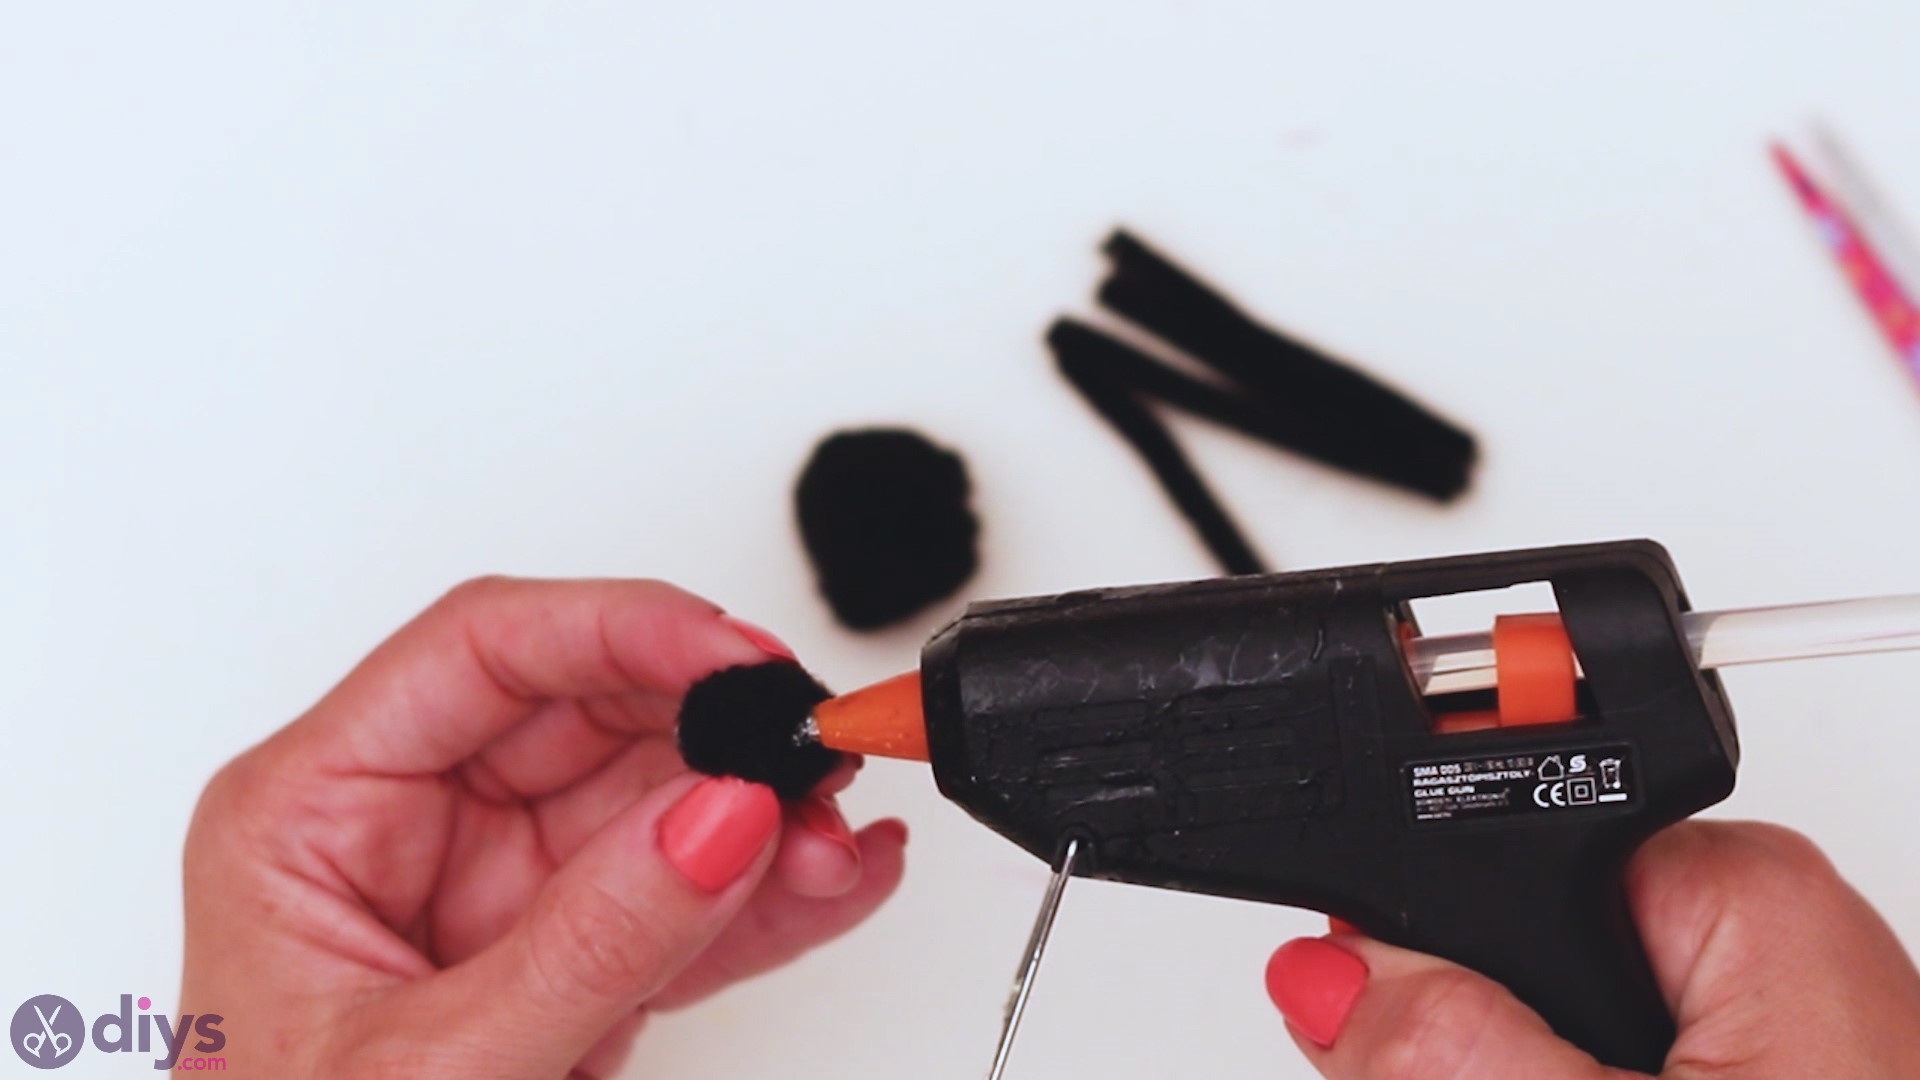
Put some hot glue on the small pompon, opposite to the optics, every bit yous'll want to connect information technology to the body. Then, grab the larger pompon and press the 2 together.
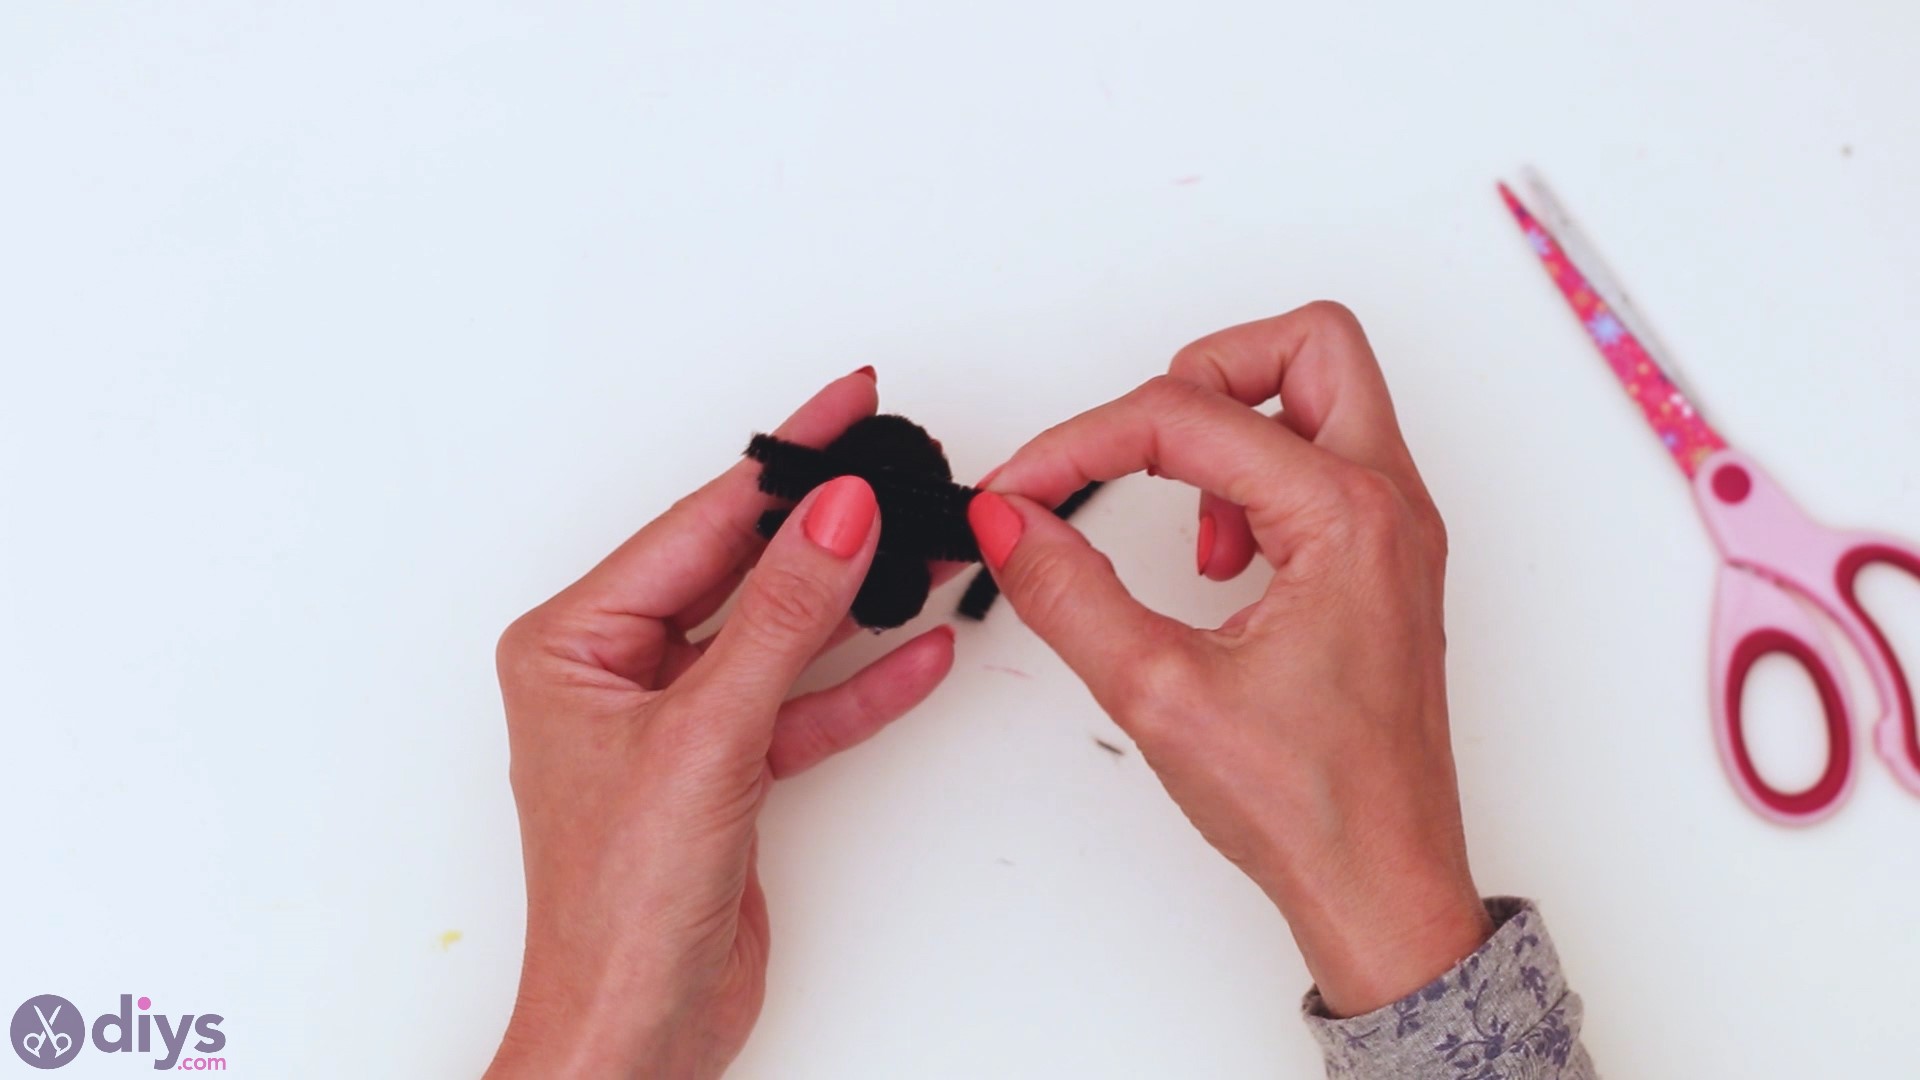
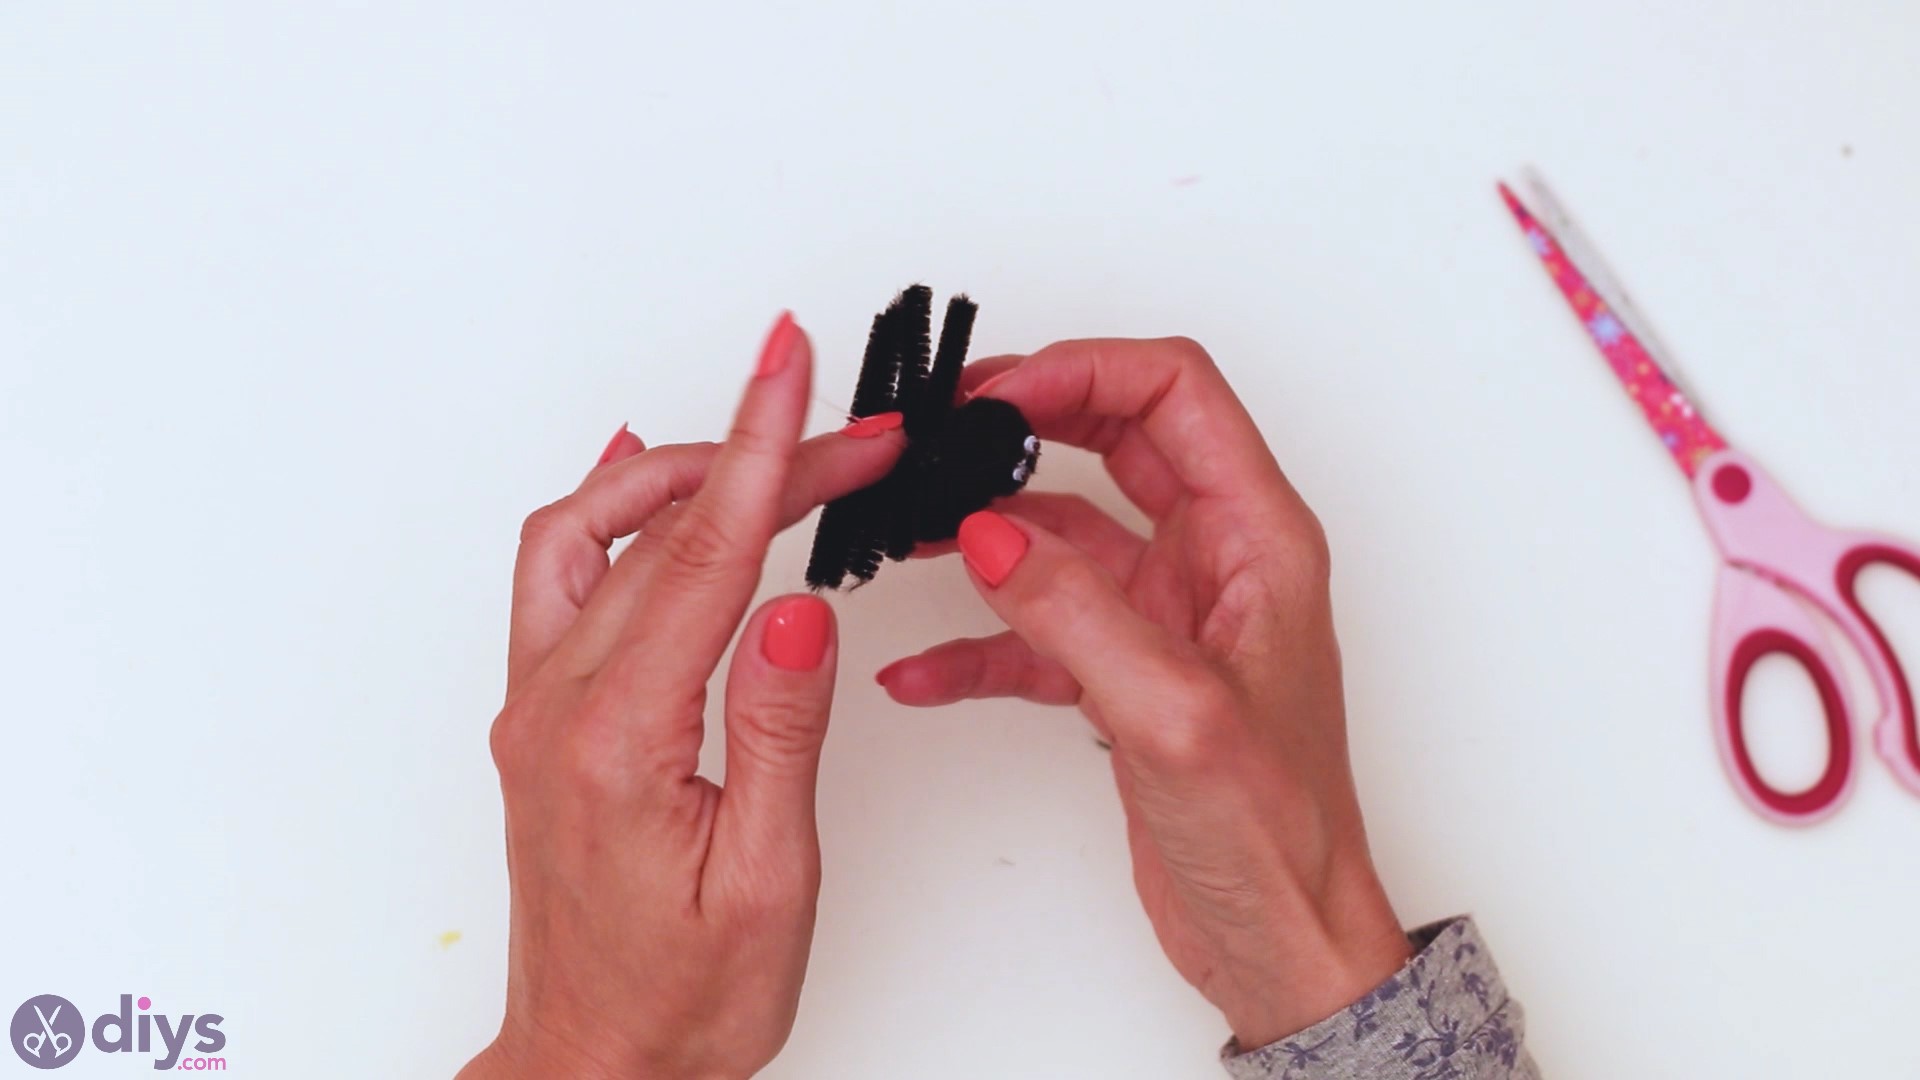
One time you've made sure the two sides are glued together, we can add the legs! So, turn the spider abdomen up!
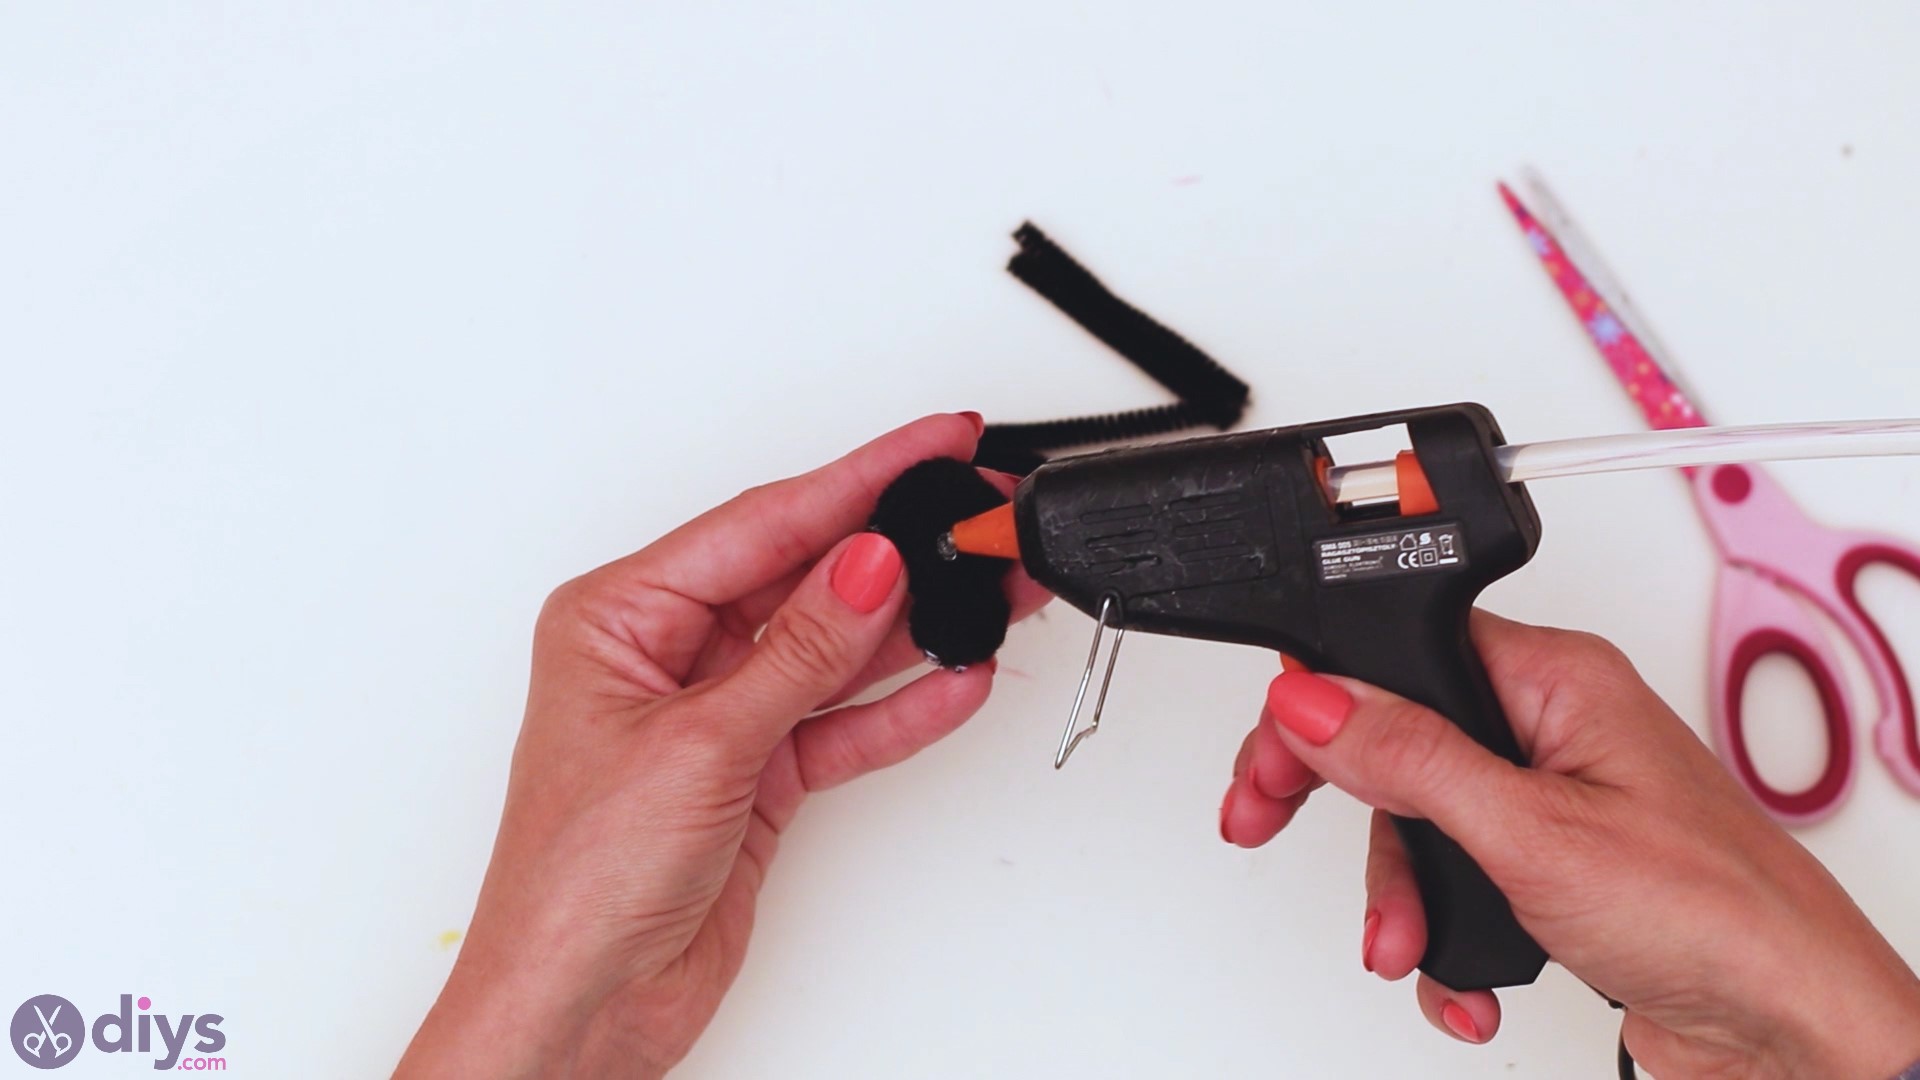
You'll want to add a adept-sized glob of hot glue to the belly of the beast and then pick the pipe cleaner pieces. Add them i by ane, making certain to glue them downward perfectly.
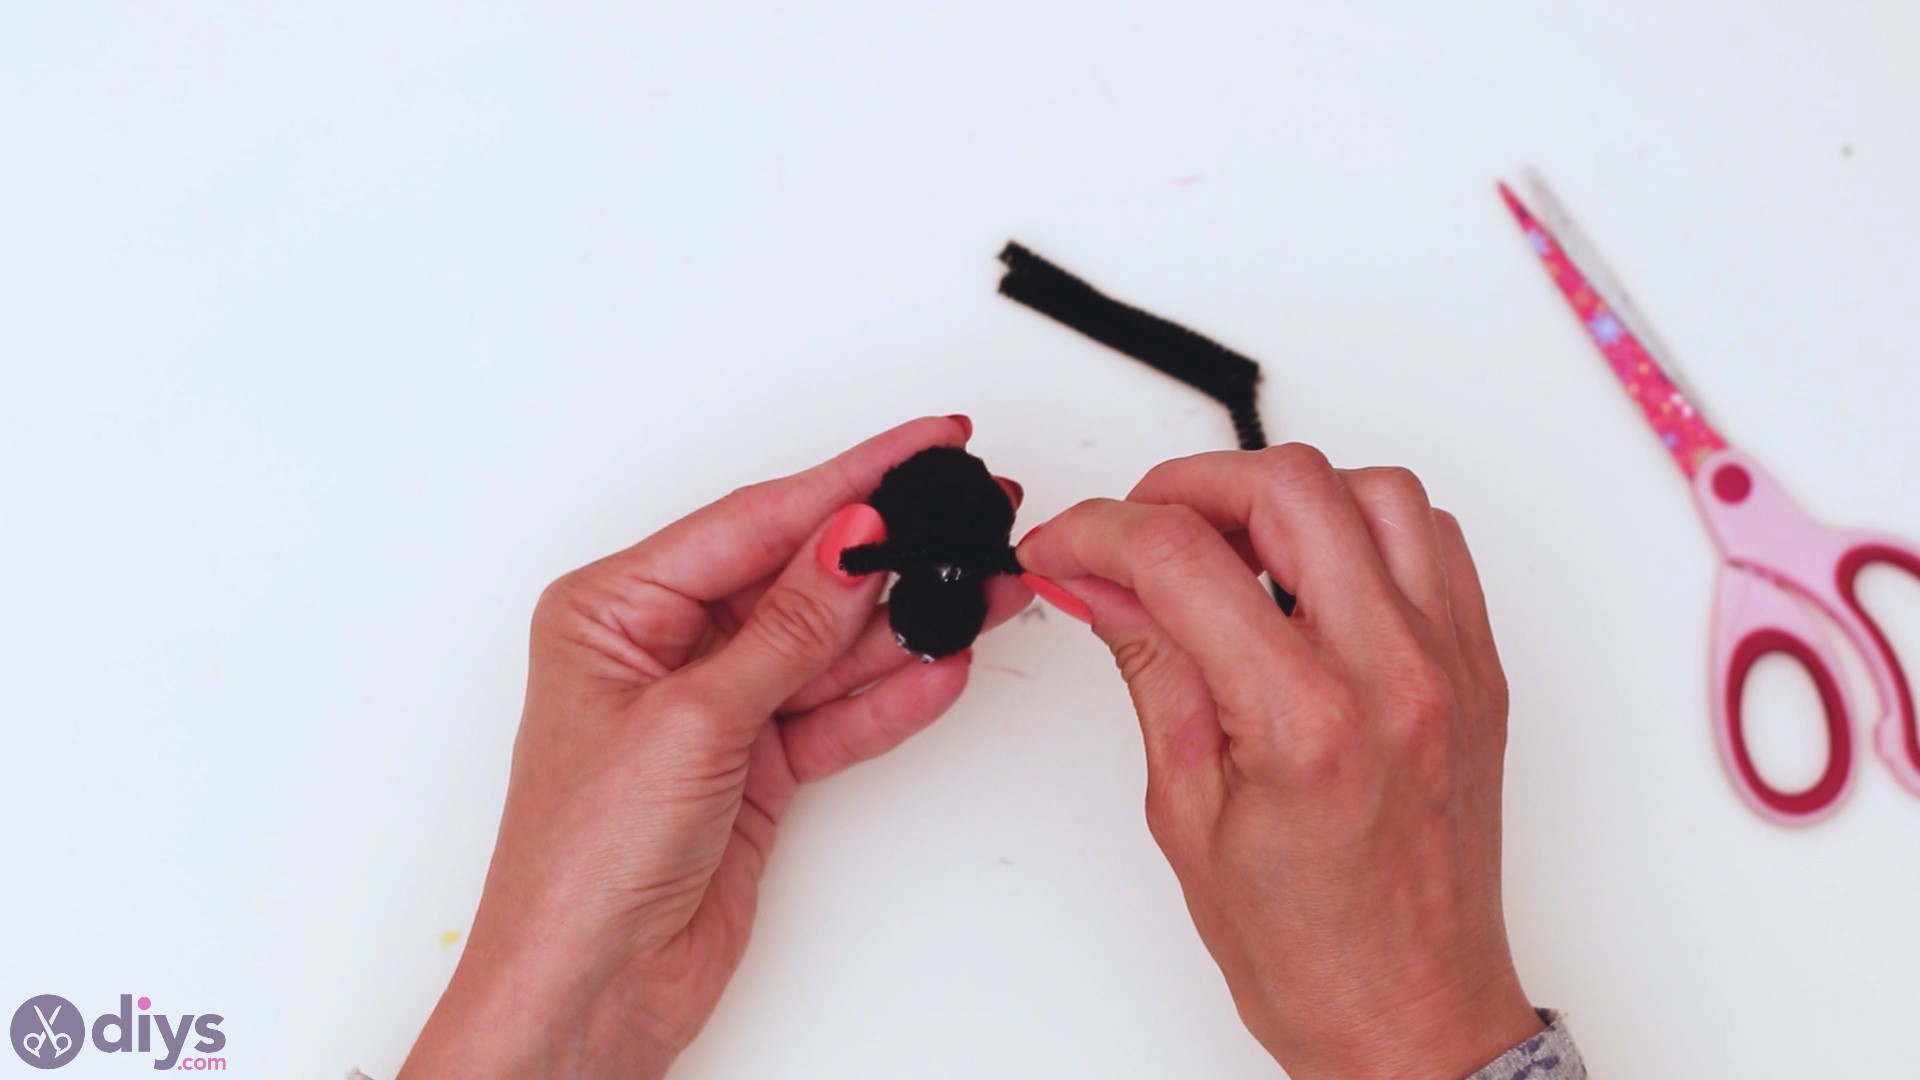
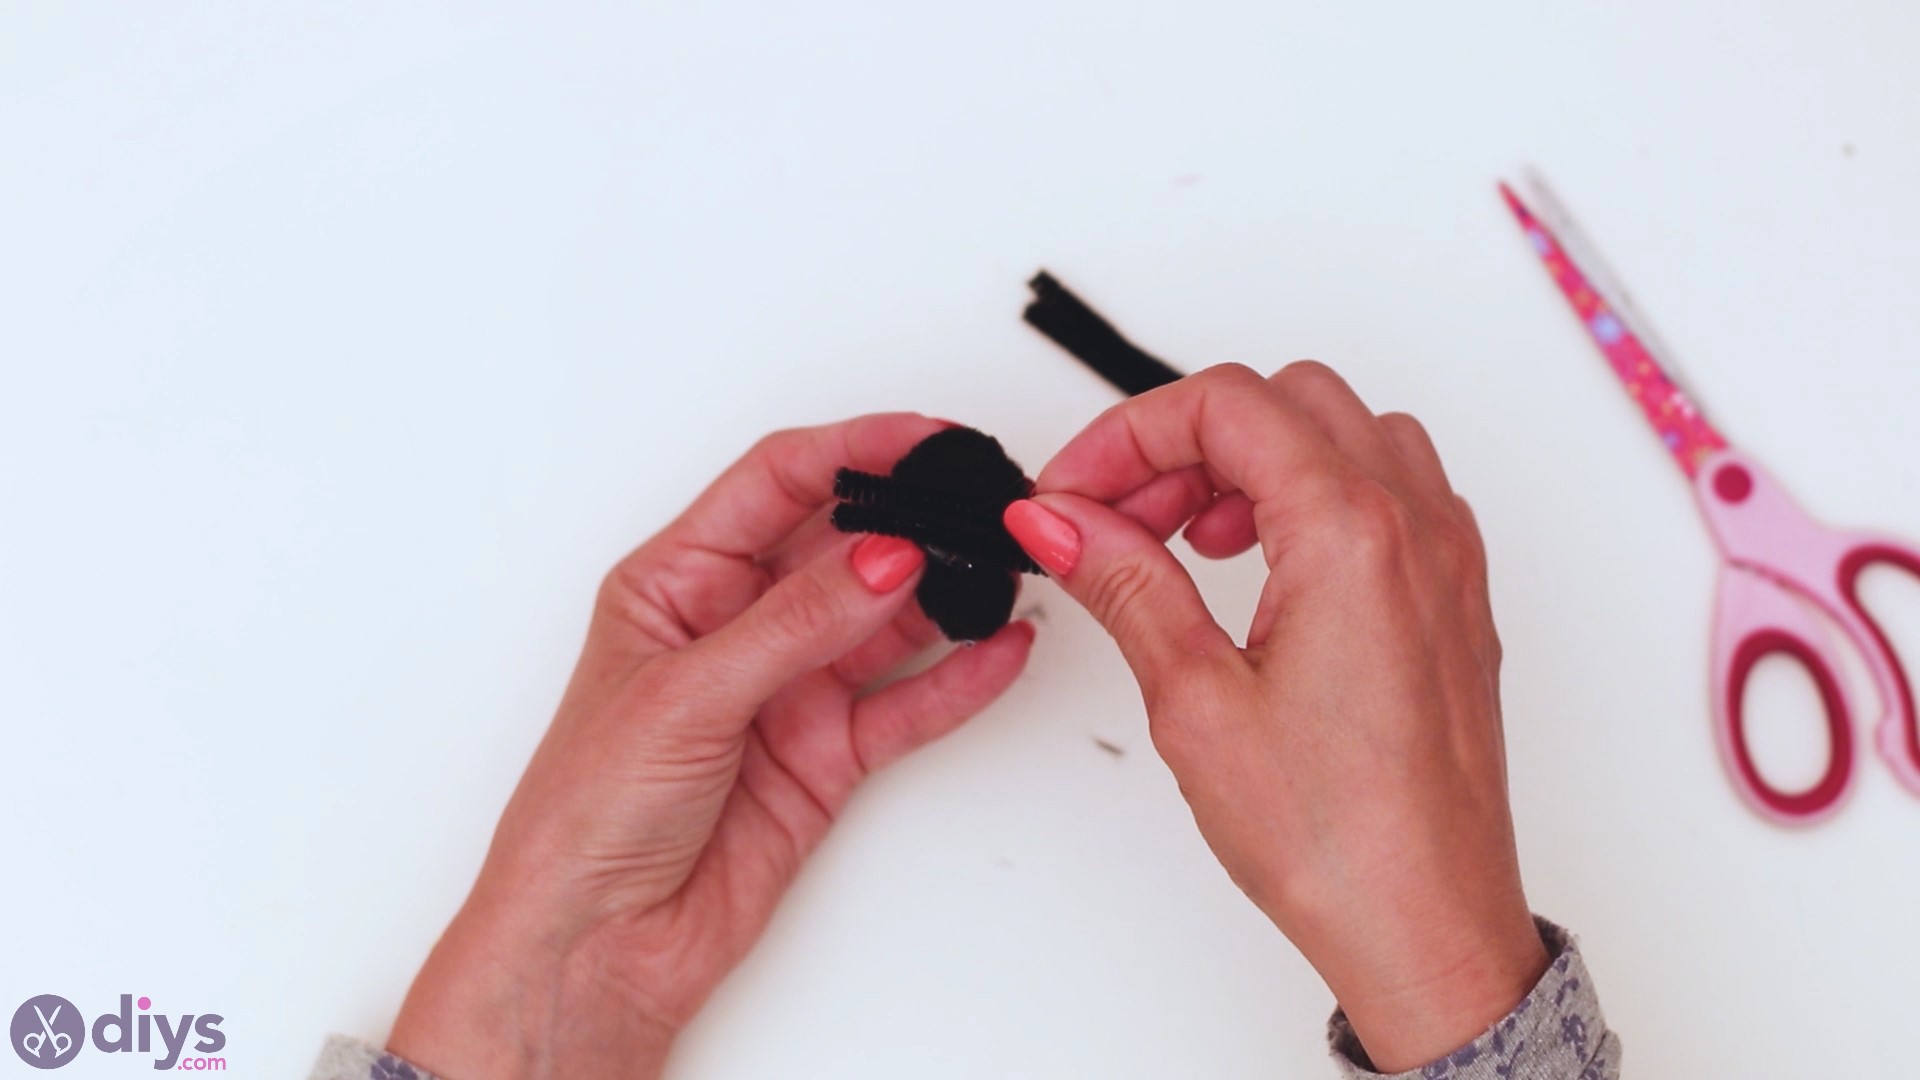
Make sure to printing the pipe cleaner pieces for a few seconds until the mucilage solidifies.
Stride 5: Let'south Prepare the Frame
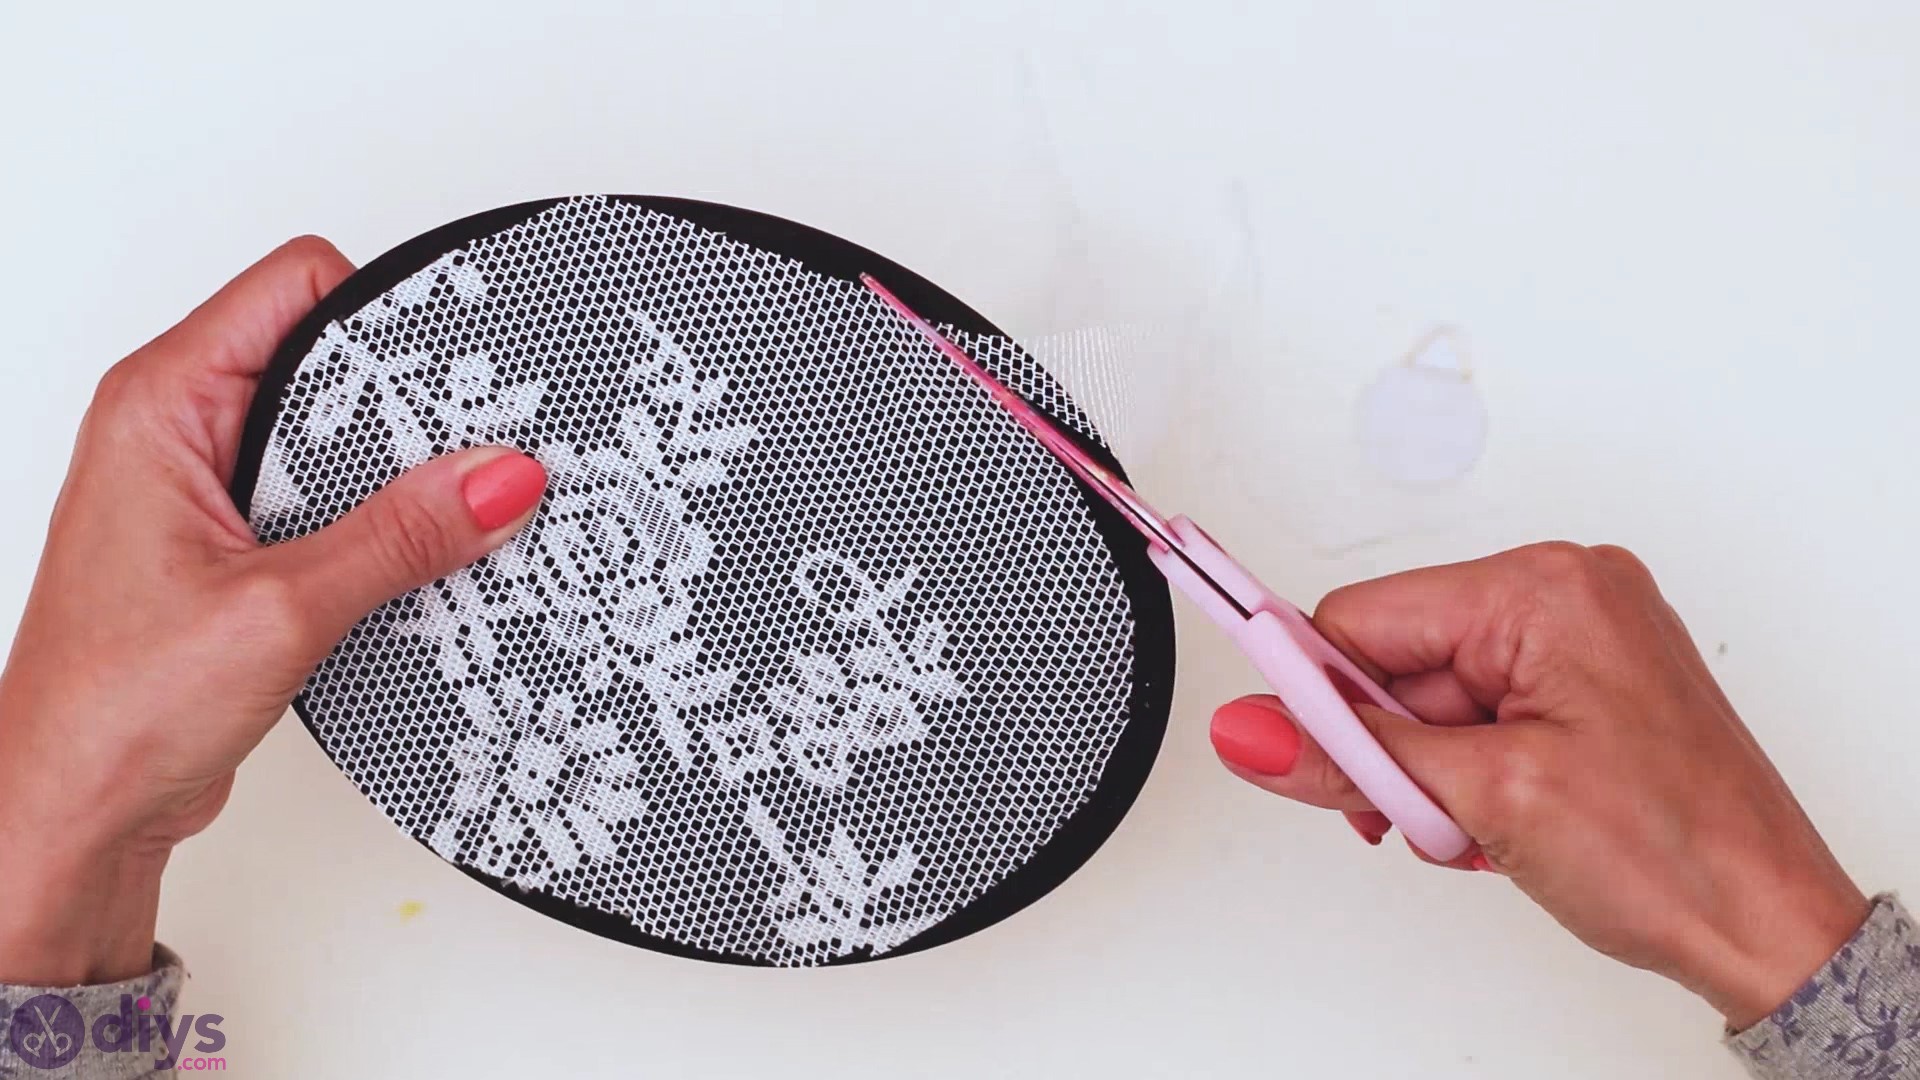
Now that our decor spider is done permit's prepare the frame. The black paint should be dry out by now, so grab the back of the frame and the piece of lace.
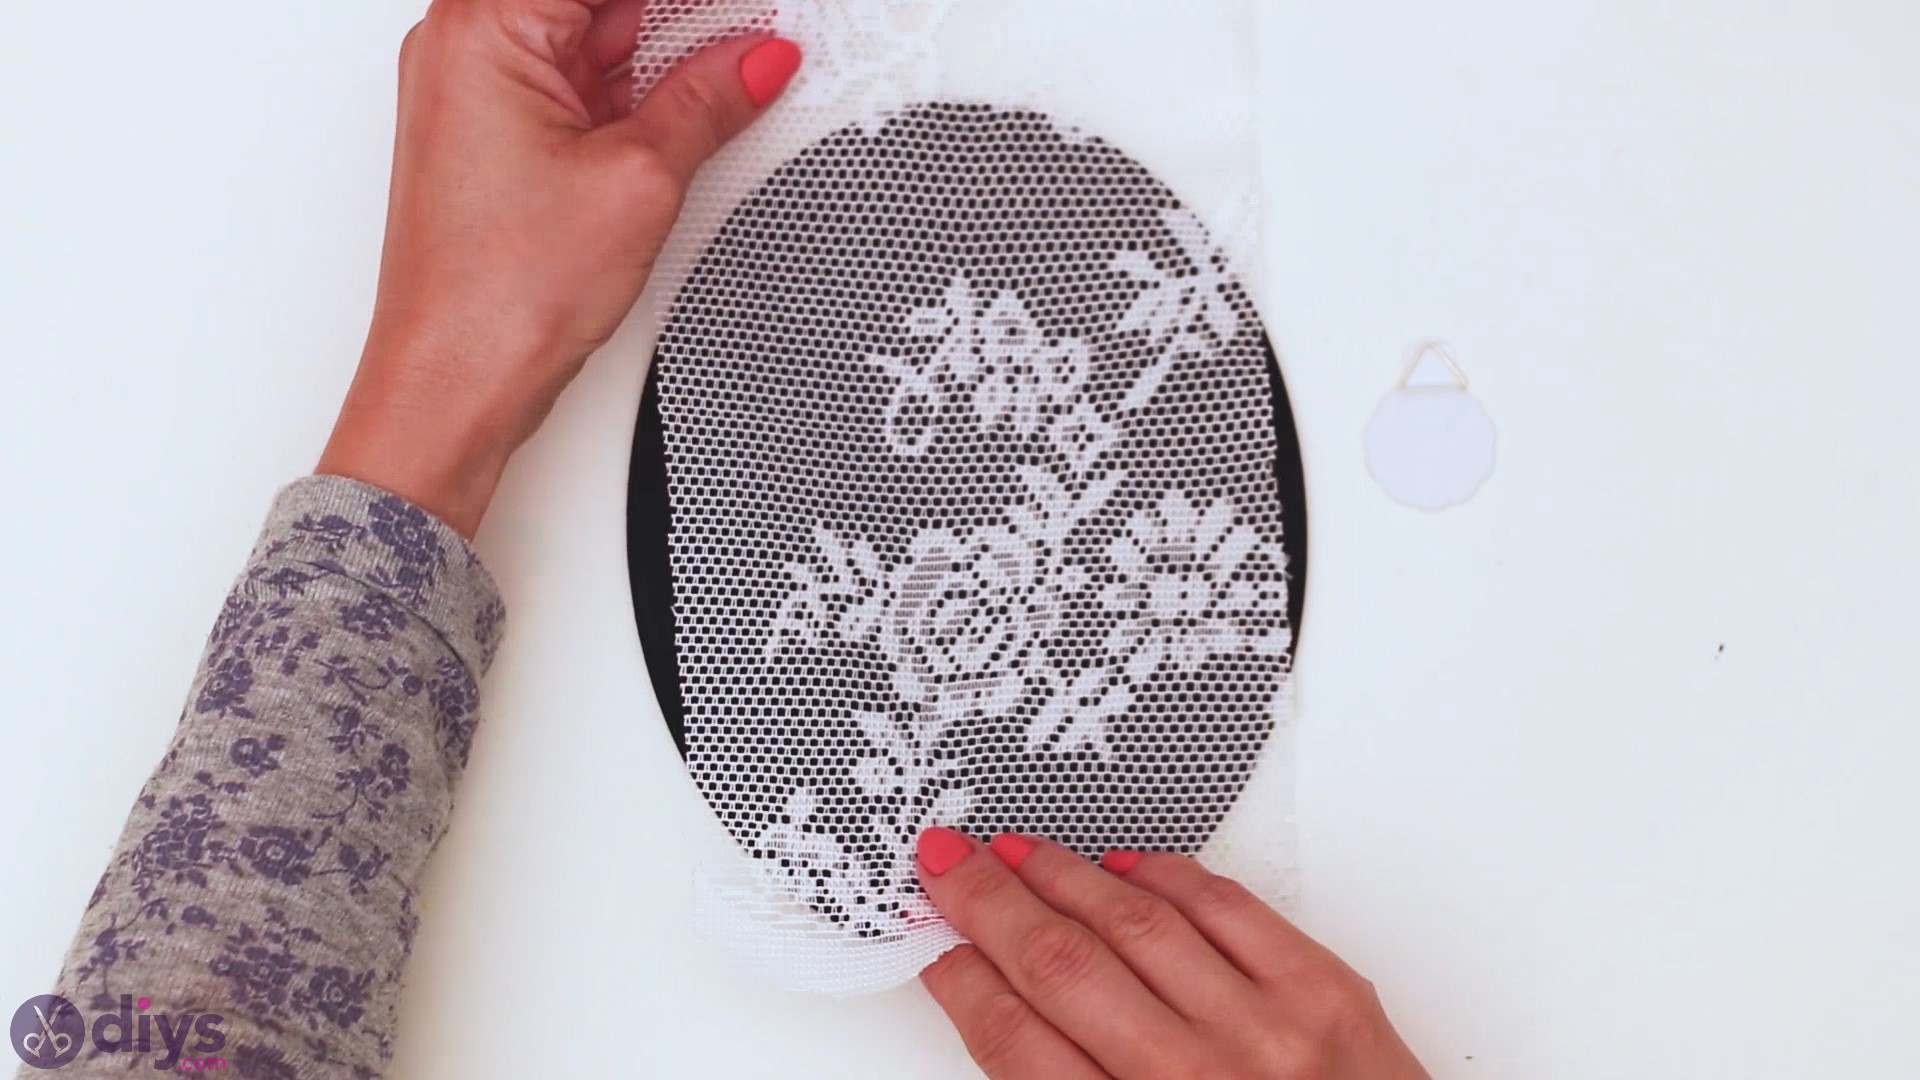
Arrange the lace over the frame and utilise the scissors to trim the material.
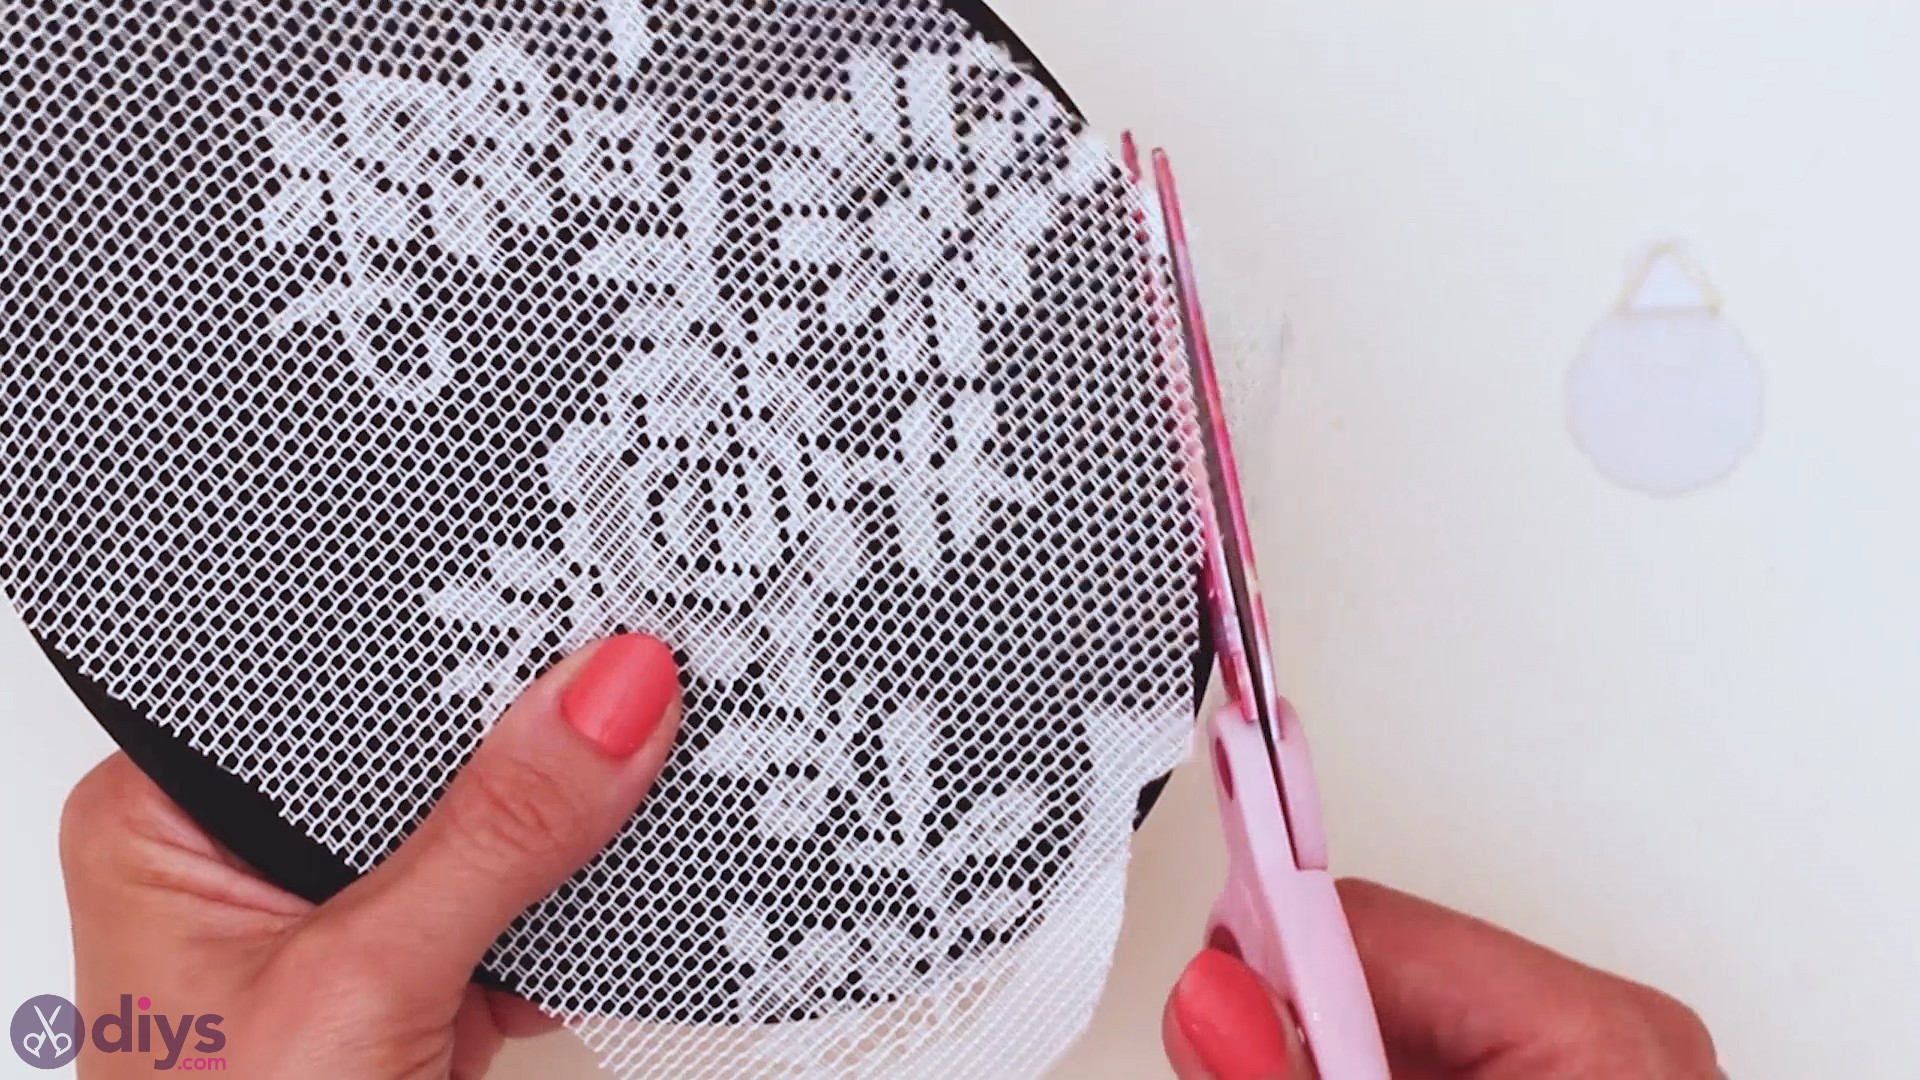
The lace needs to exist about the same size as the frame, just information technology doesn't have to reach the sides. When you'll add together the height of the frame, information technology will cover the edges anyhow.
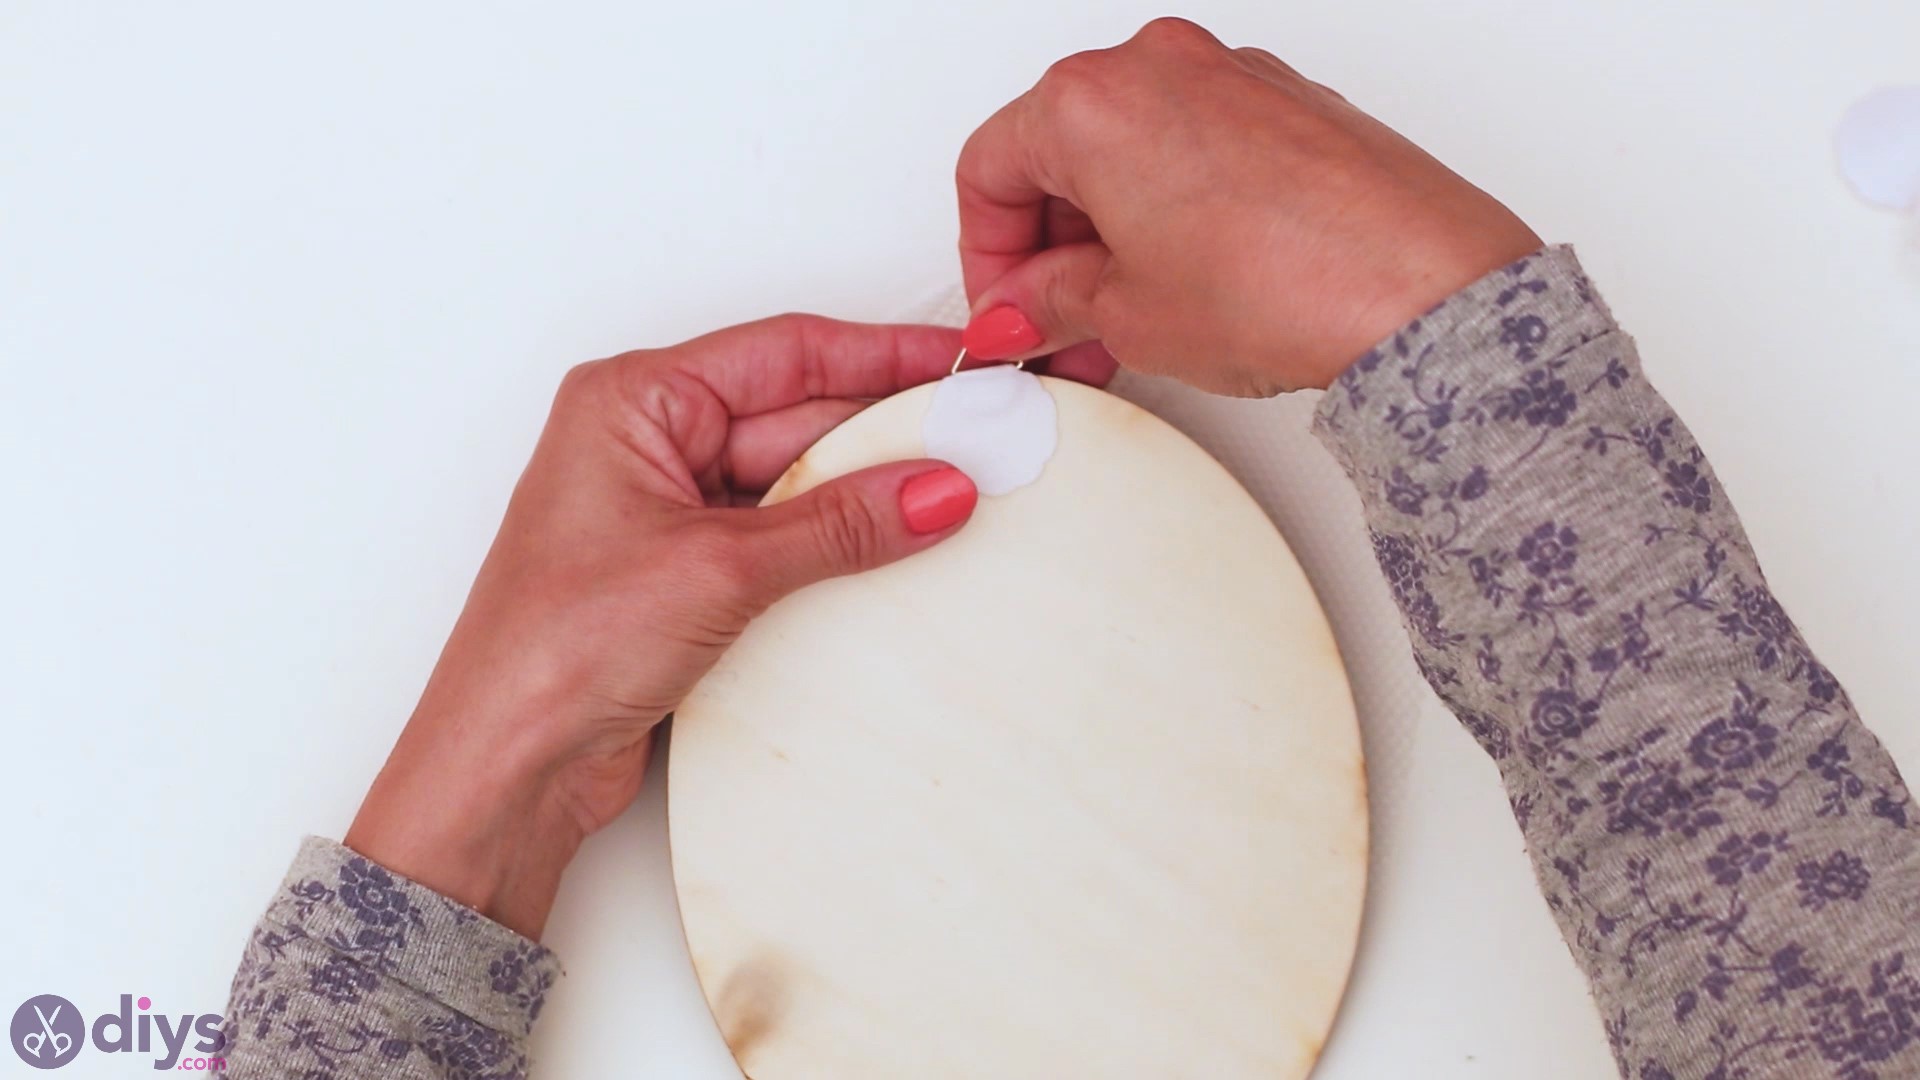
Earlier y'all glue anything else on there, brand sure to add the viscid hanger to the dorsum of the frame. If y'all don't practice it at present, you could finish up squishing the decor afterward on.
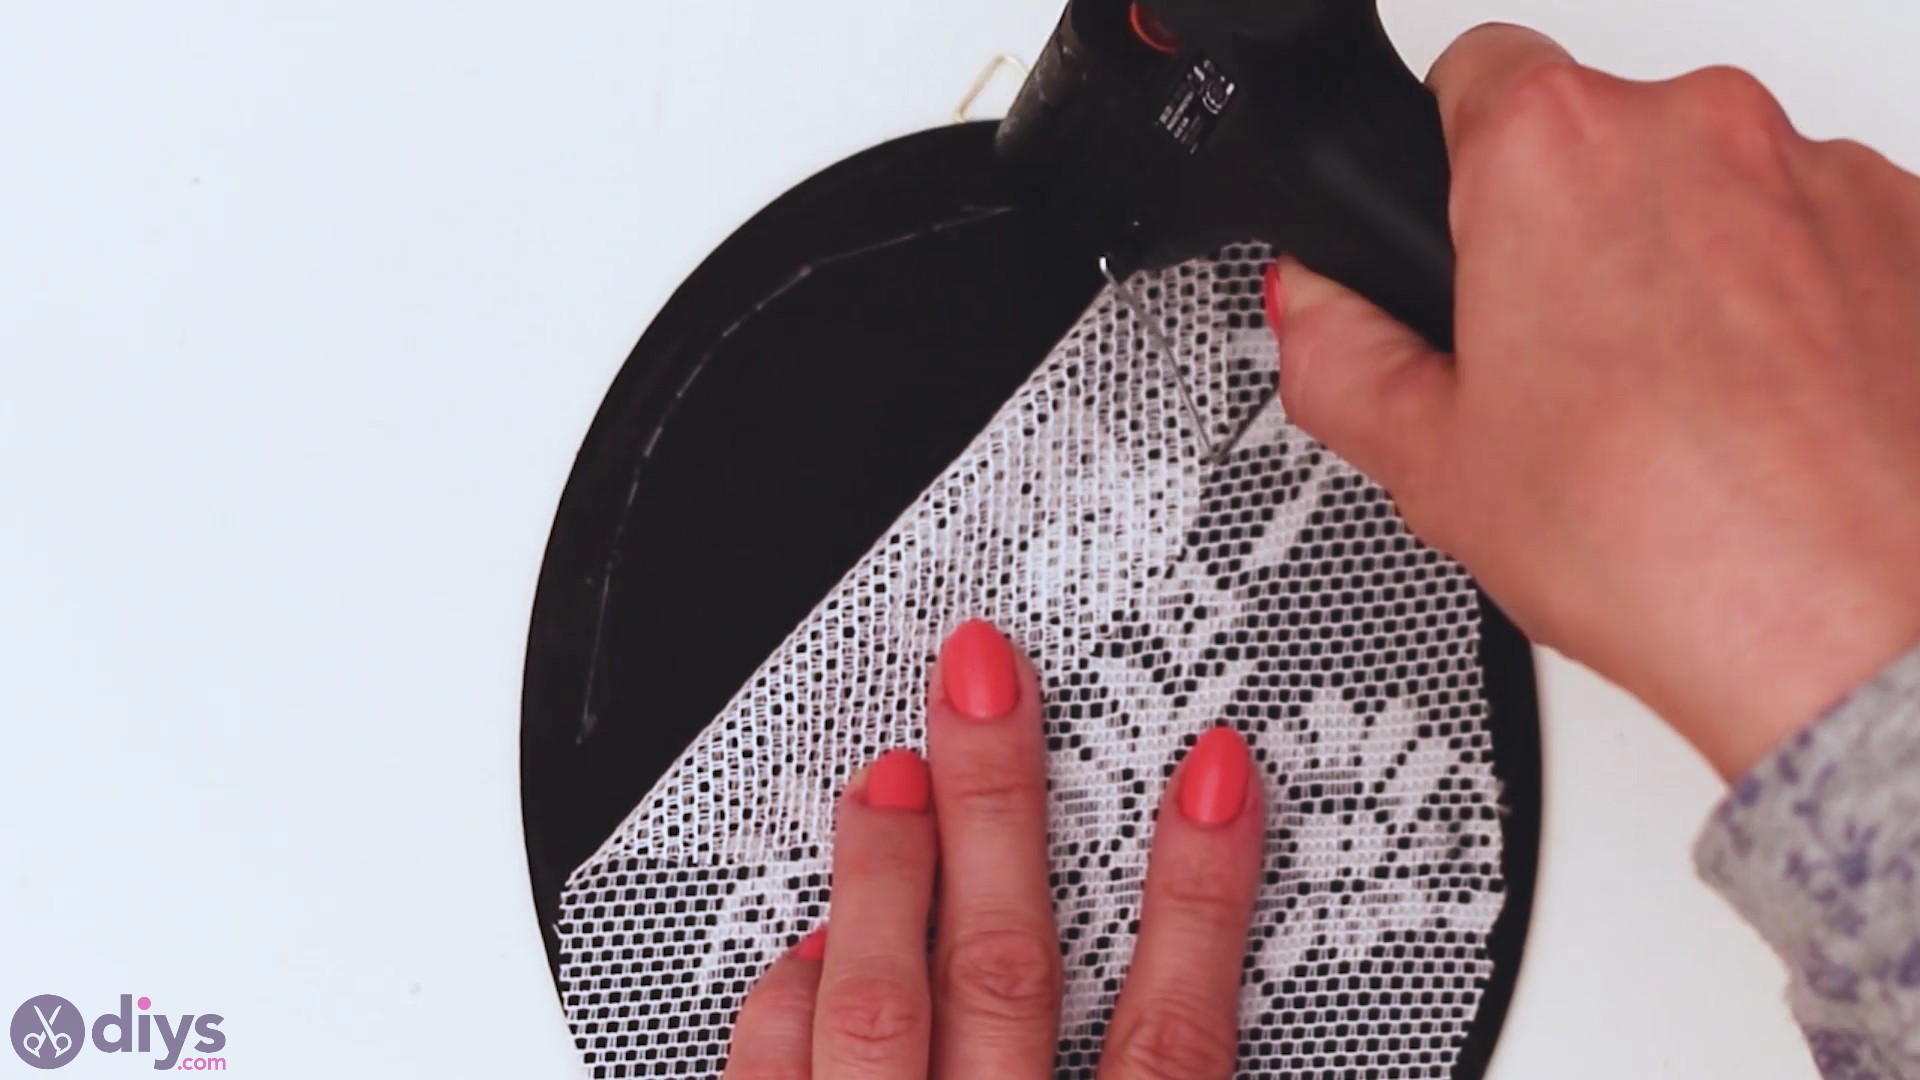
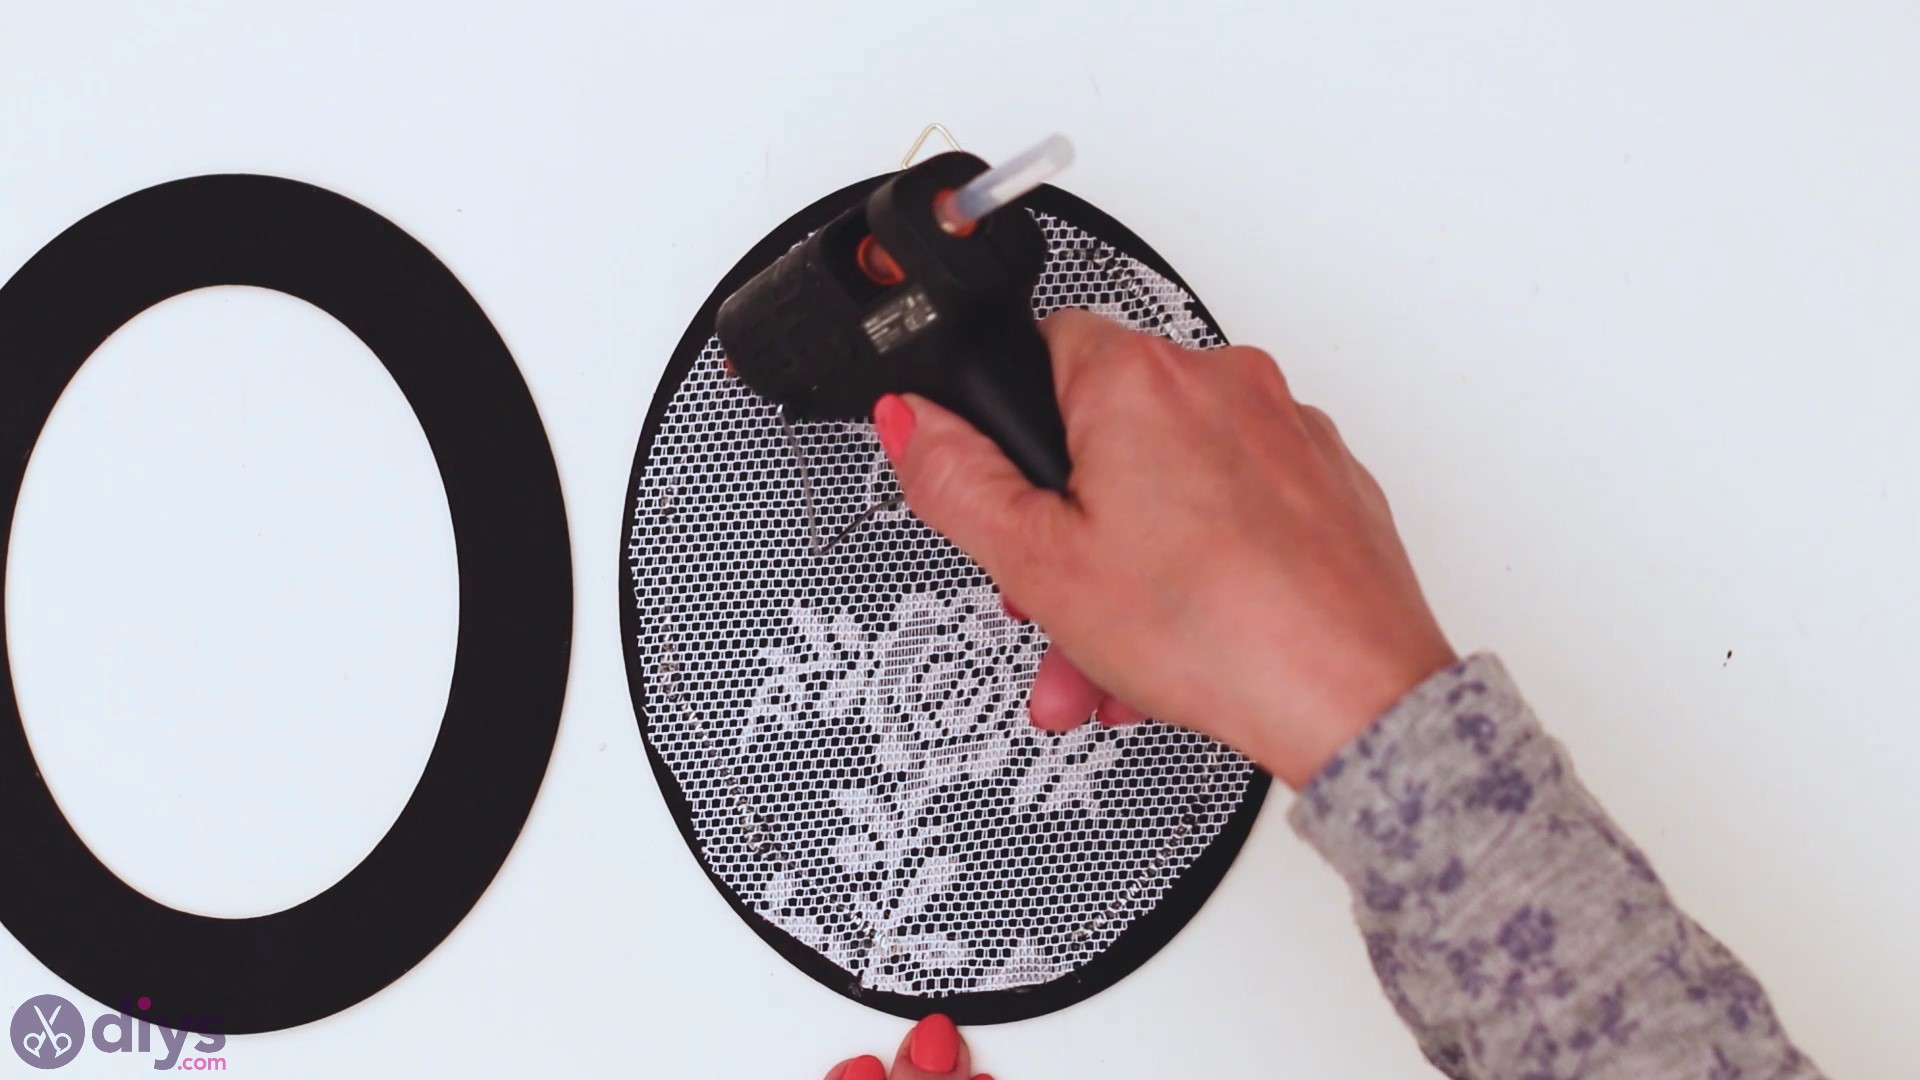
Now that that'southward washed let'south mucilage the lace. Brand sure the material is in the spot y'all want it to exist, and and then get the glue gun. Get-go laying downwards hot glue on the frame and pressing the material into the glue.
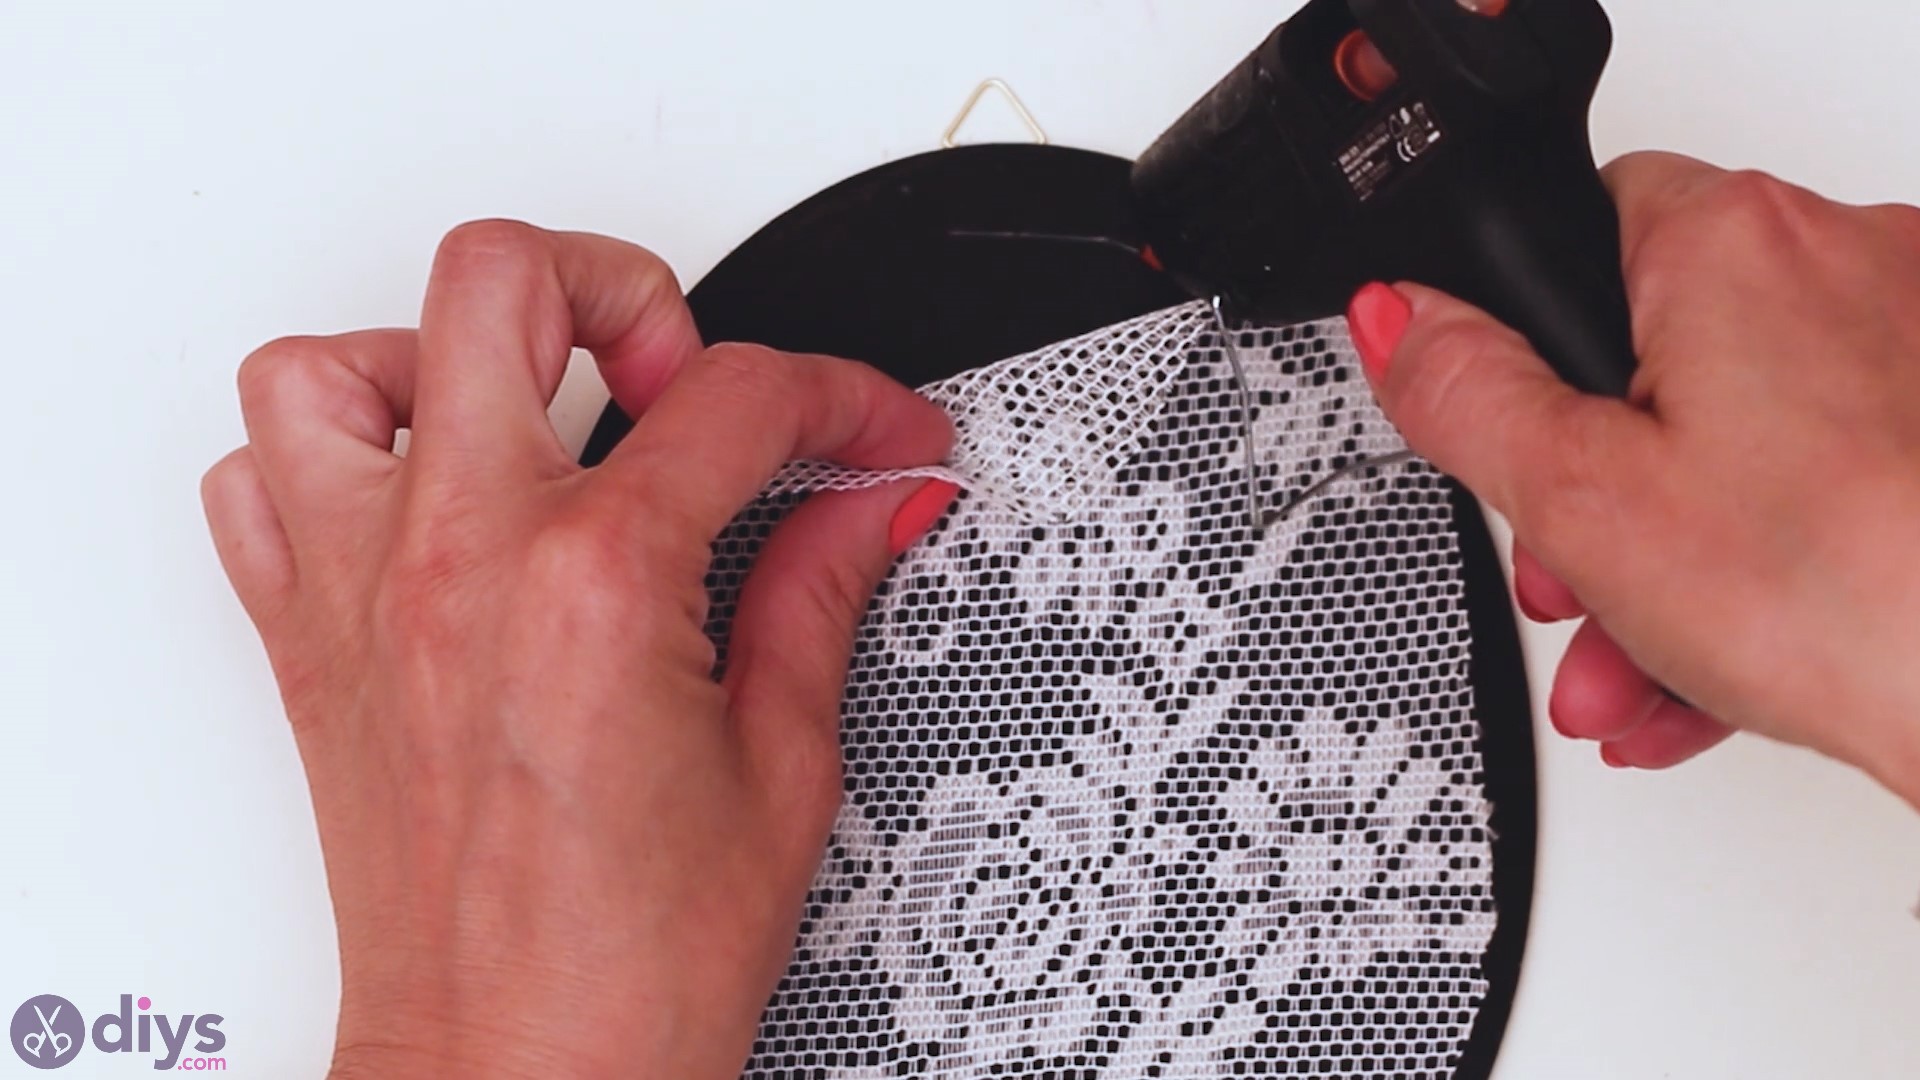
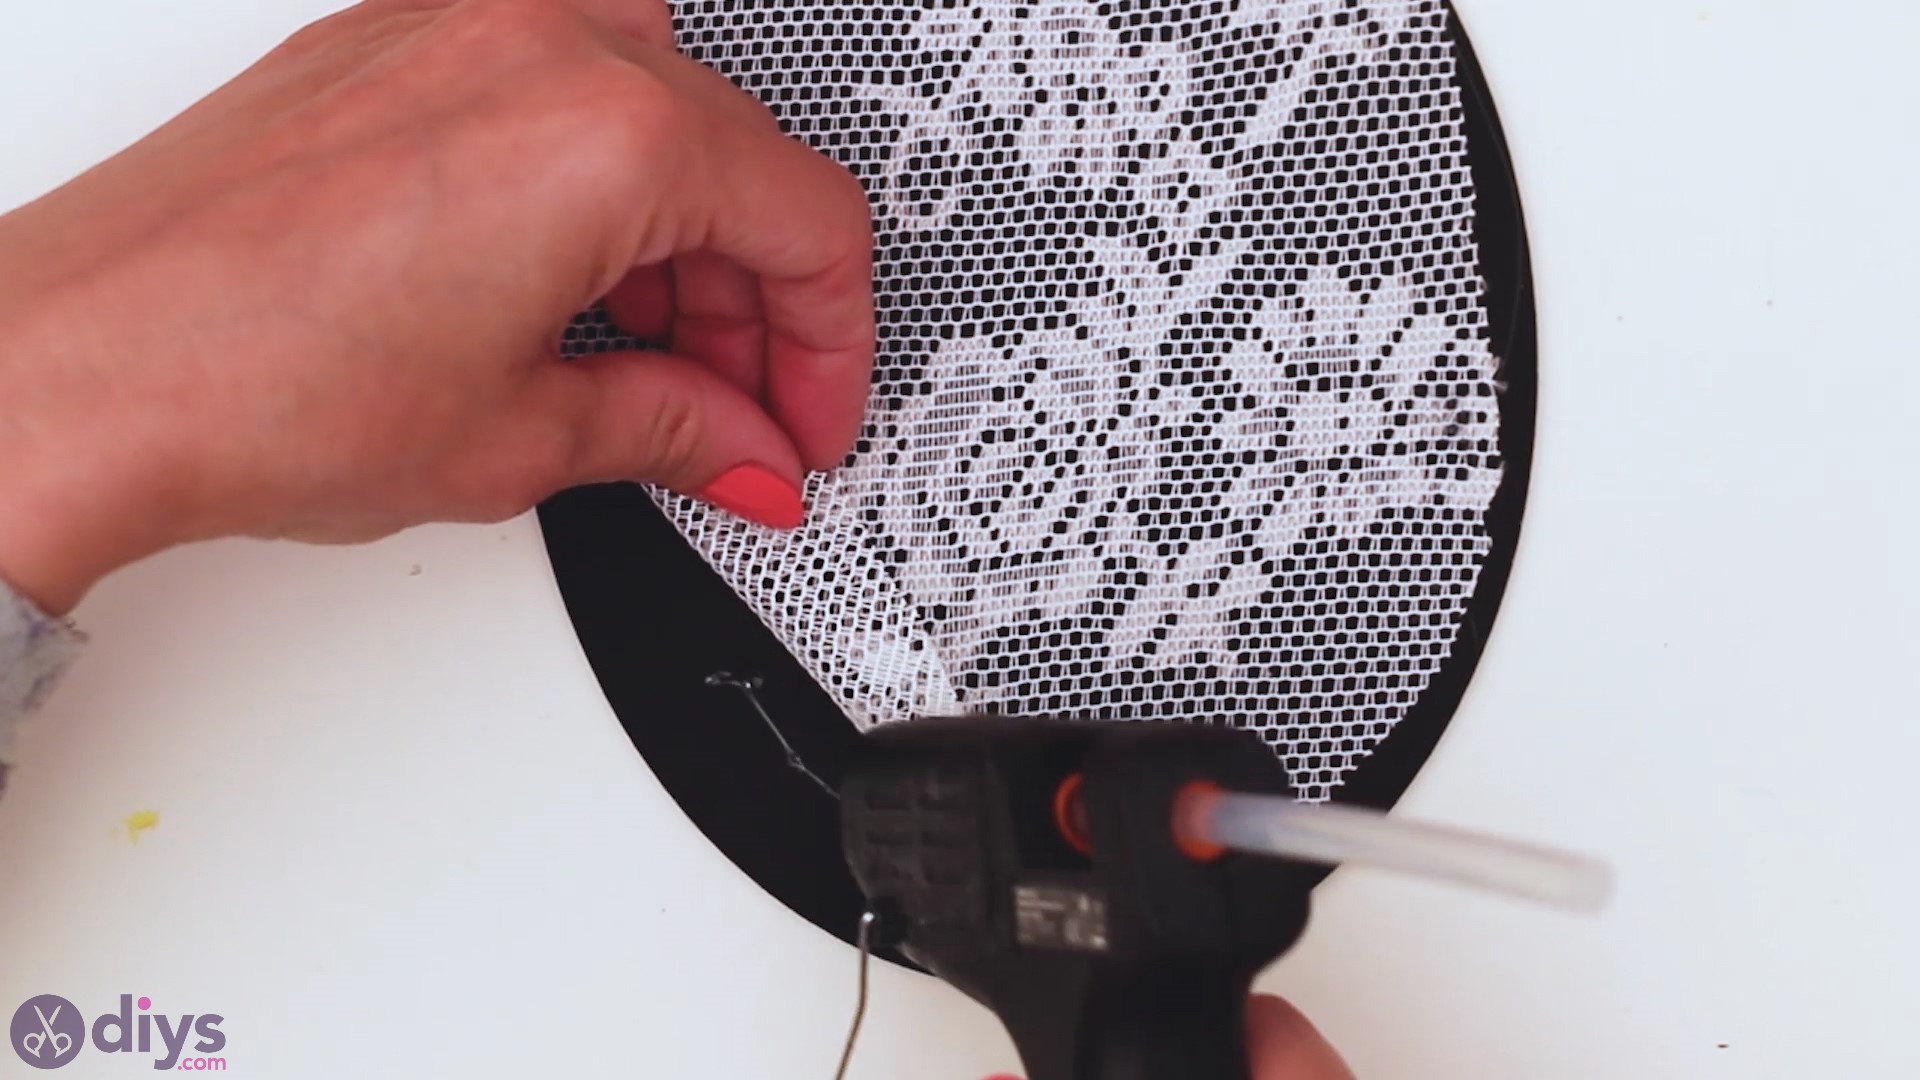
You don't take to add glue everywhere – you can just go from spot to spot on the edges of the frame.
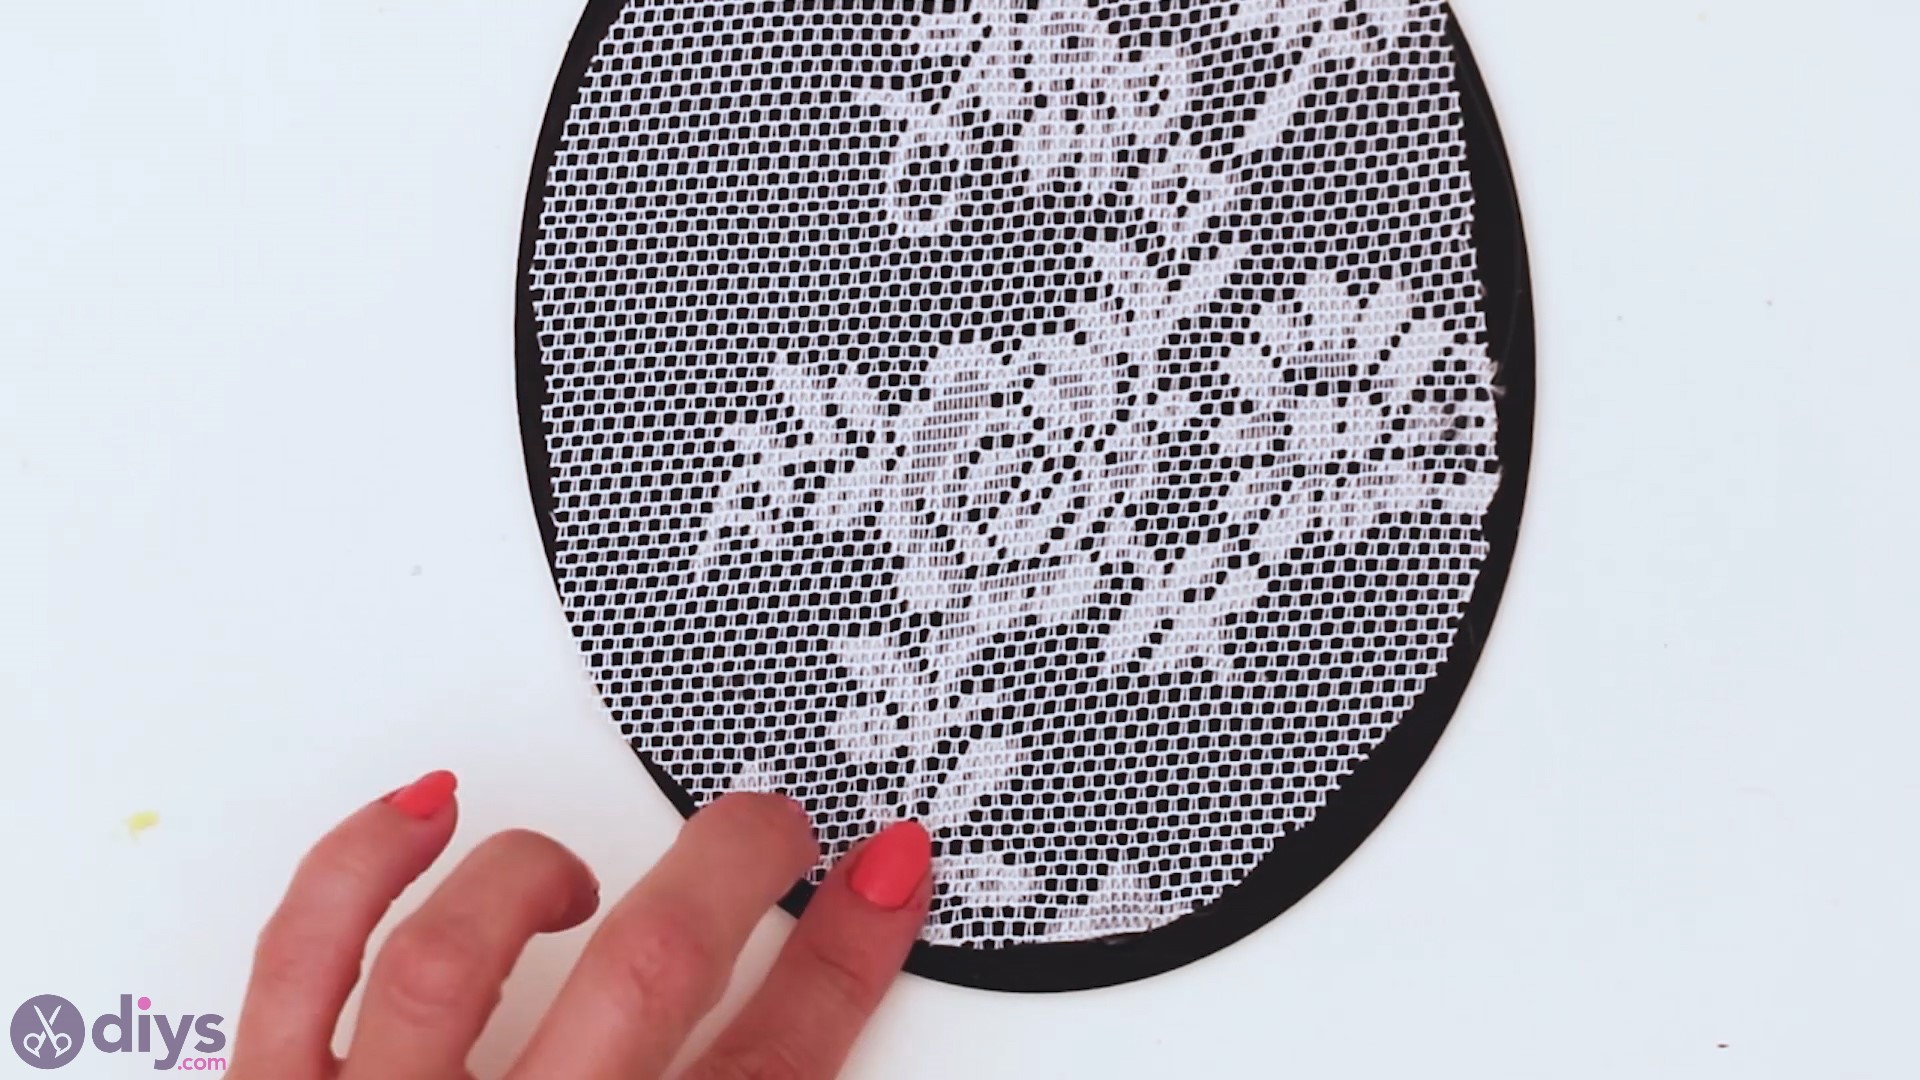
Make sure the material is flat and well stretched over the frame.
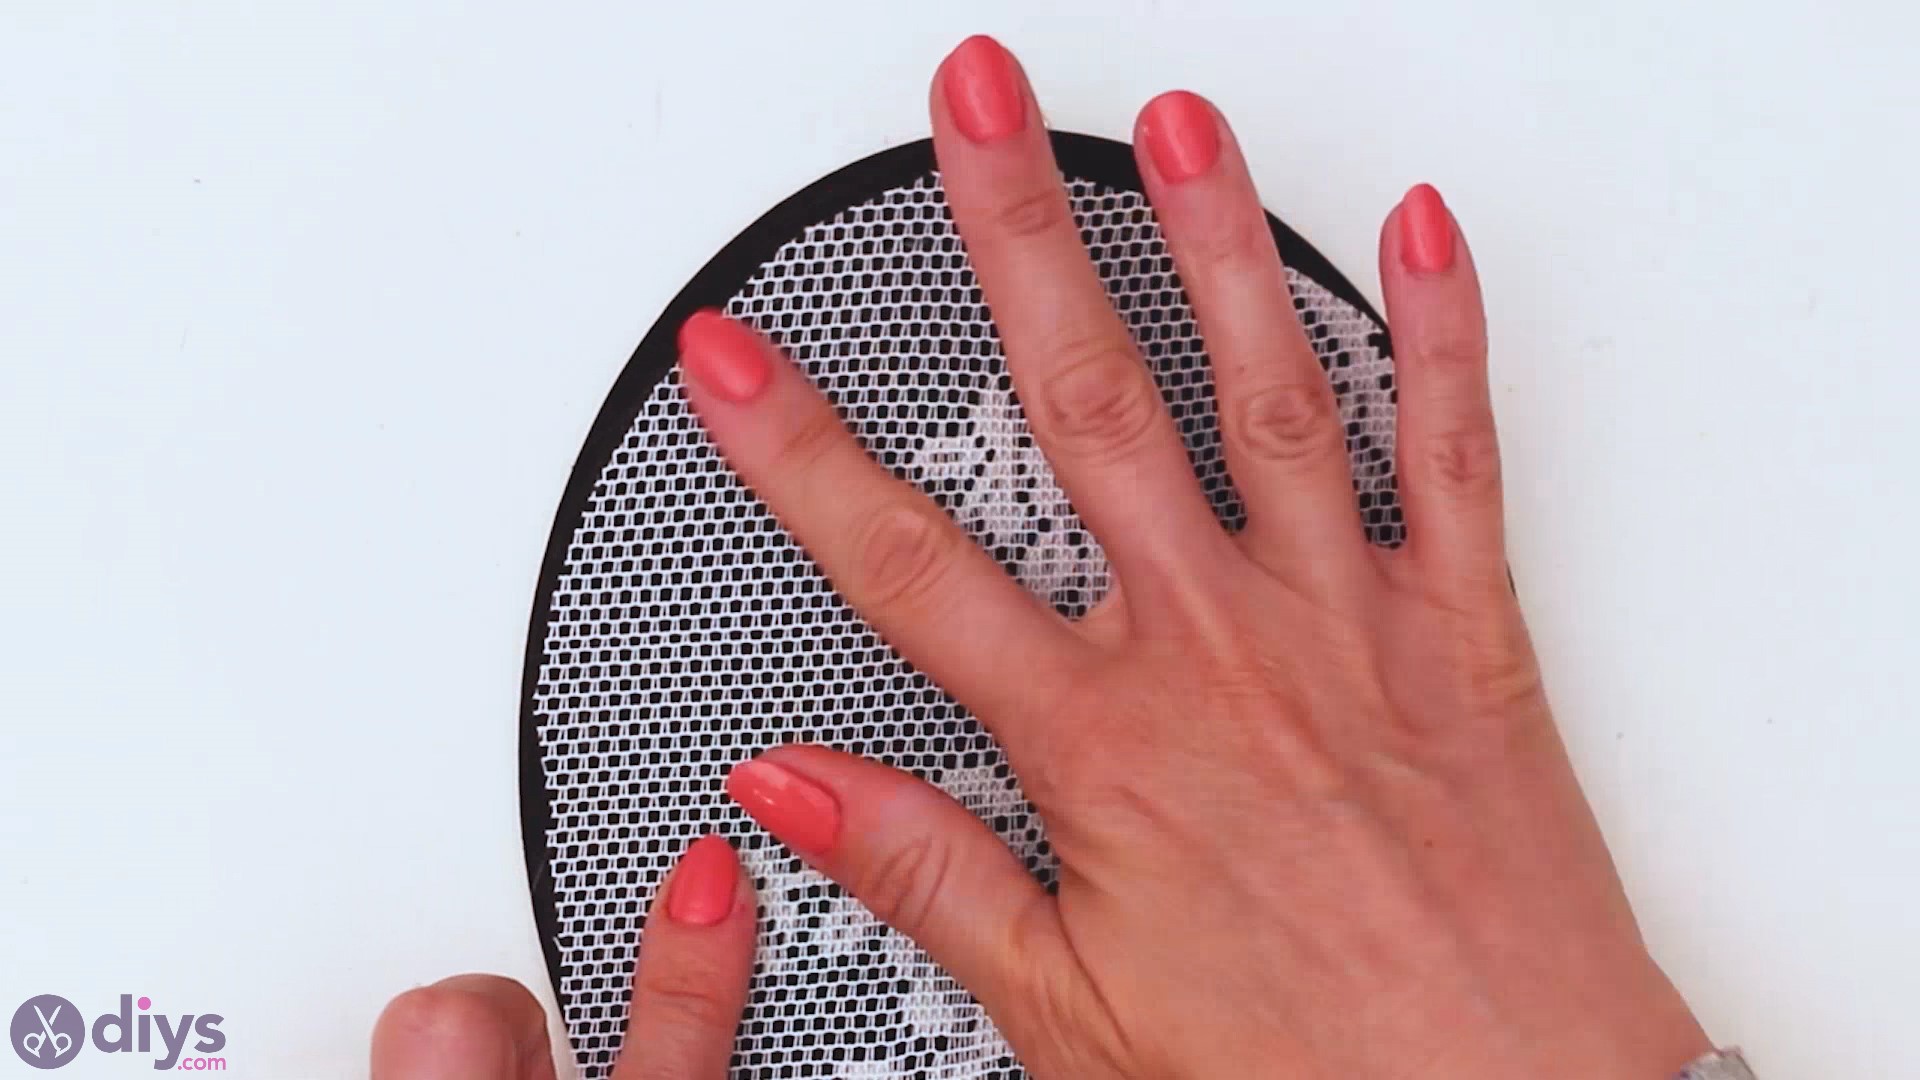
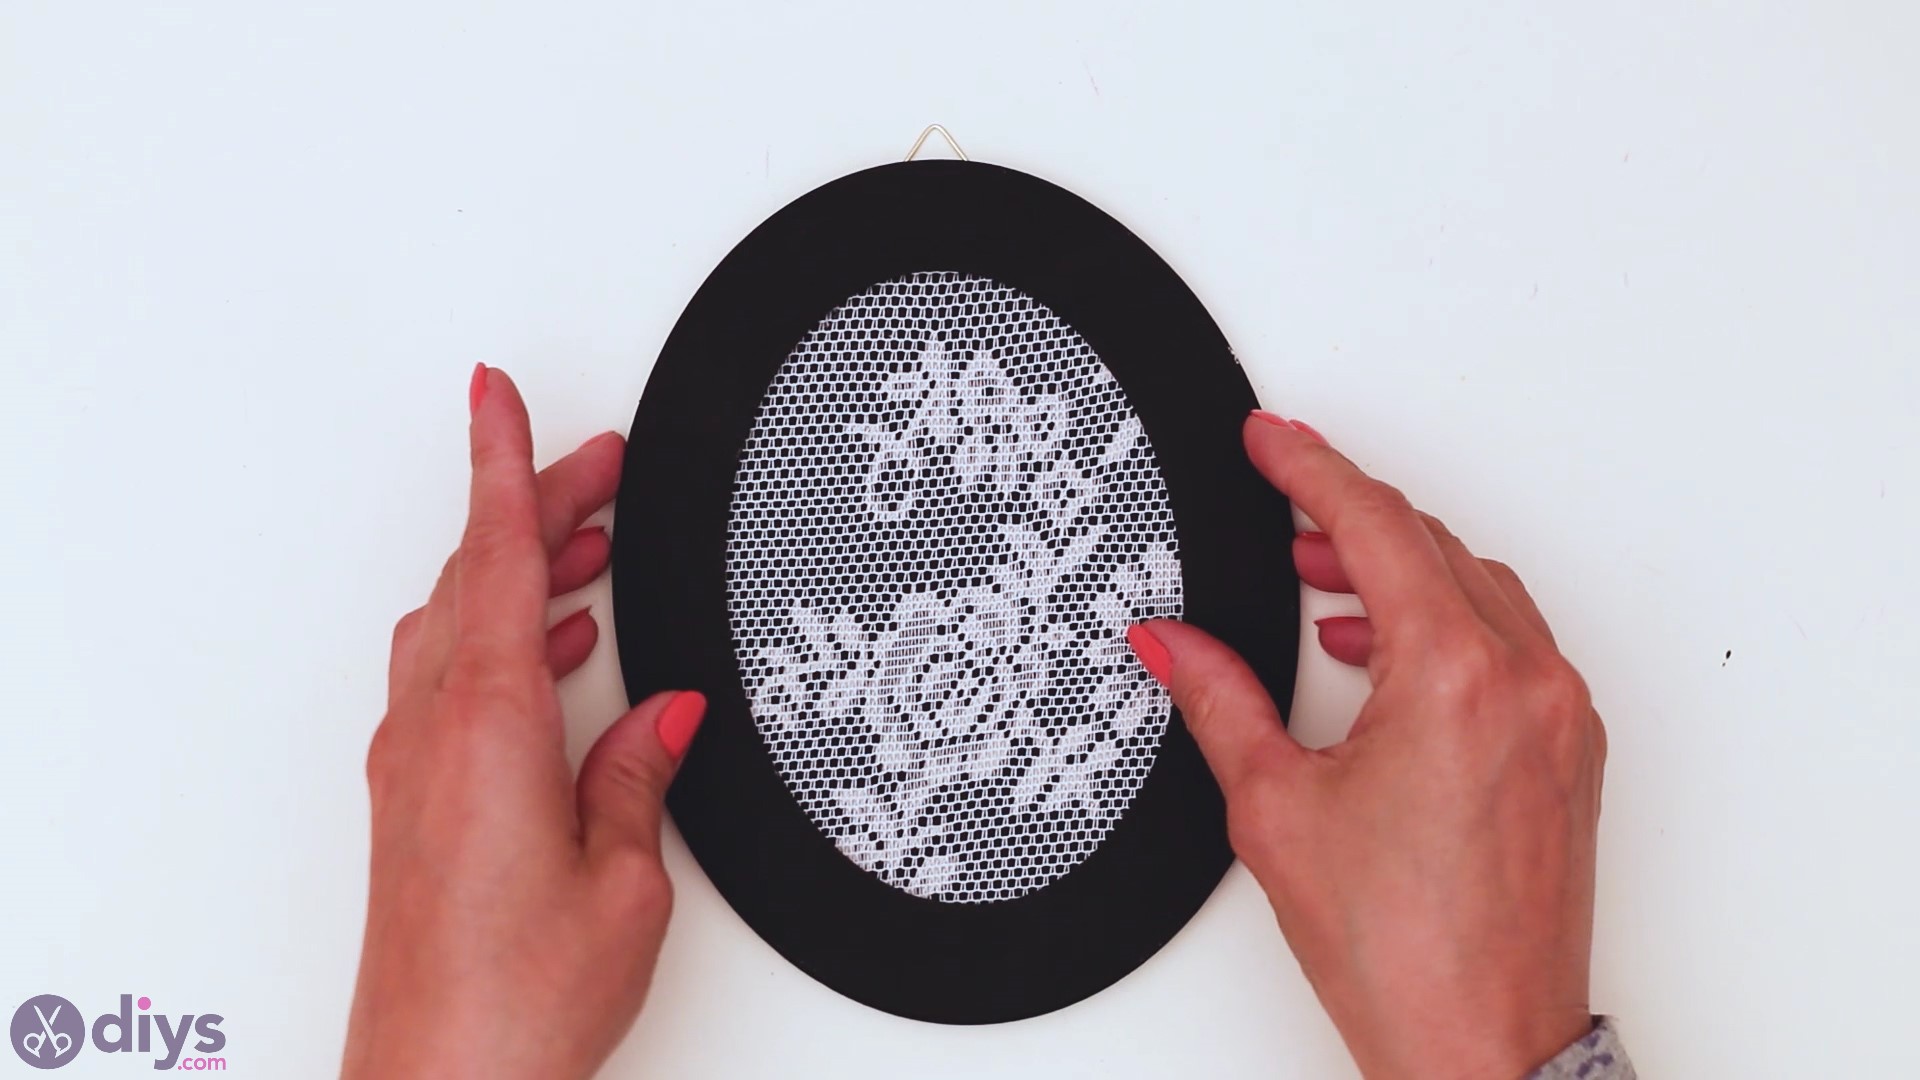
Step 6: Add the Outer Frame
Now that the lace is glued, it'south time to add the outer frame. You'll want to add some hot glue to the outer edges of the lace over the material. Brand sure you work fast, equally you don't want the mucilage to dry before you're done.
Add the top frame to the decor piece, making sure to concord information technology pressed for a few seconds. In this way, you'll ensure that the frame is well glued and non going anywhere. .
Step vii: Decorate Your Decor Piece
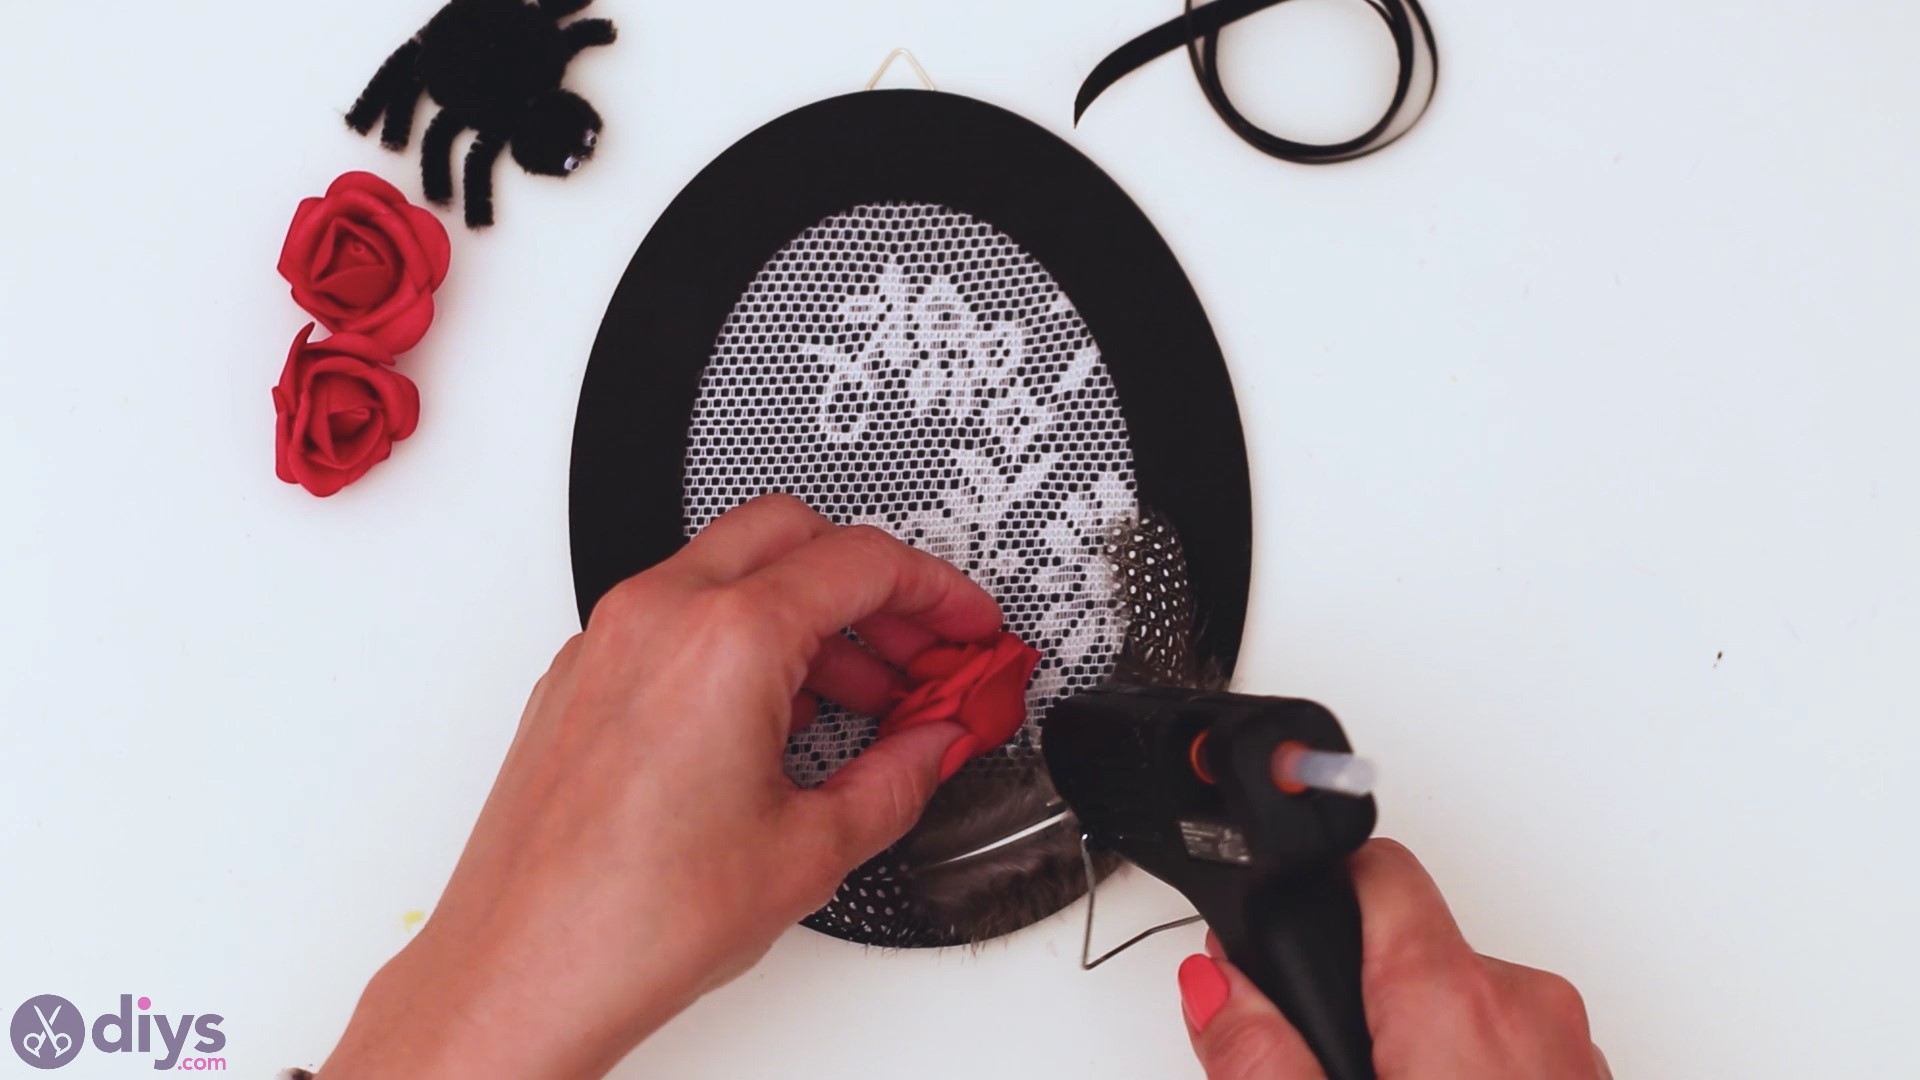
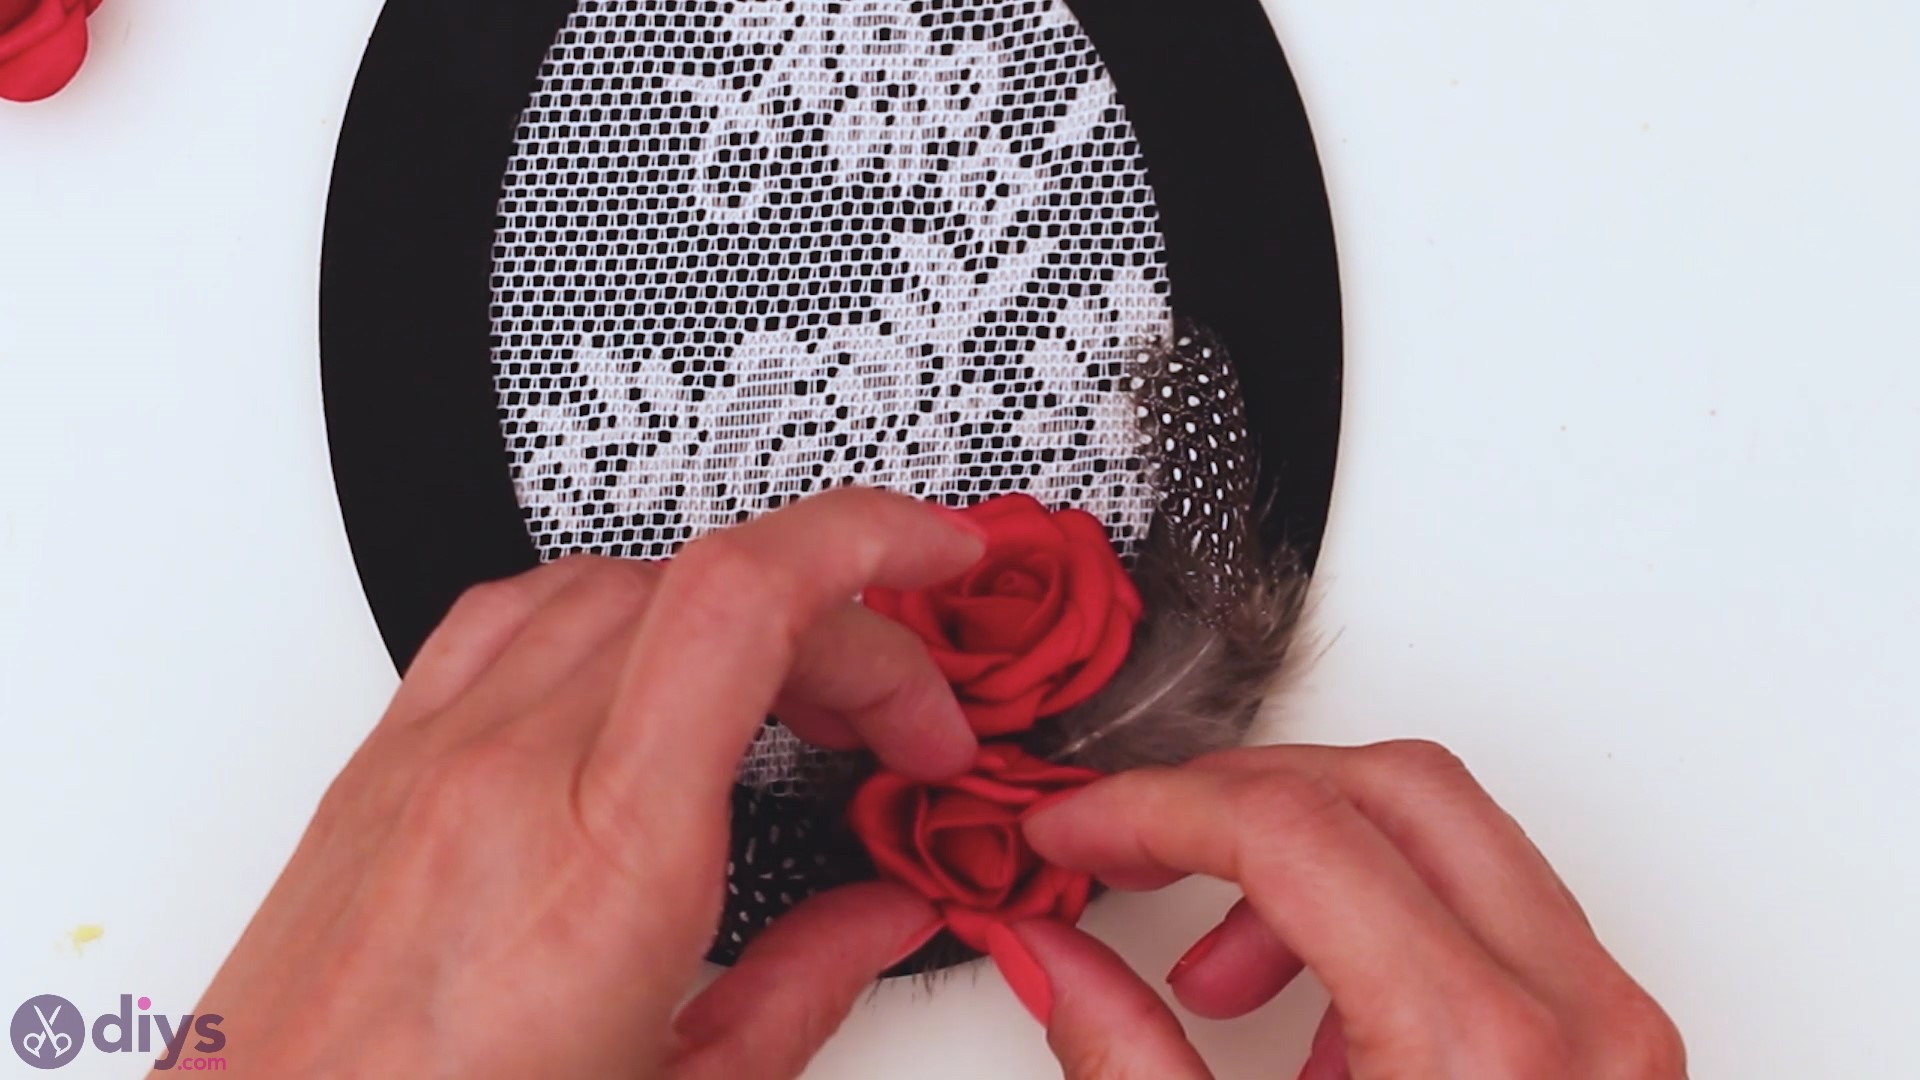
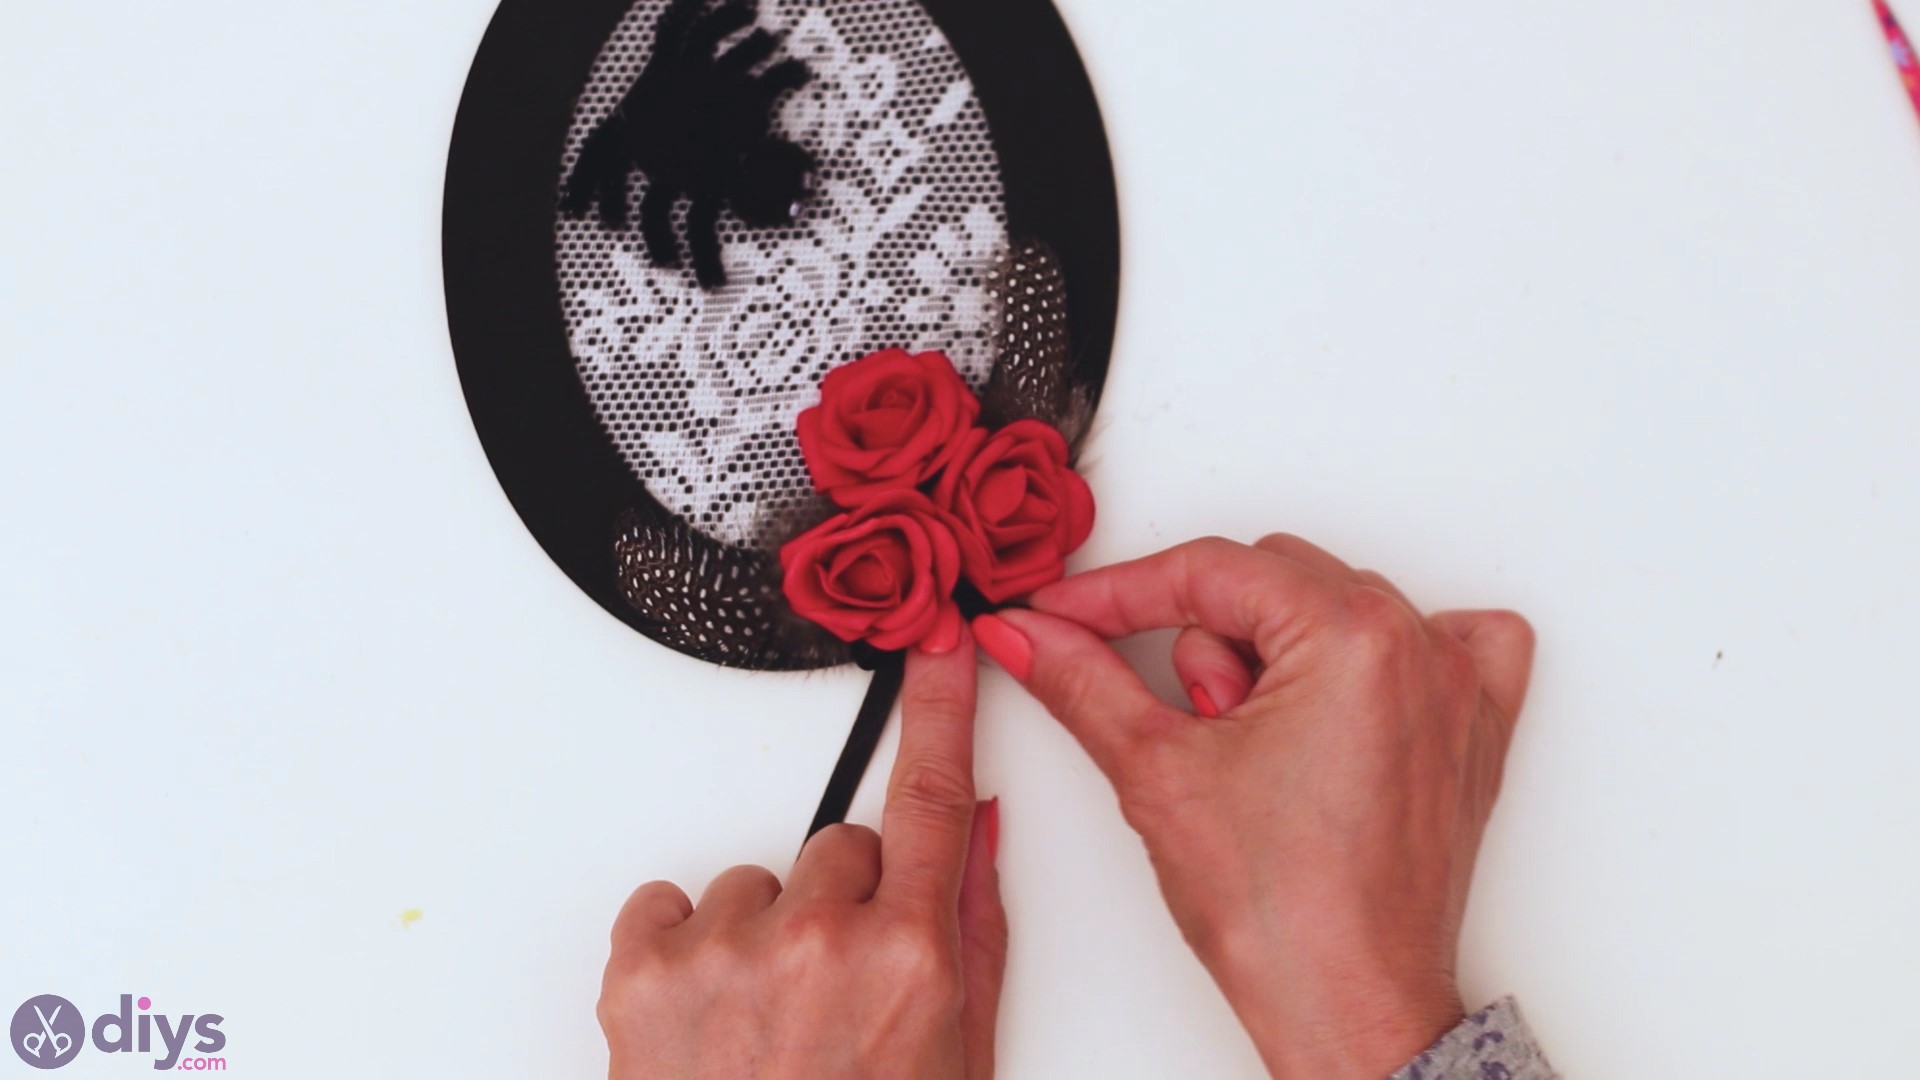
Now that the frame is pretty much done, y'all can kickoff decorating! In the lower surface area, we decided to add the beautiful roses.
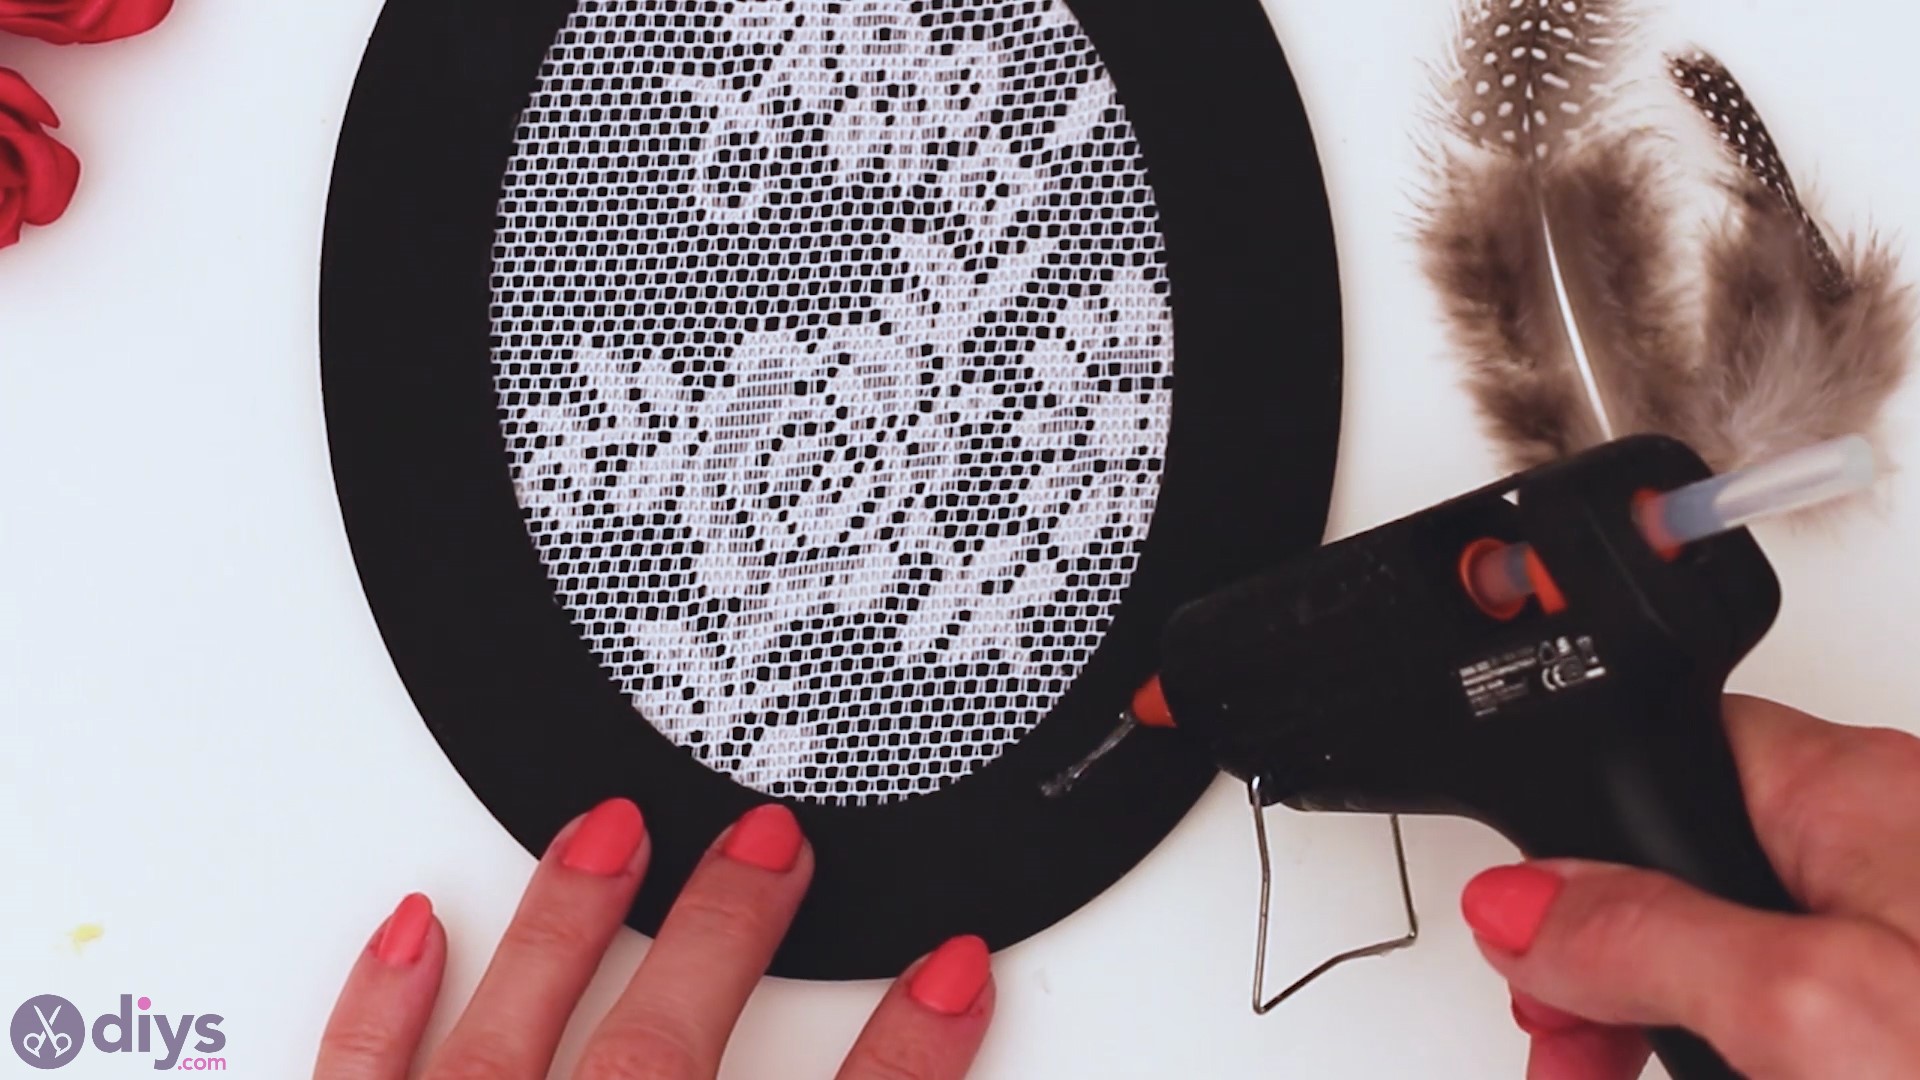
Add together some hot glue to the spot you want to put the roses in, so add them in 1 by 1. Since the flowers are pretty large, you'll want to add quite a bit of hot glue, then more area is covered.
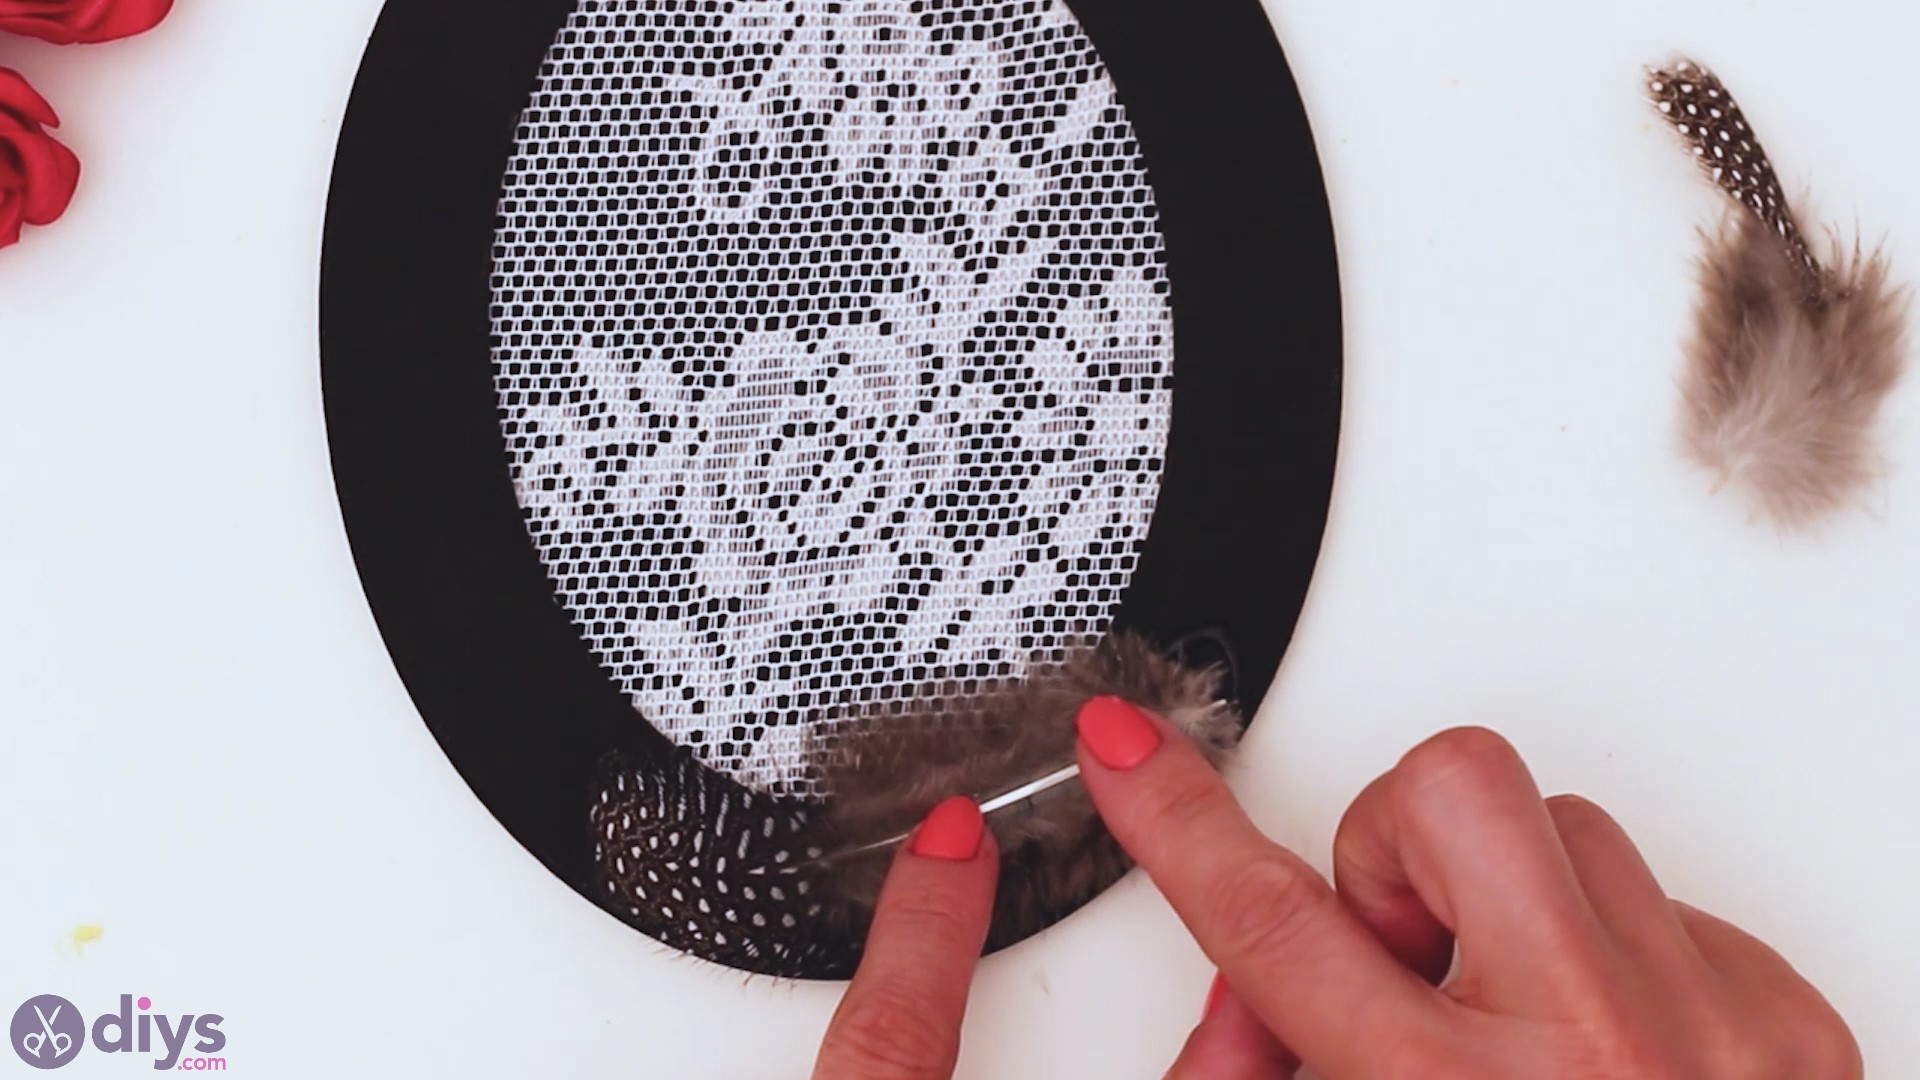
Nosotros started with a few feathers to deed as a background for the roses.
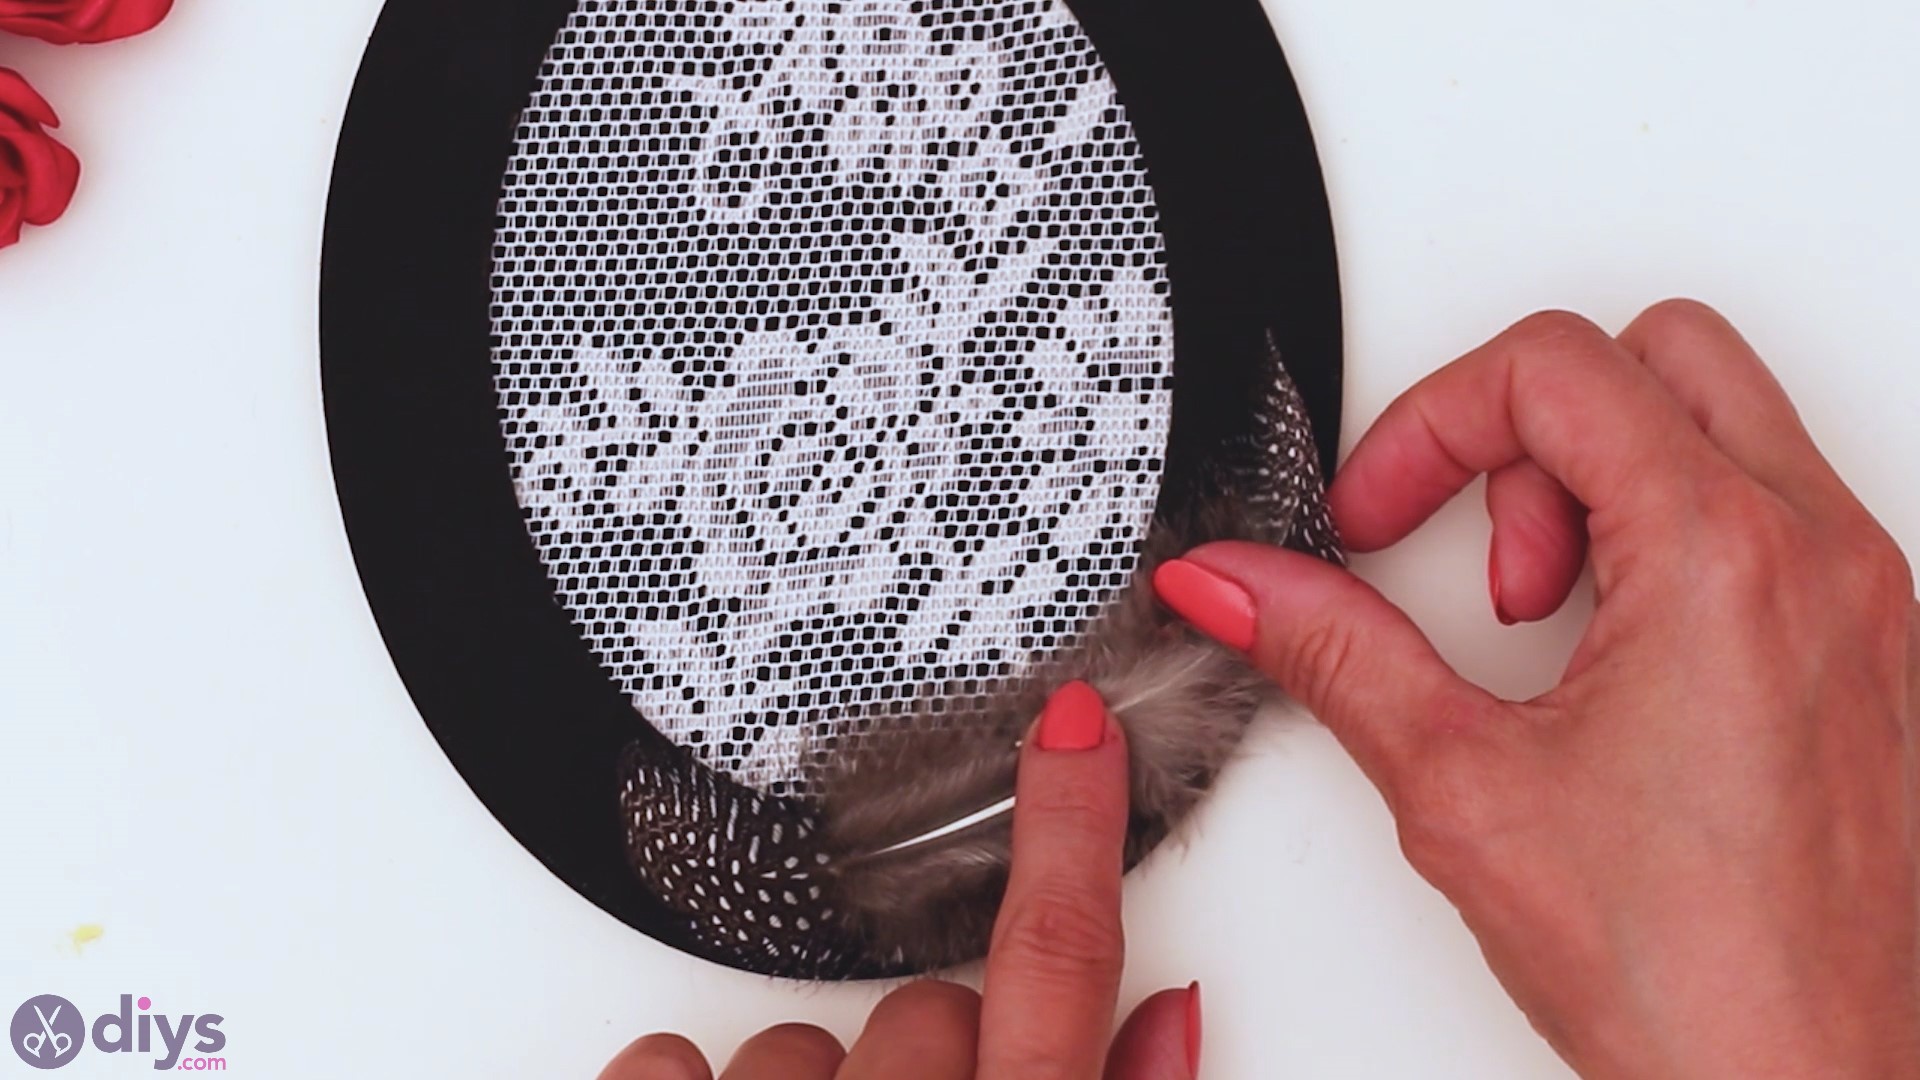
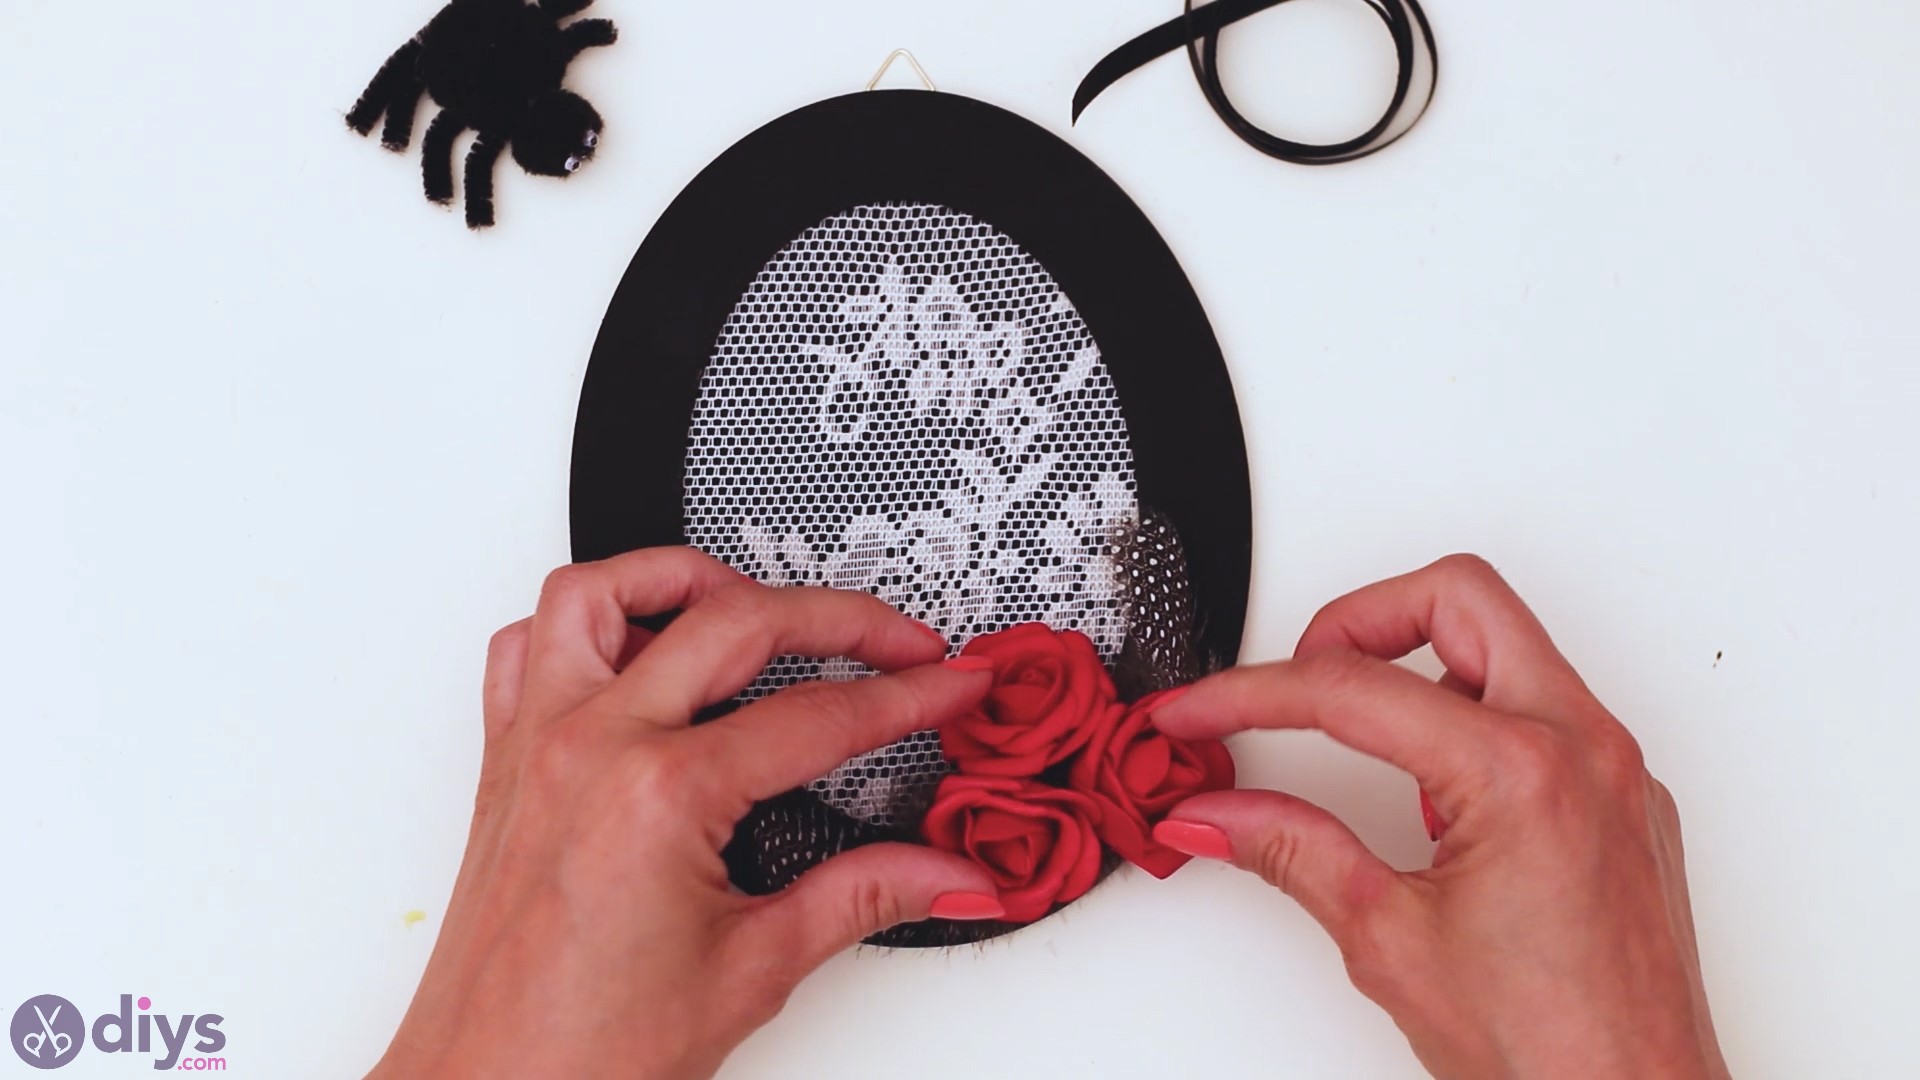
And then, one by i, we placed the roses. We're only using the actual flower, so if y'all accept whatever stems, cut those off.
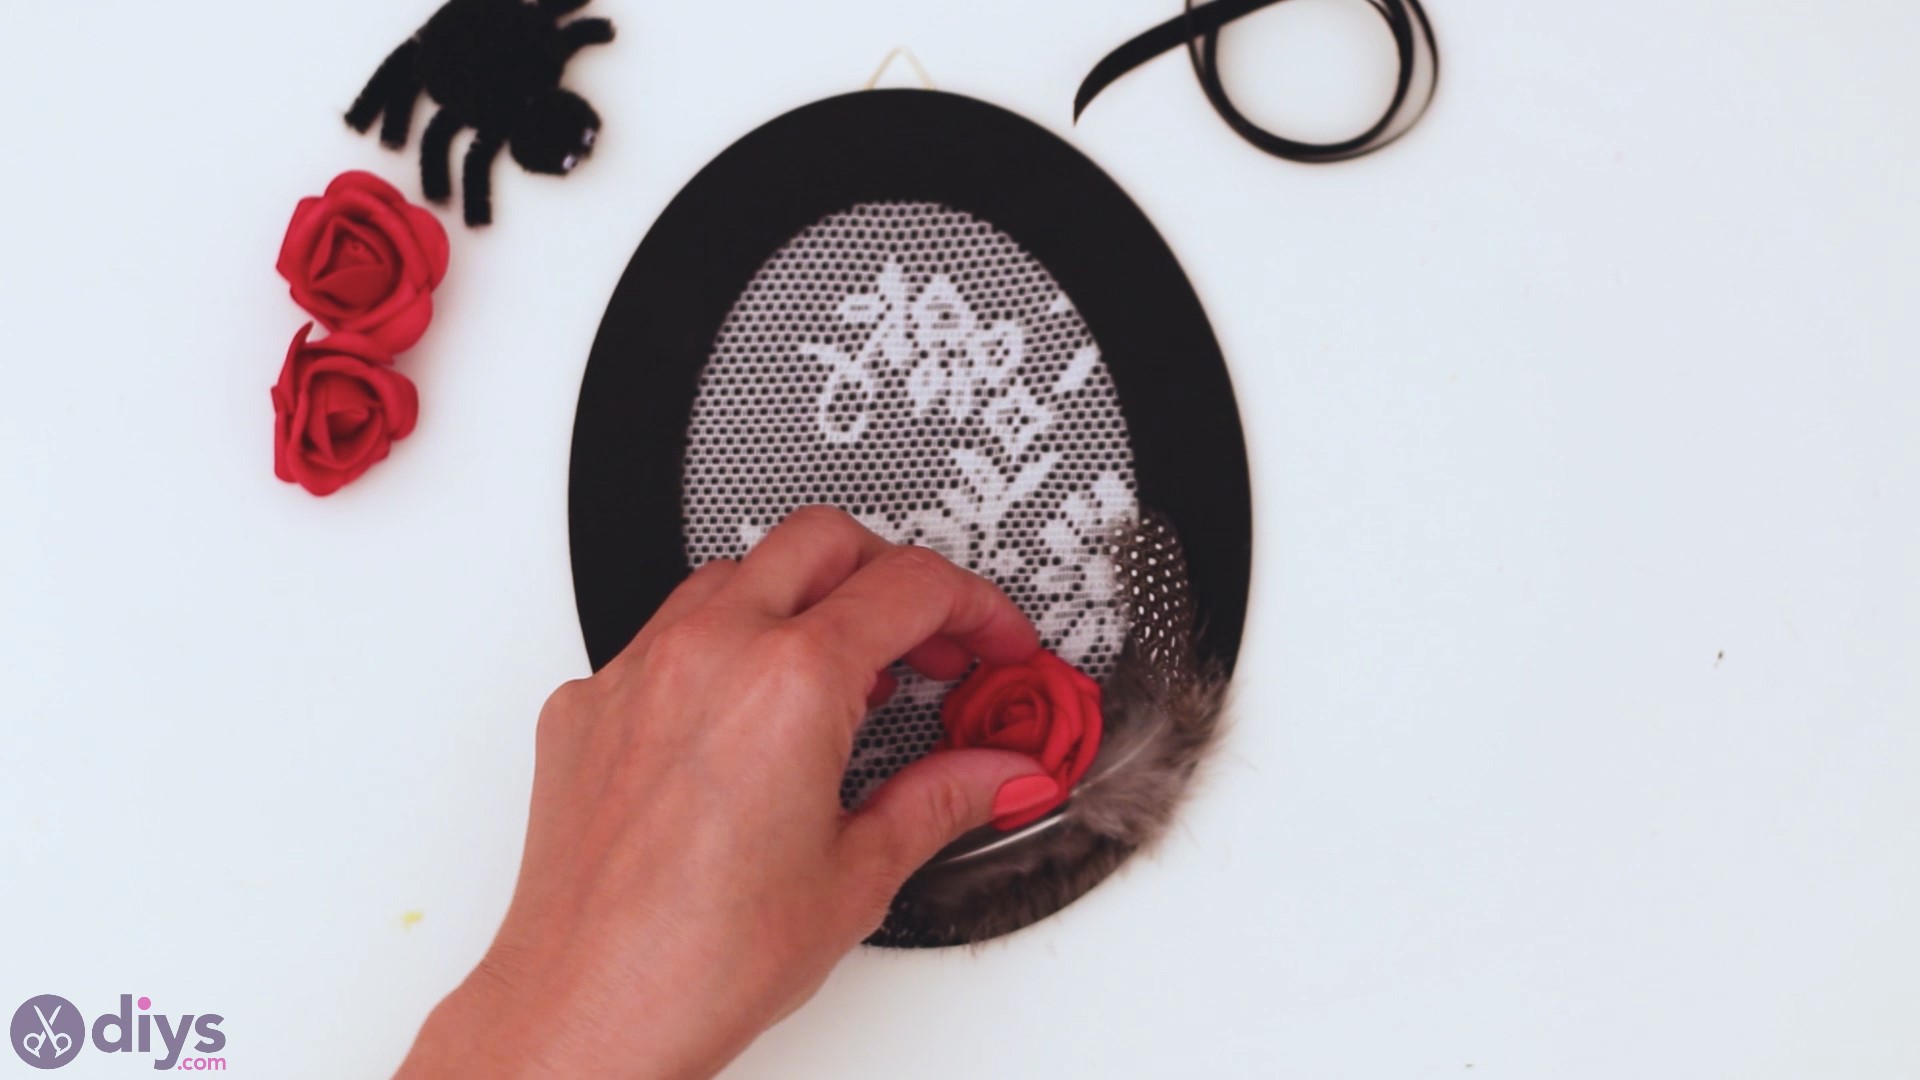
Once more, we remind you lot to add together big globs of hot glue so the flowers are properly glued and won't fall off.
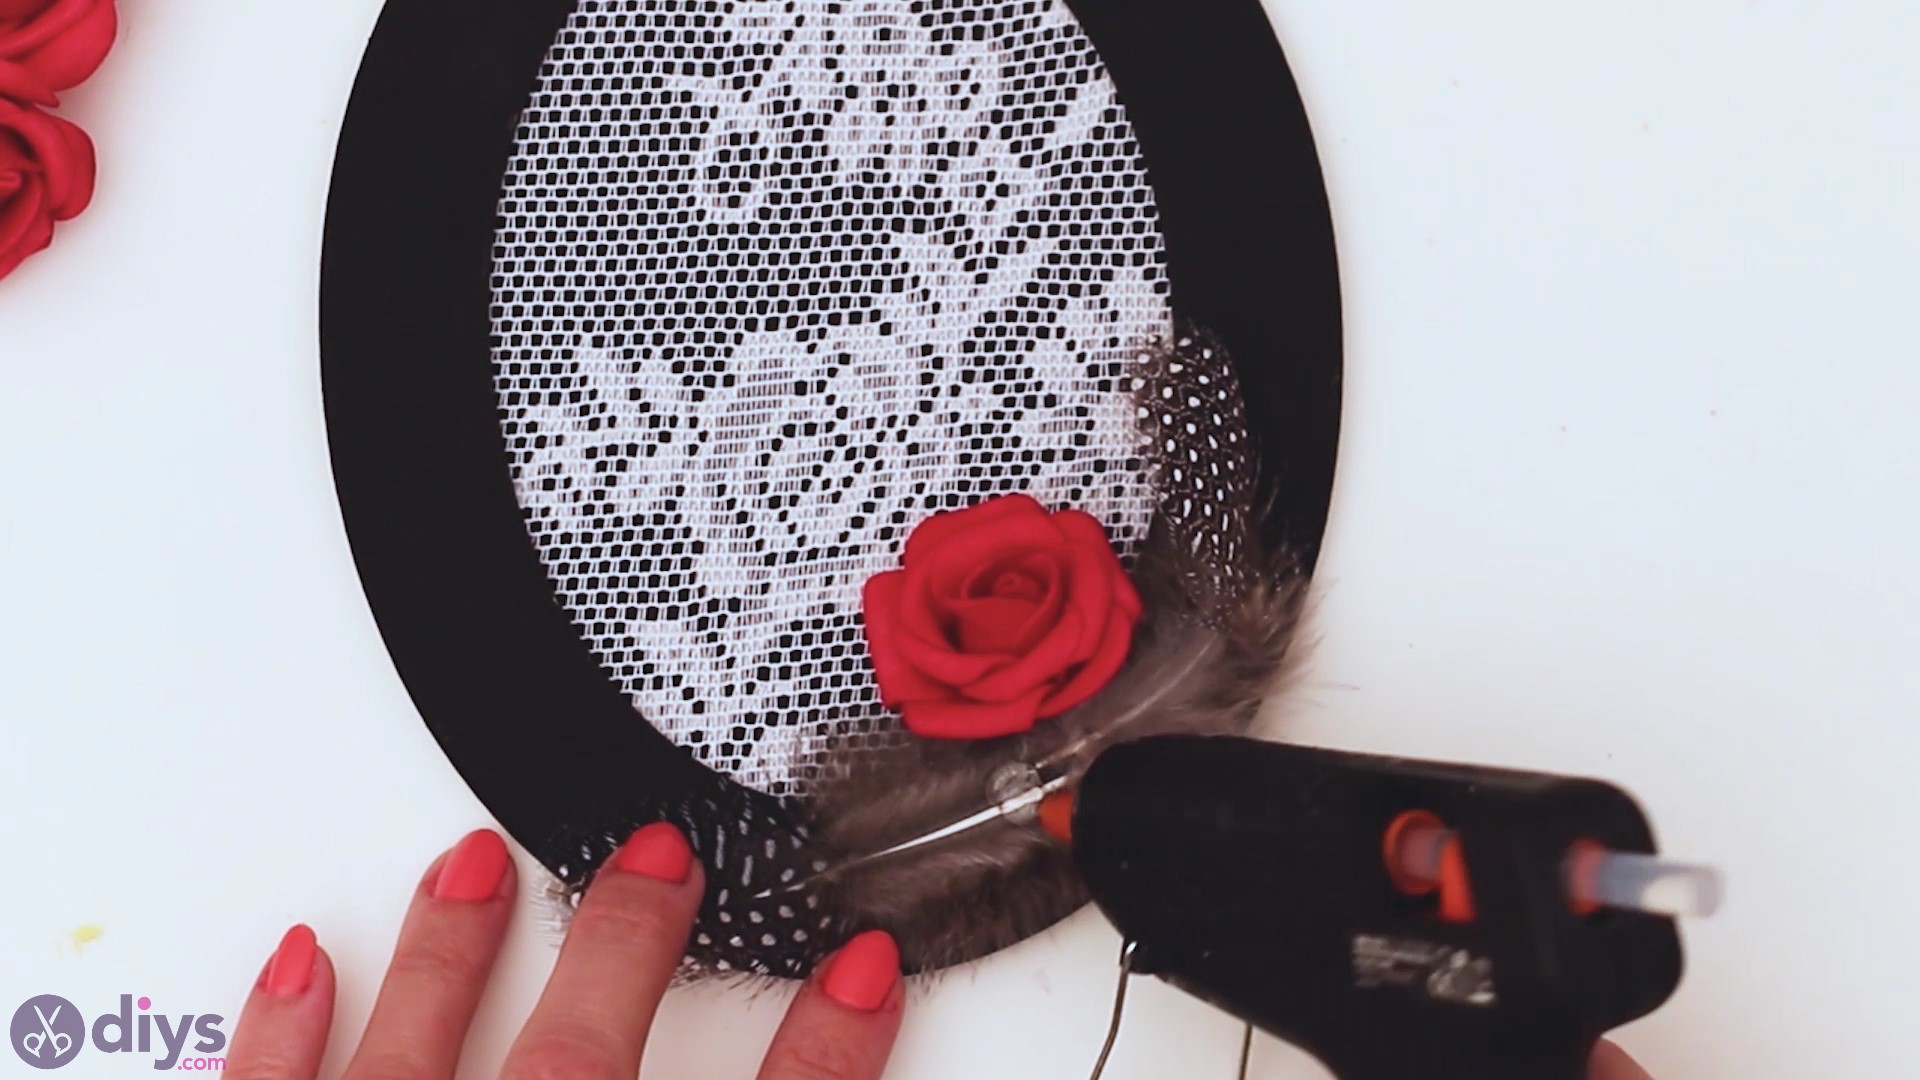
We loved how the flowers expect when arranged as in a bouquet, but you tin can place them in a line if y'all so prefer.
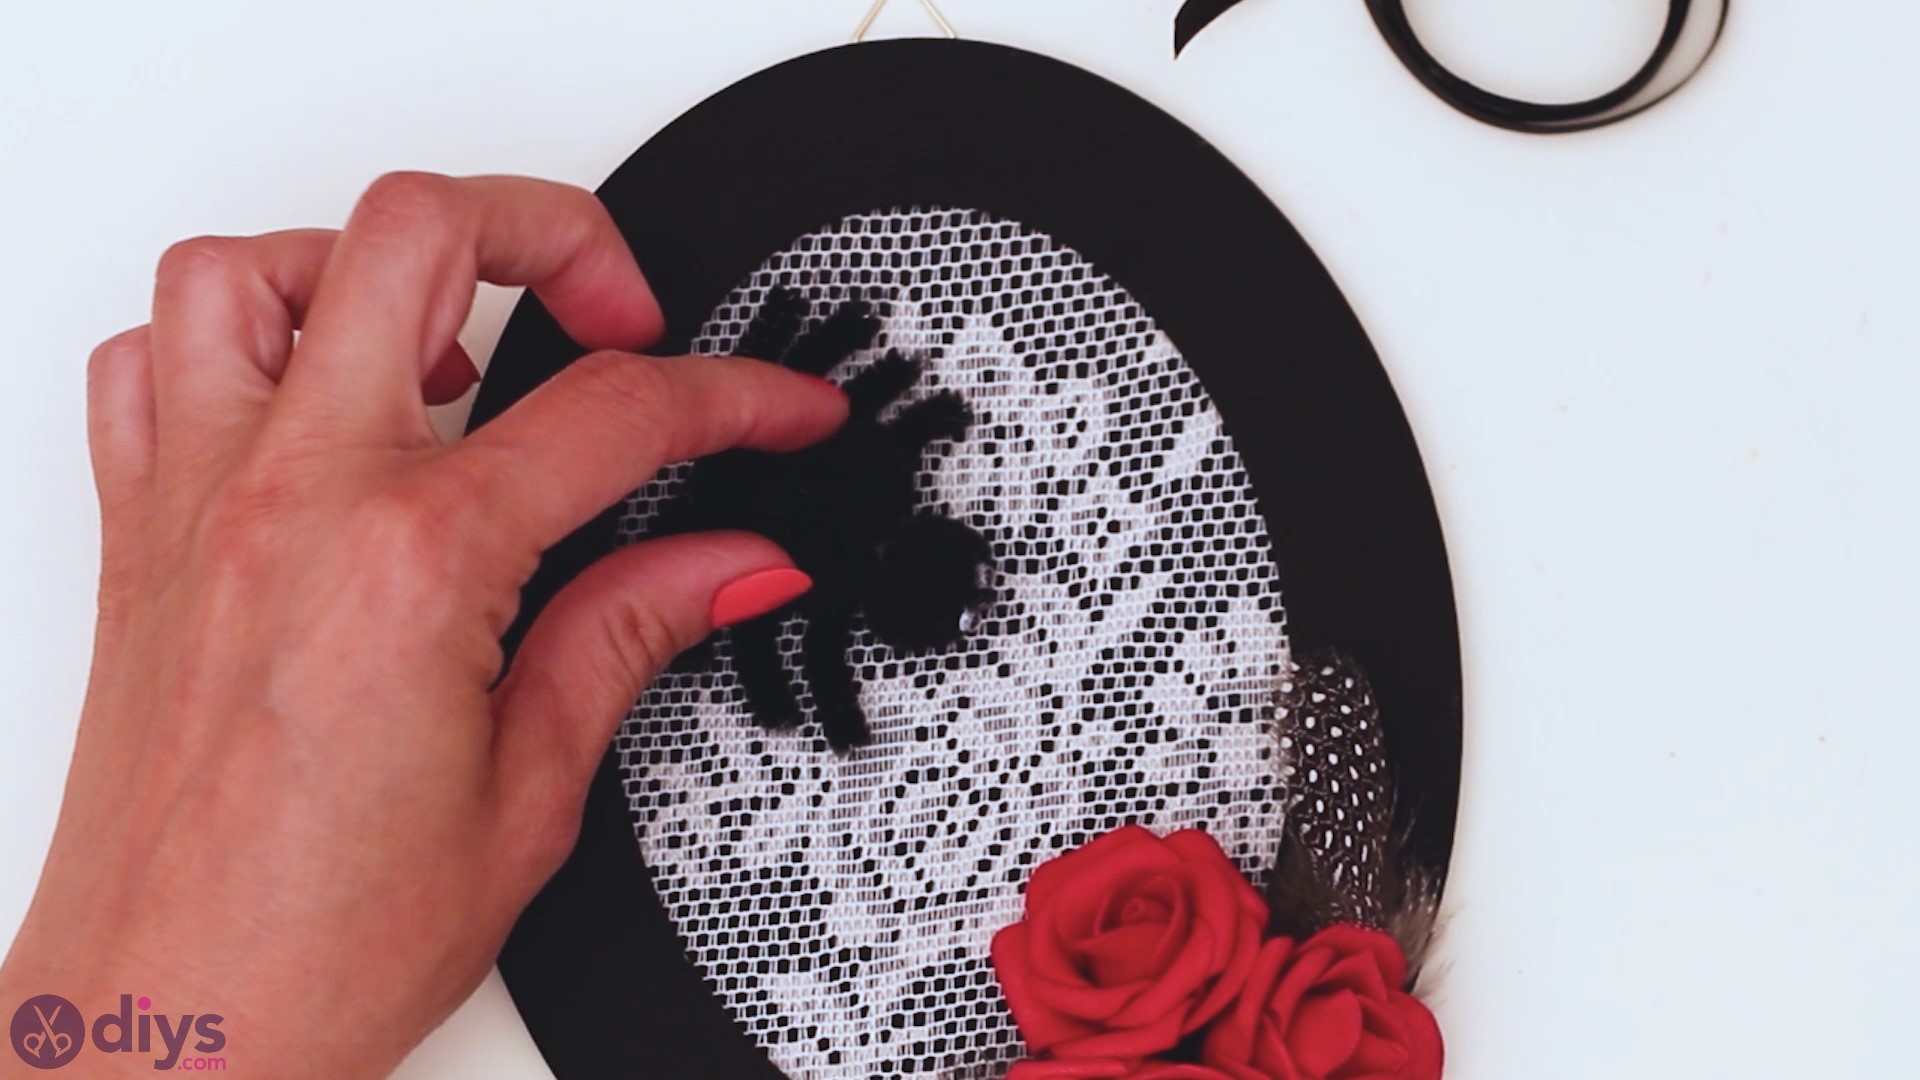
Pace 8: Add the Spider
At present that the roses are glued in, you'll want to add the spider. We chose to place it over the lace then it somewhat resembles a spider's web.
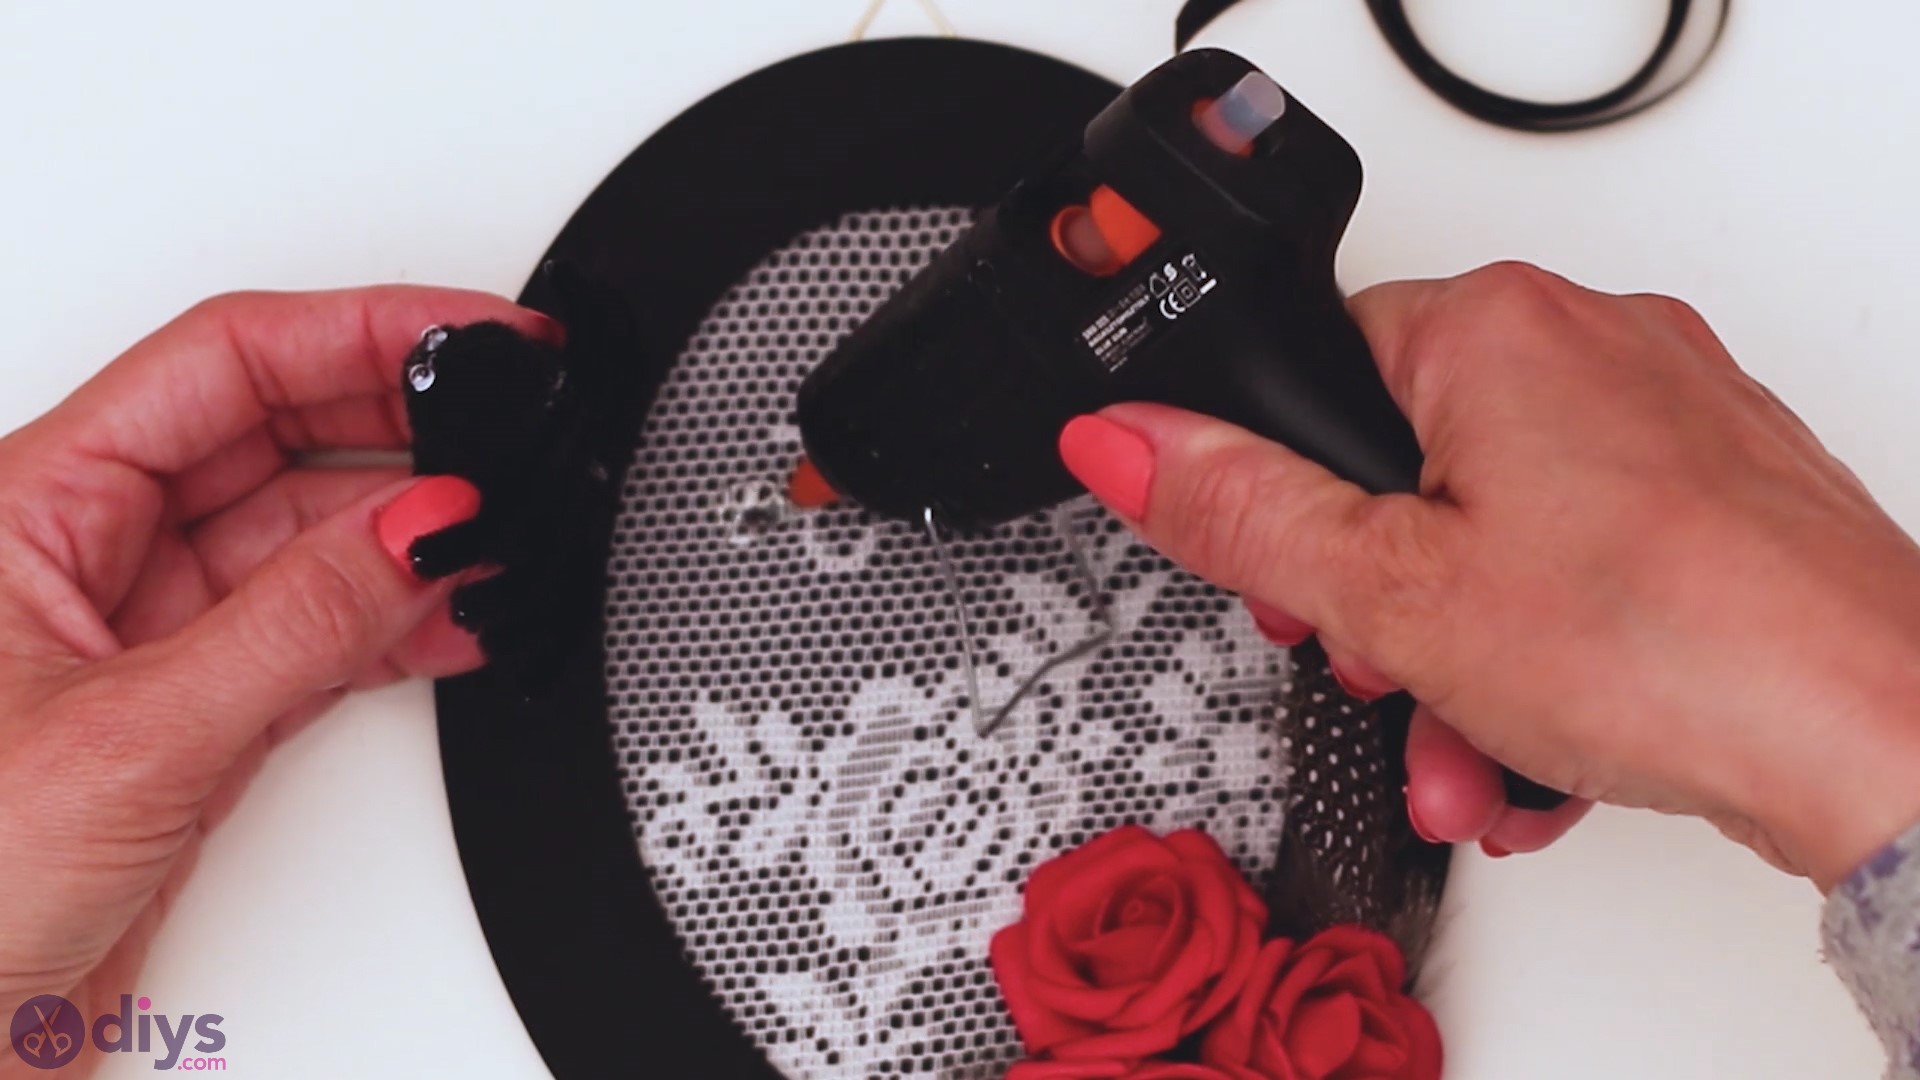
Make sure y'all add enough hot glue to hold the spider in place.
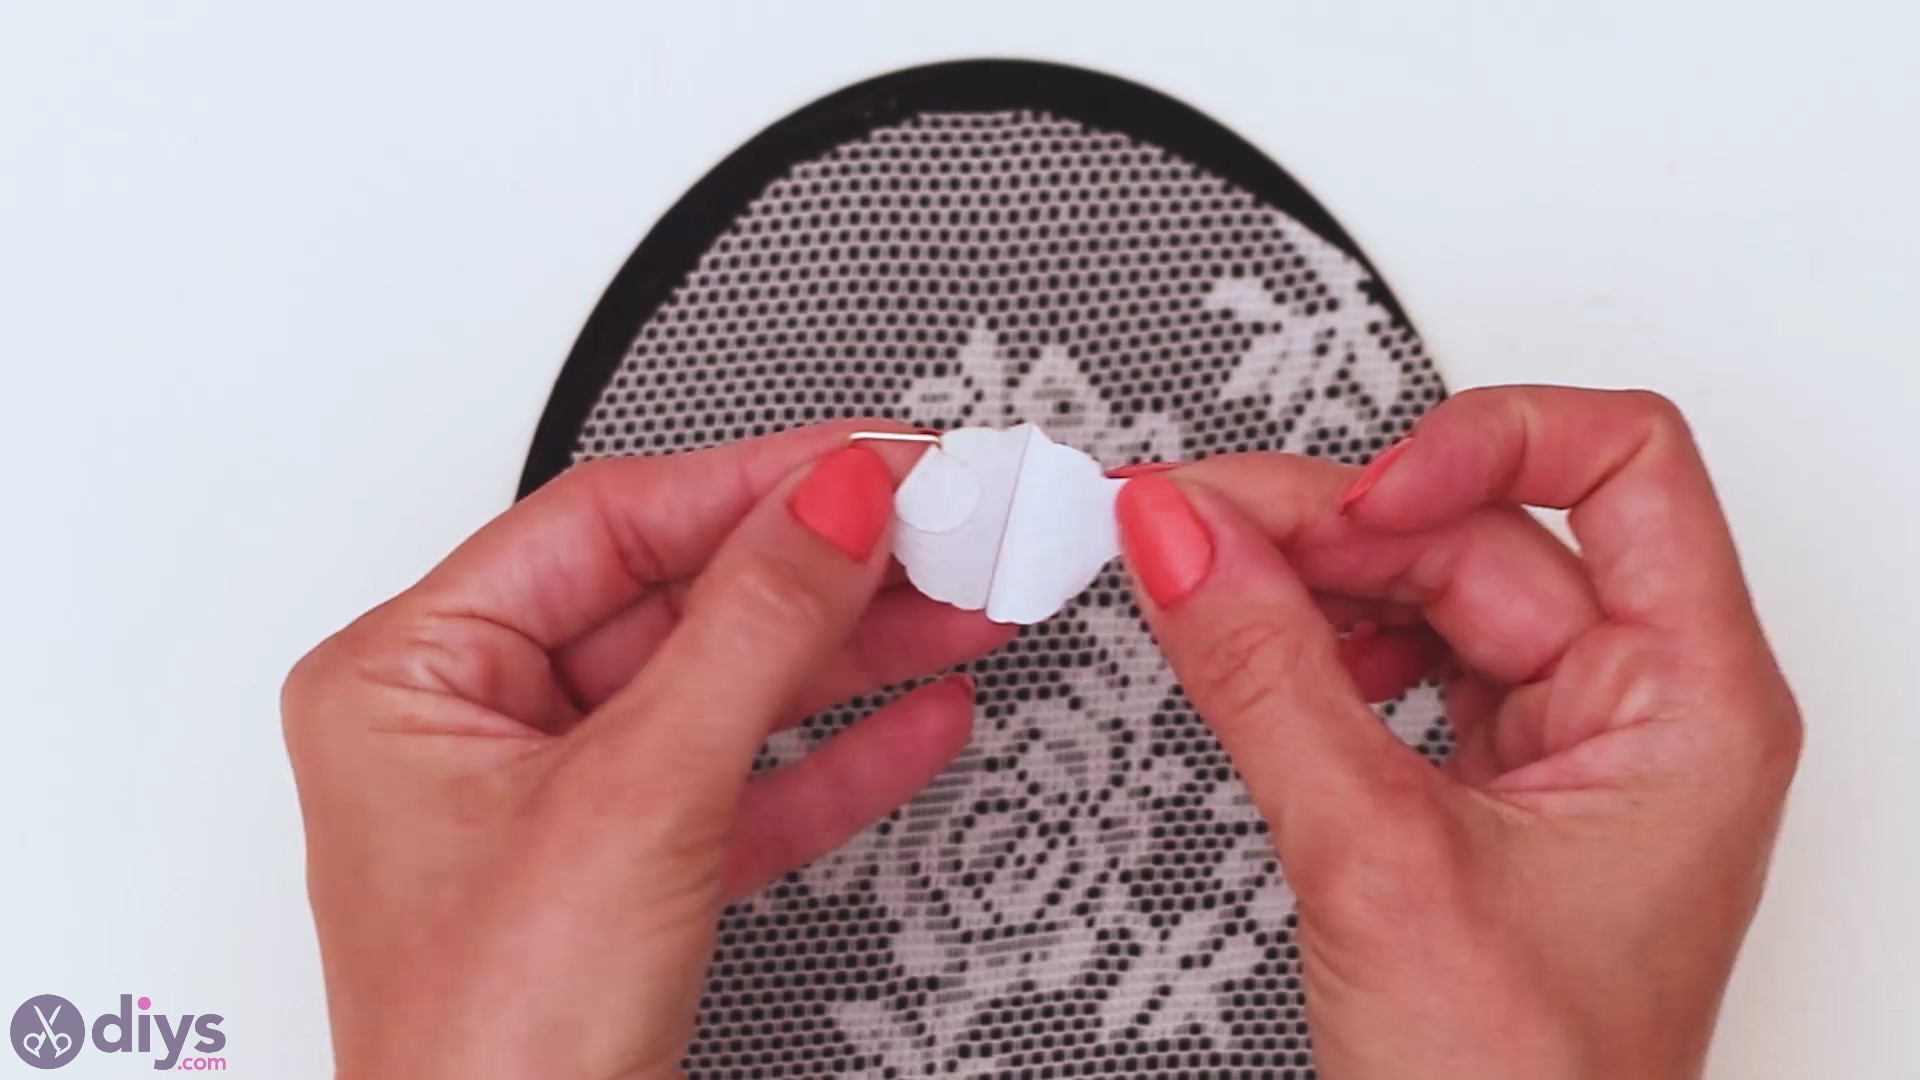
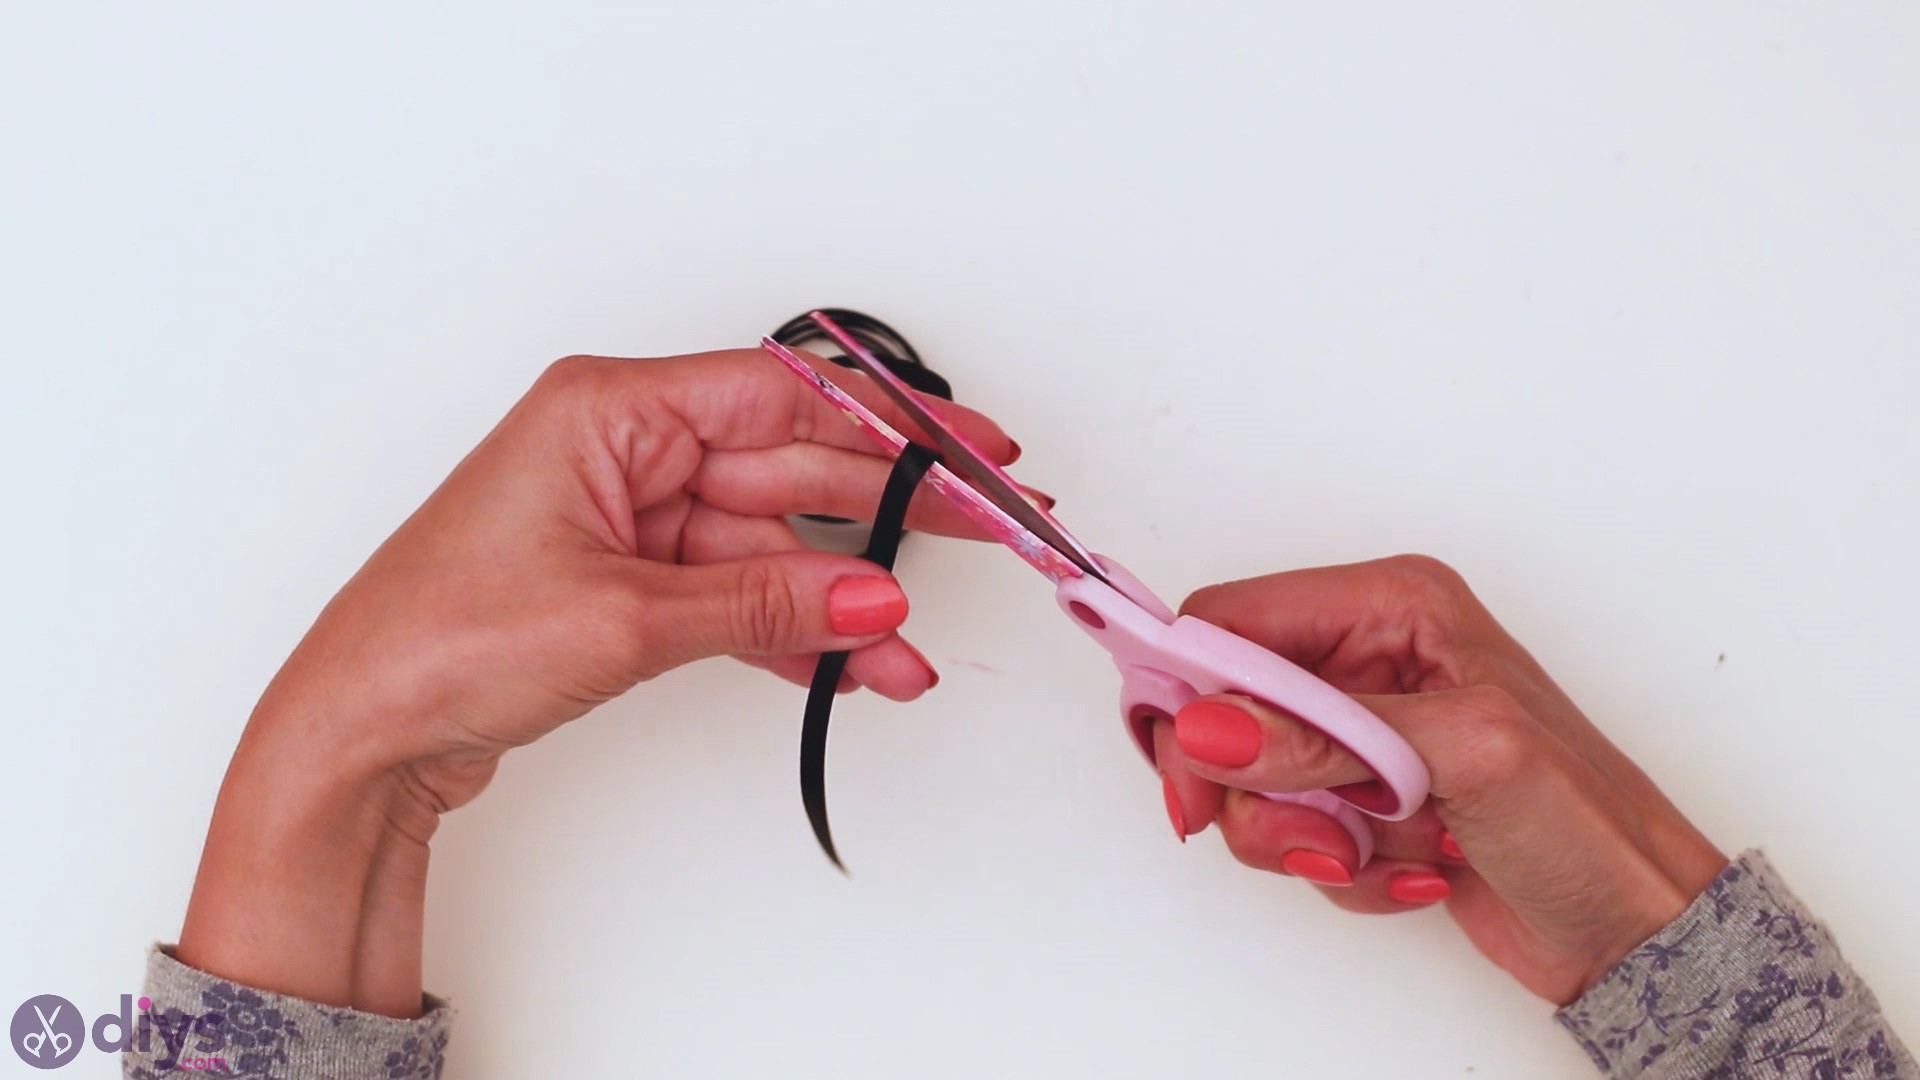
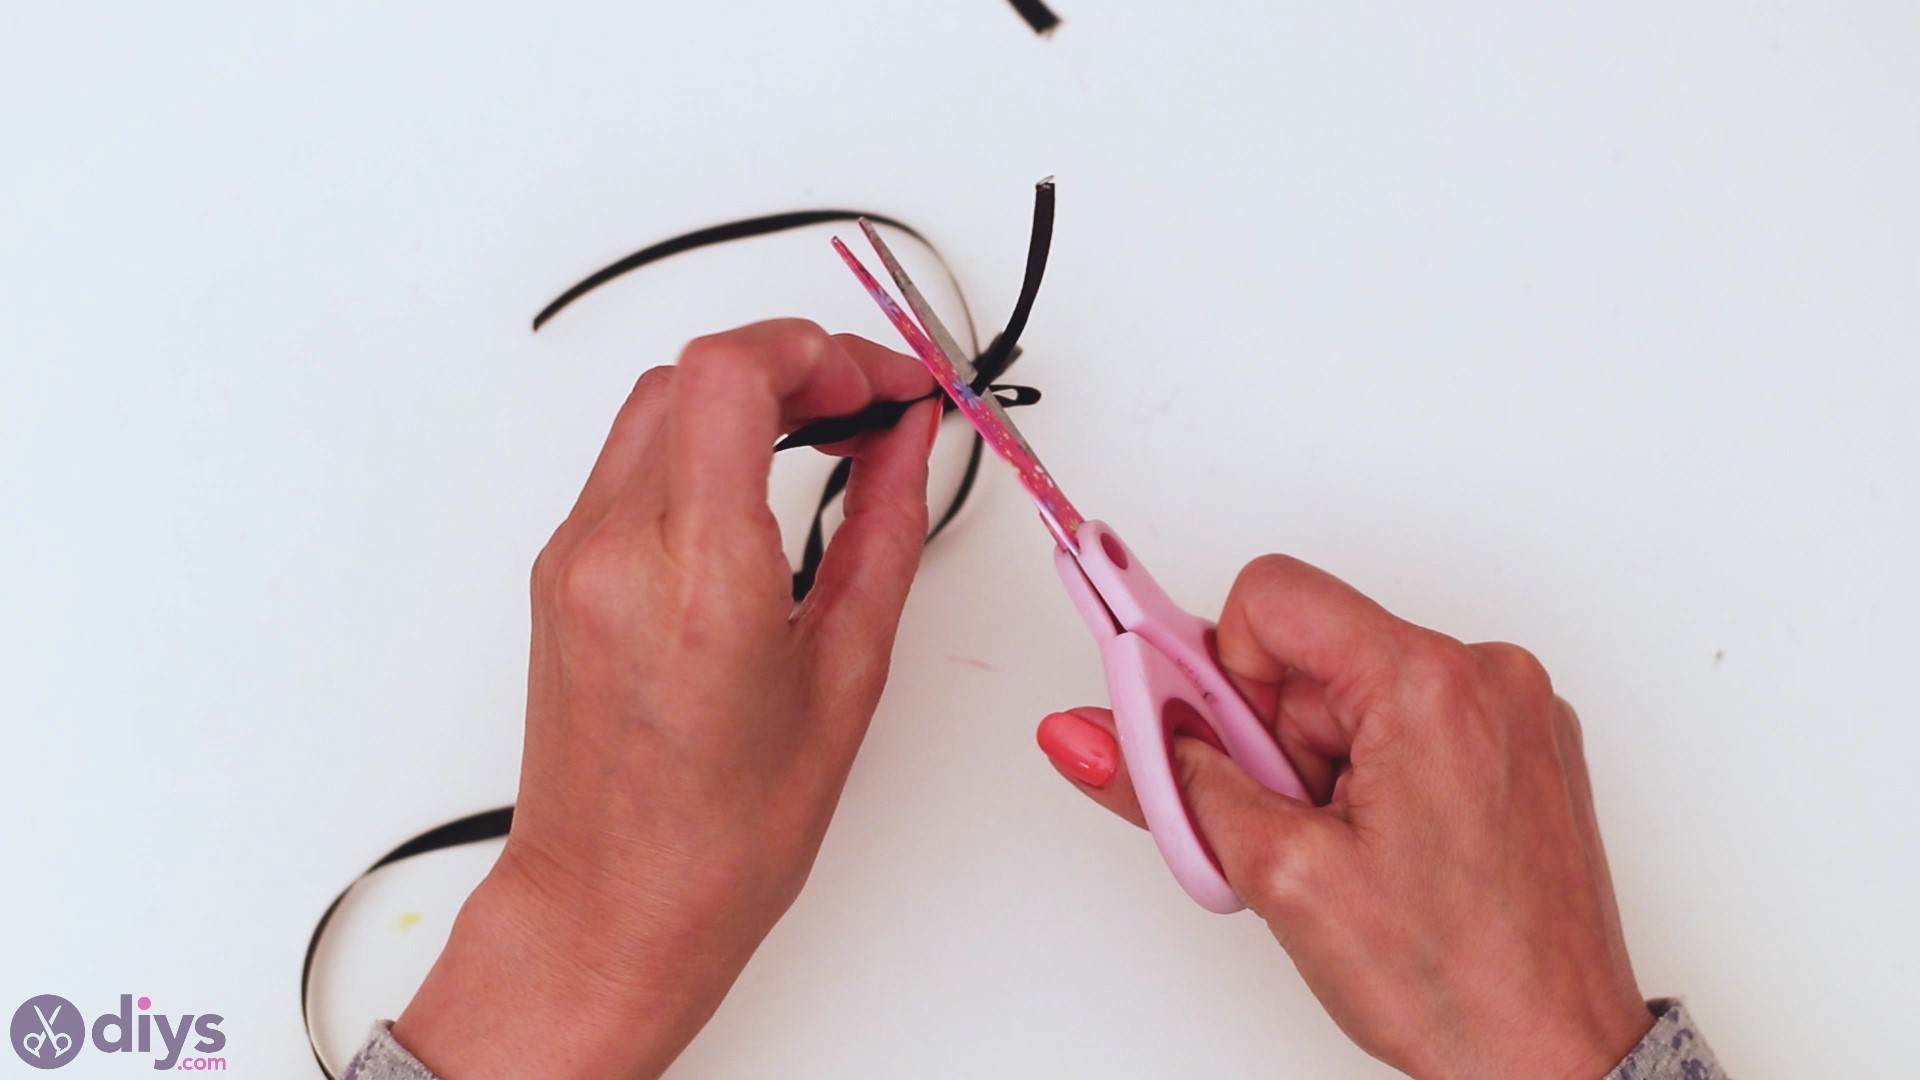
Step 9: Make a Bow
We all the same have somesilk ribbon on our easily, so let's make a cute bow. Cut a piece of ribbon with your pair of scissors, and so shape the rest of the ribbon into a bow.
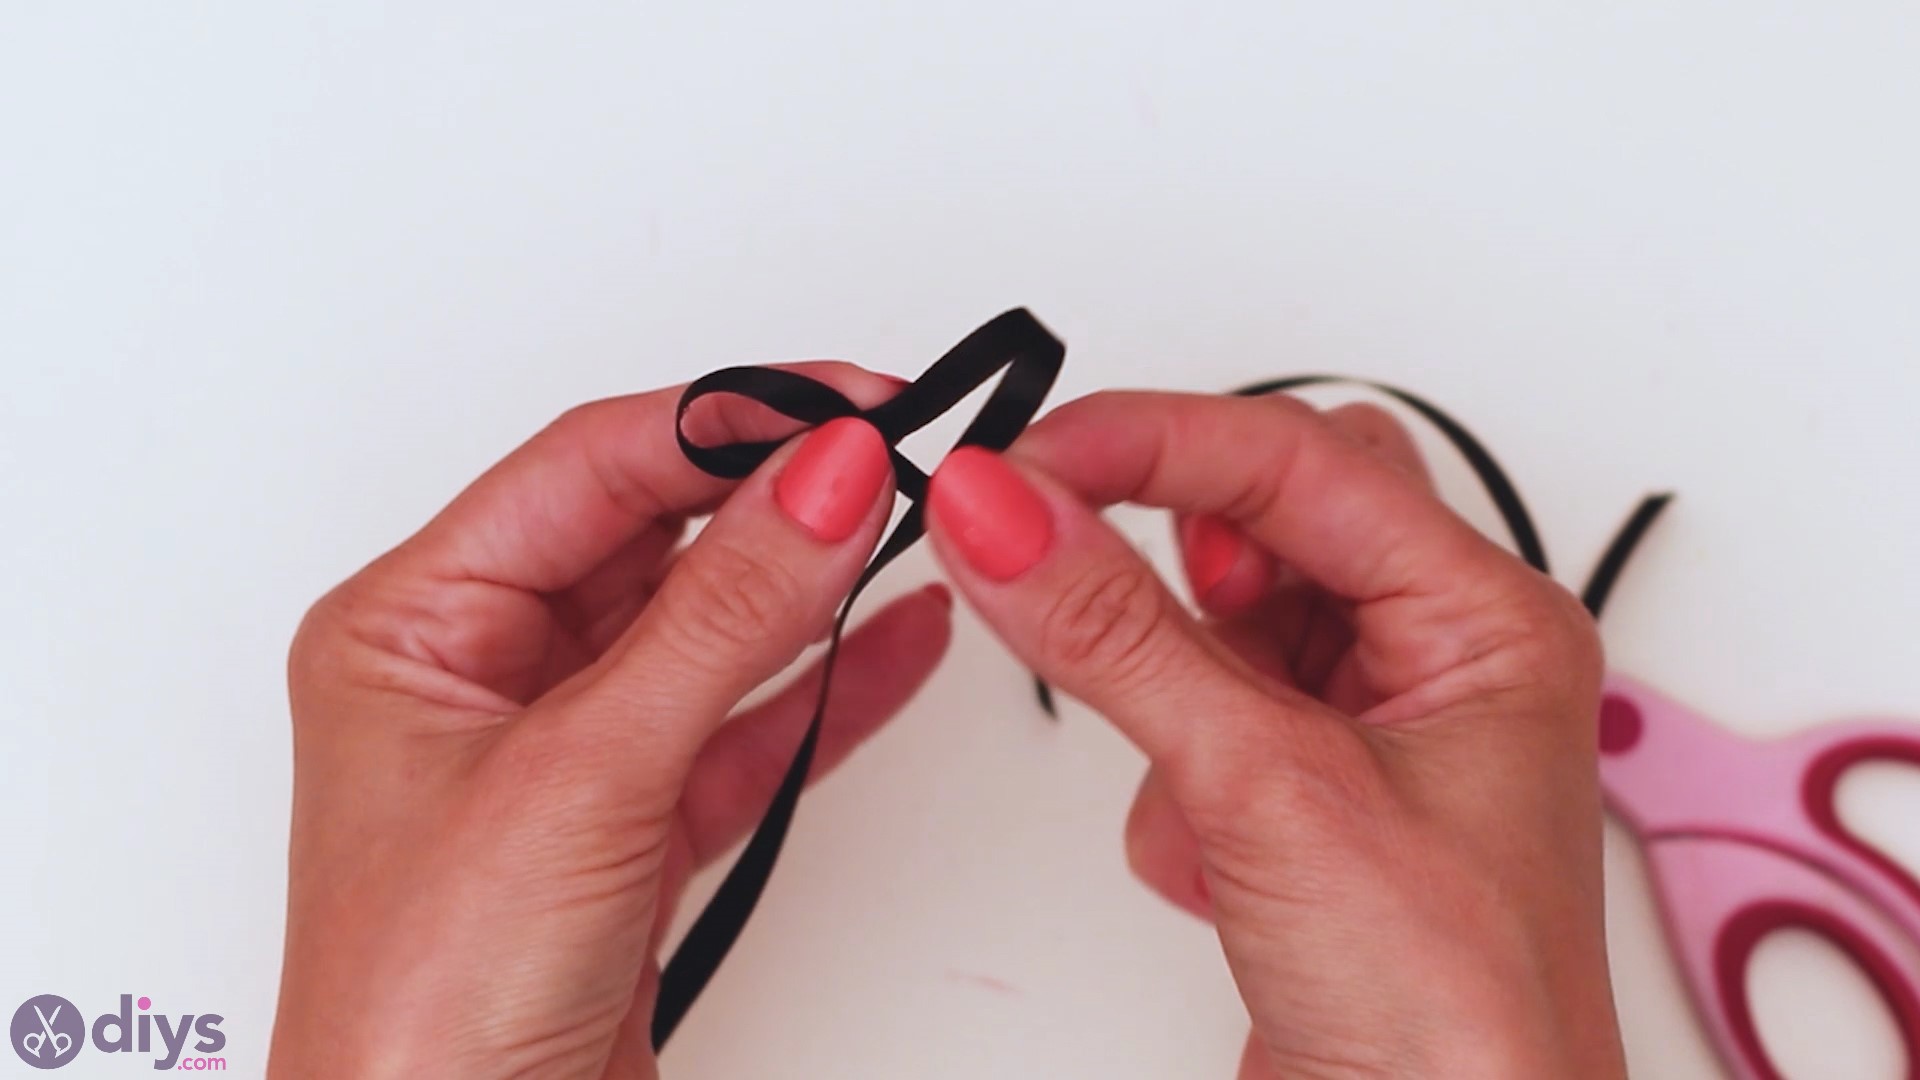
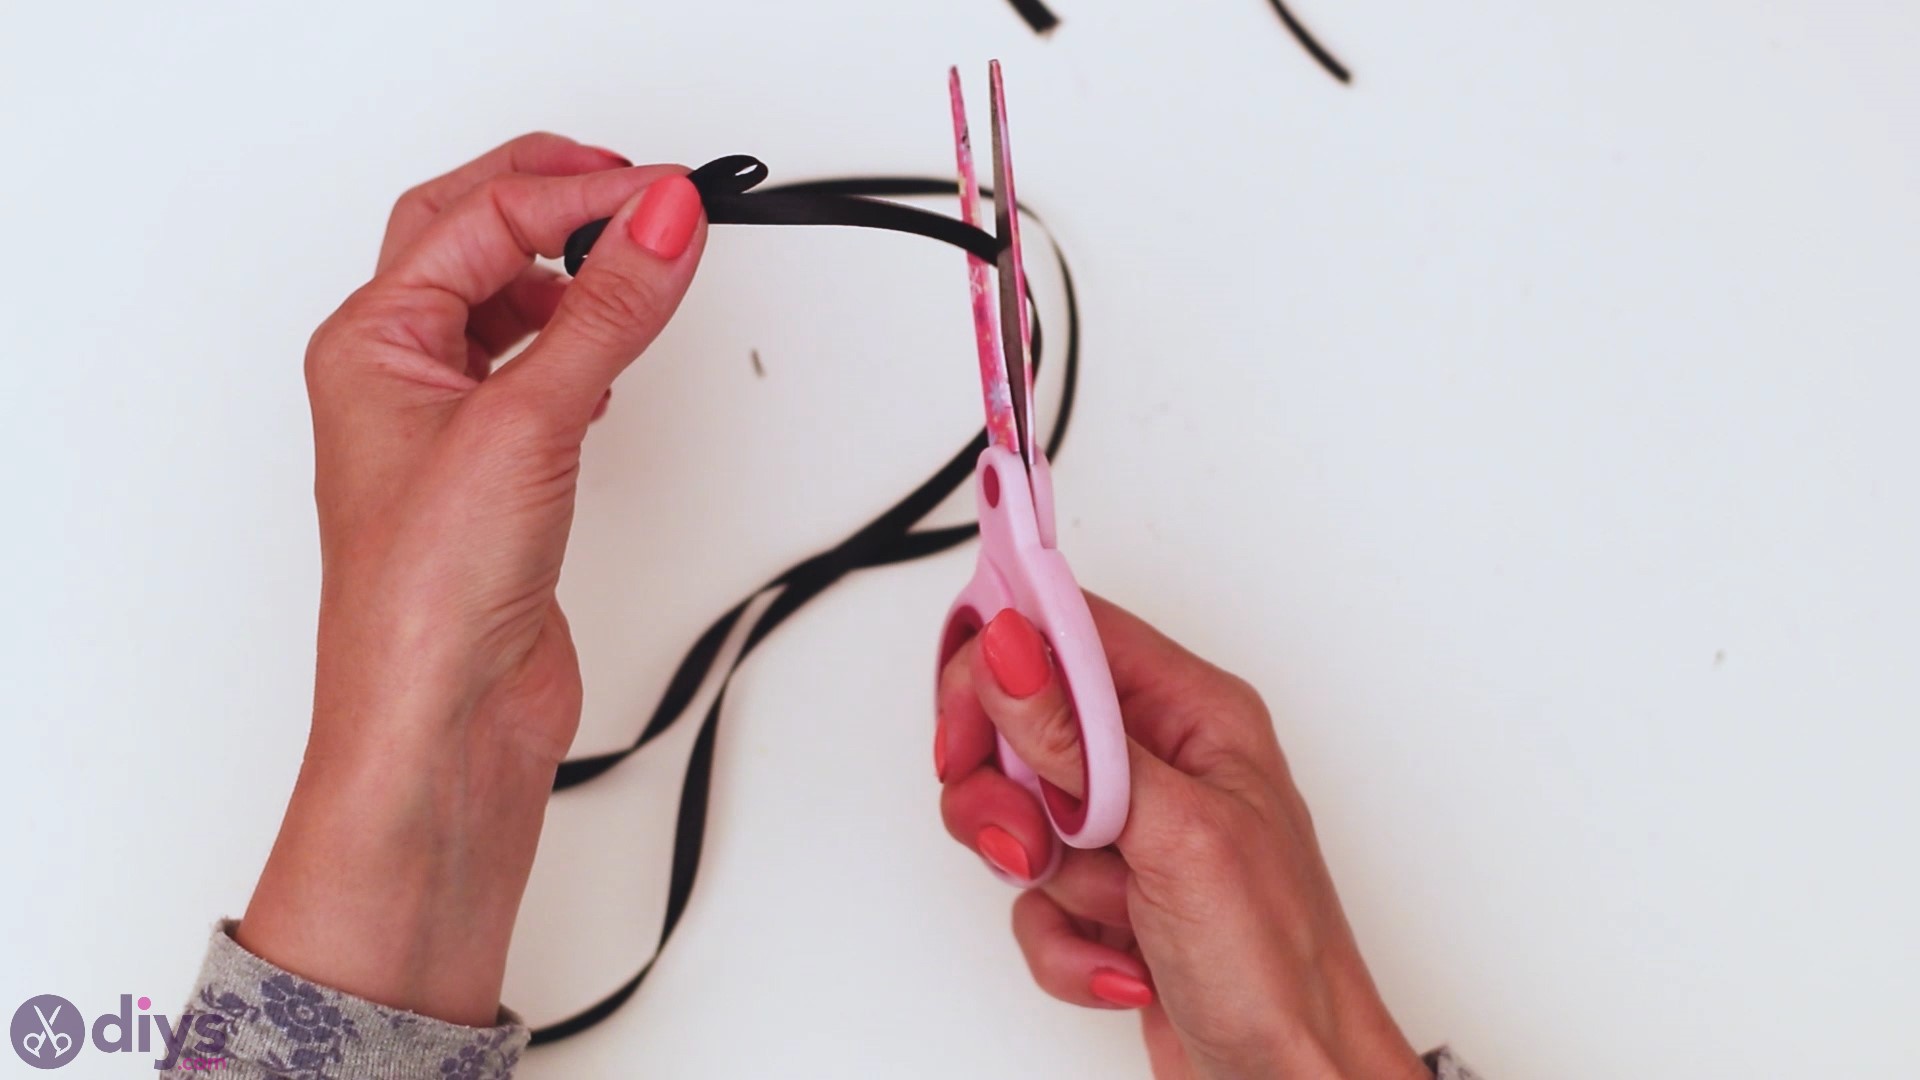
One time you have the desired size bow ready, take the smaller piece y'all cut and tie information technology over the middle of the bow.
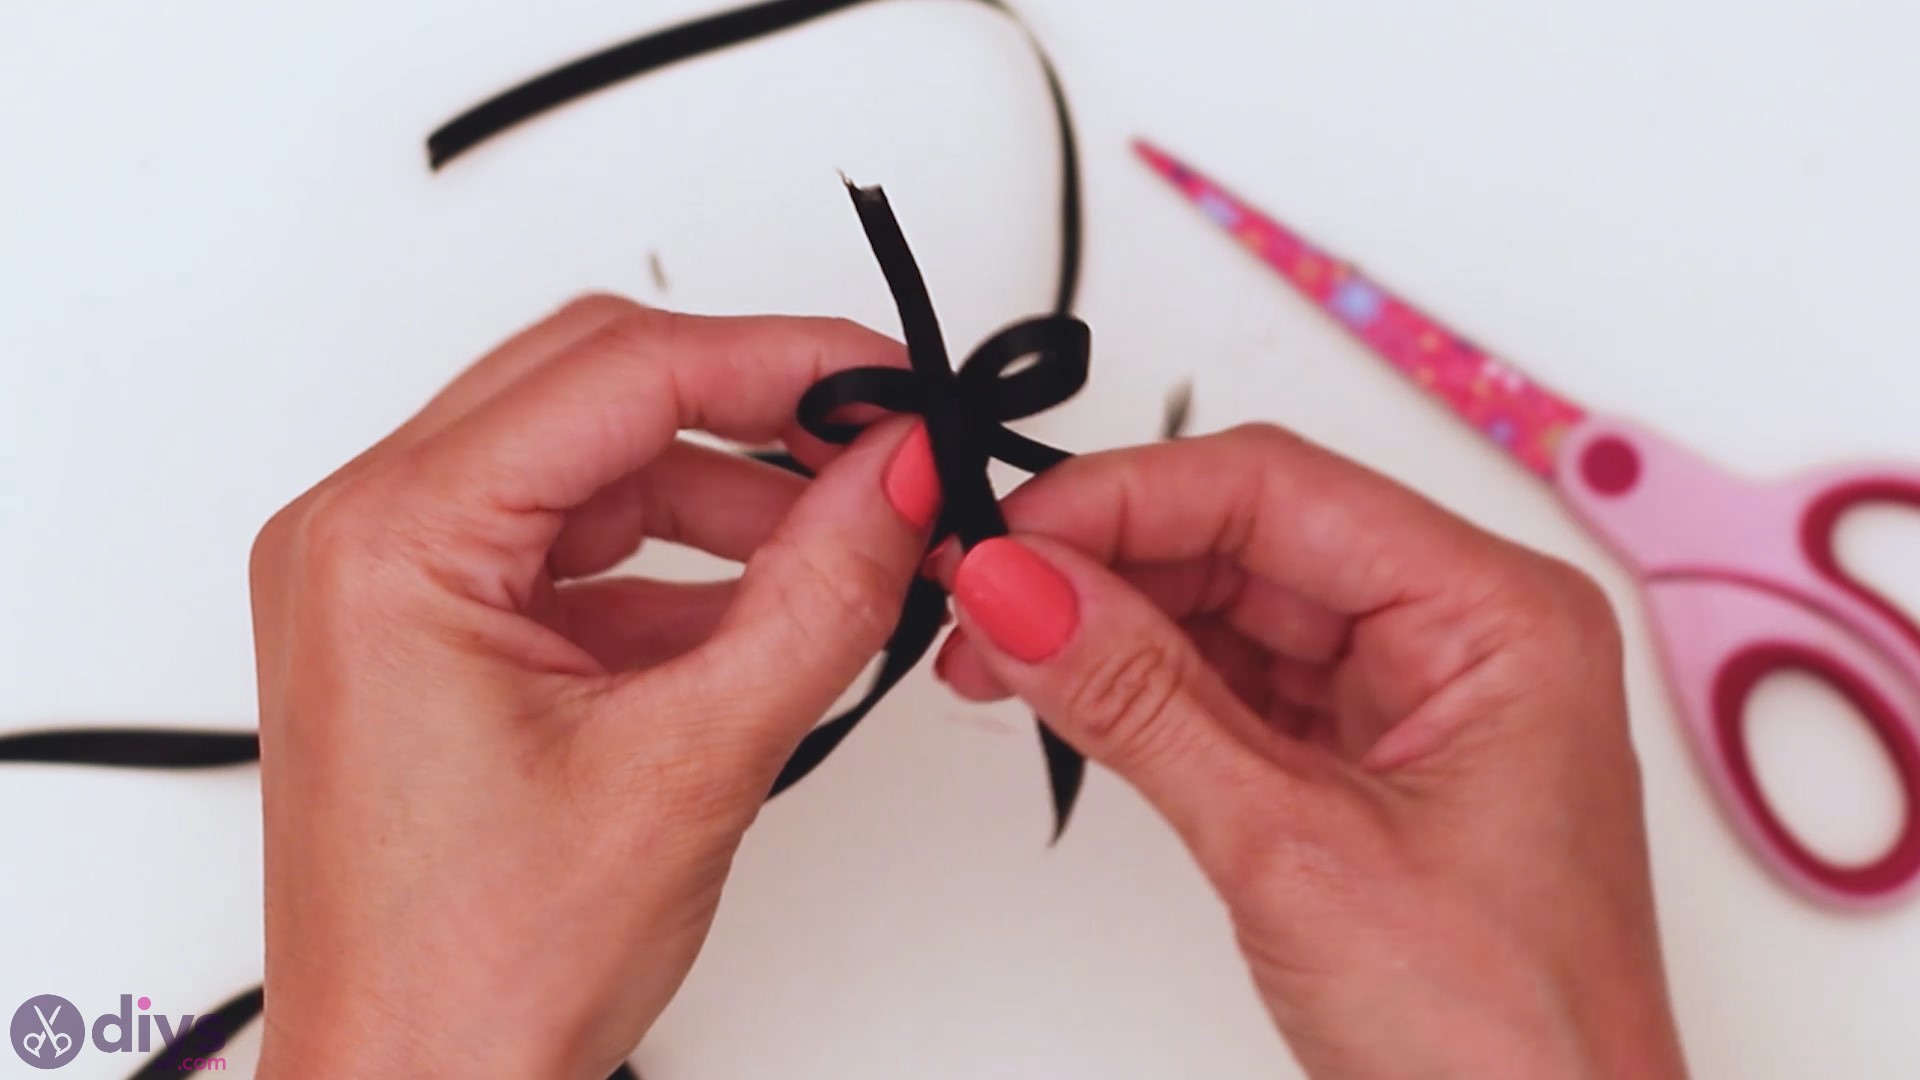
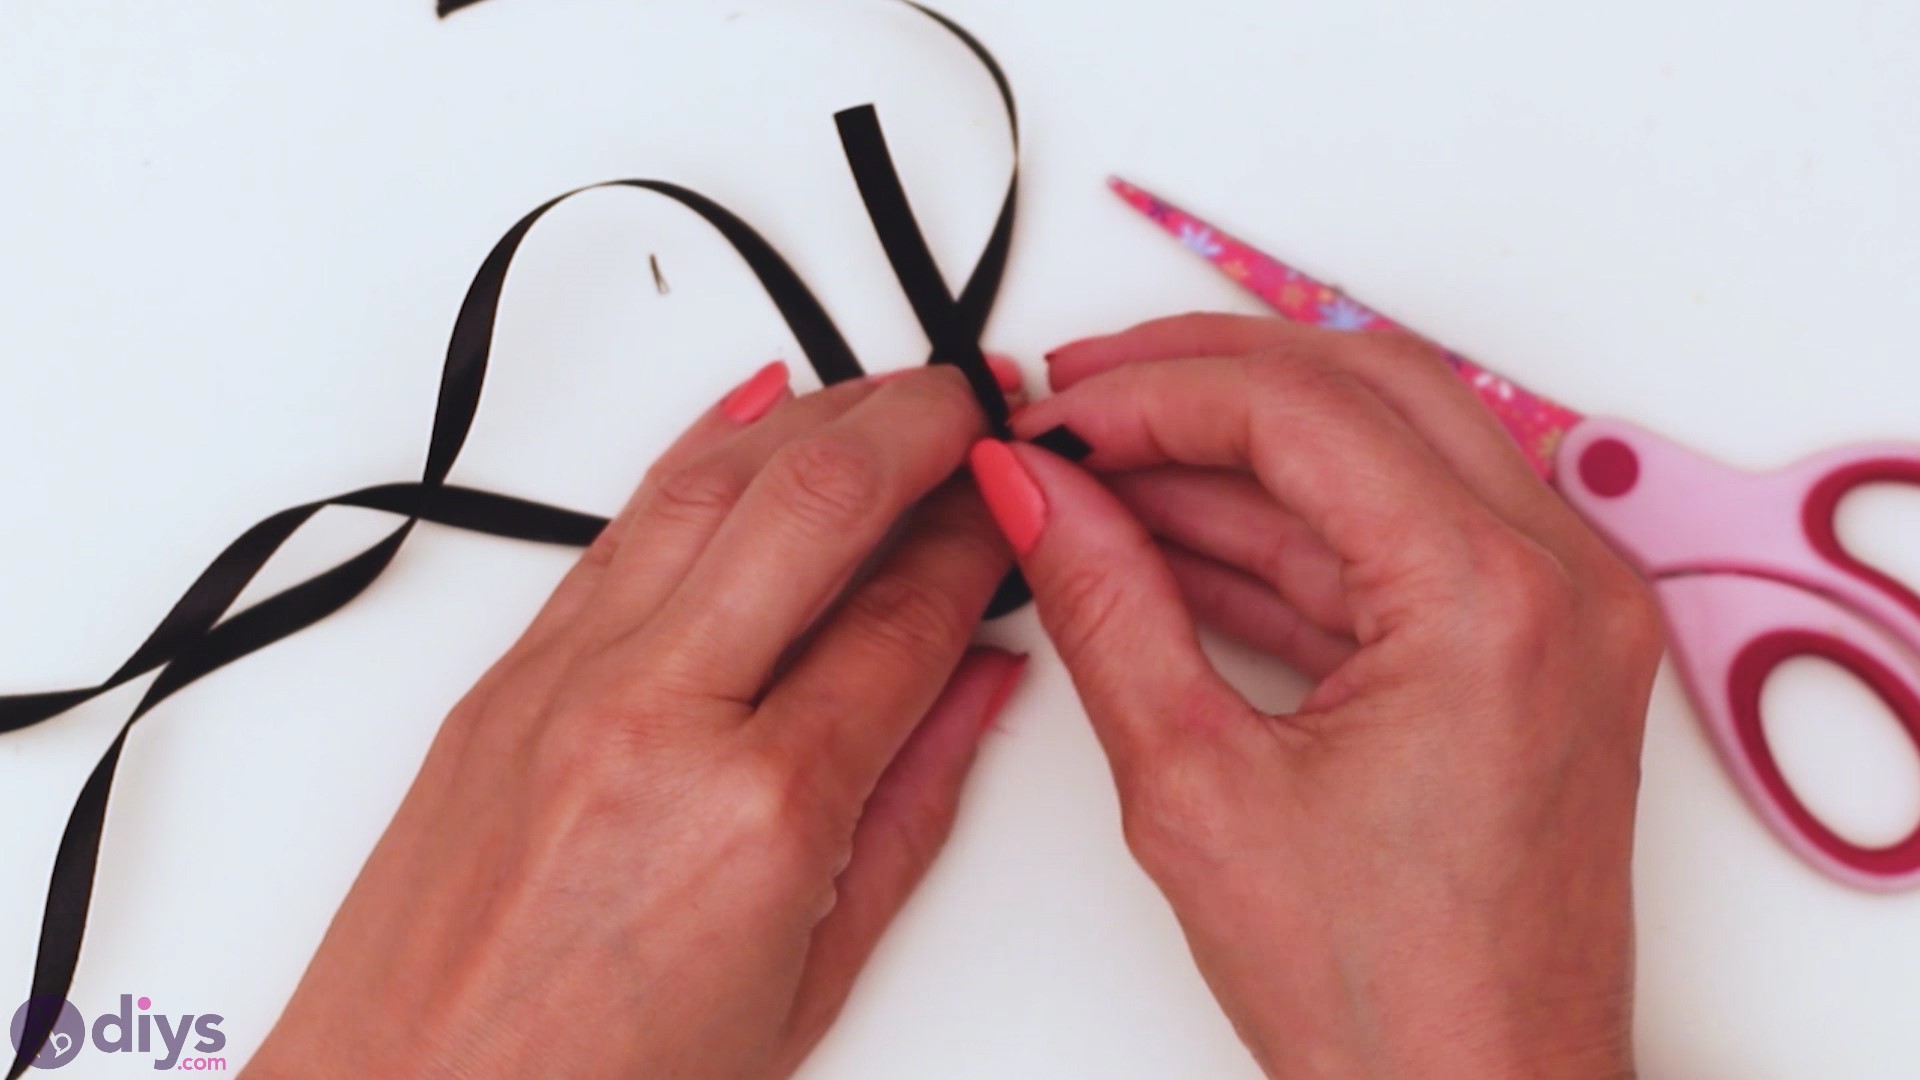

Once you accept a double knot tied there, cut the extra ribbon on the back.
Then, get ahead and cut the tails of the ribbon as well, so information technology looks dainty and make clean.
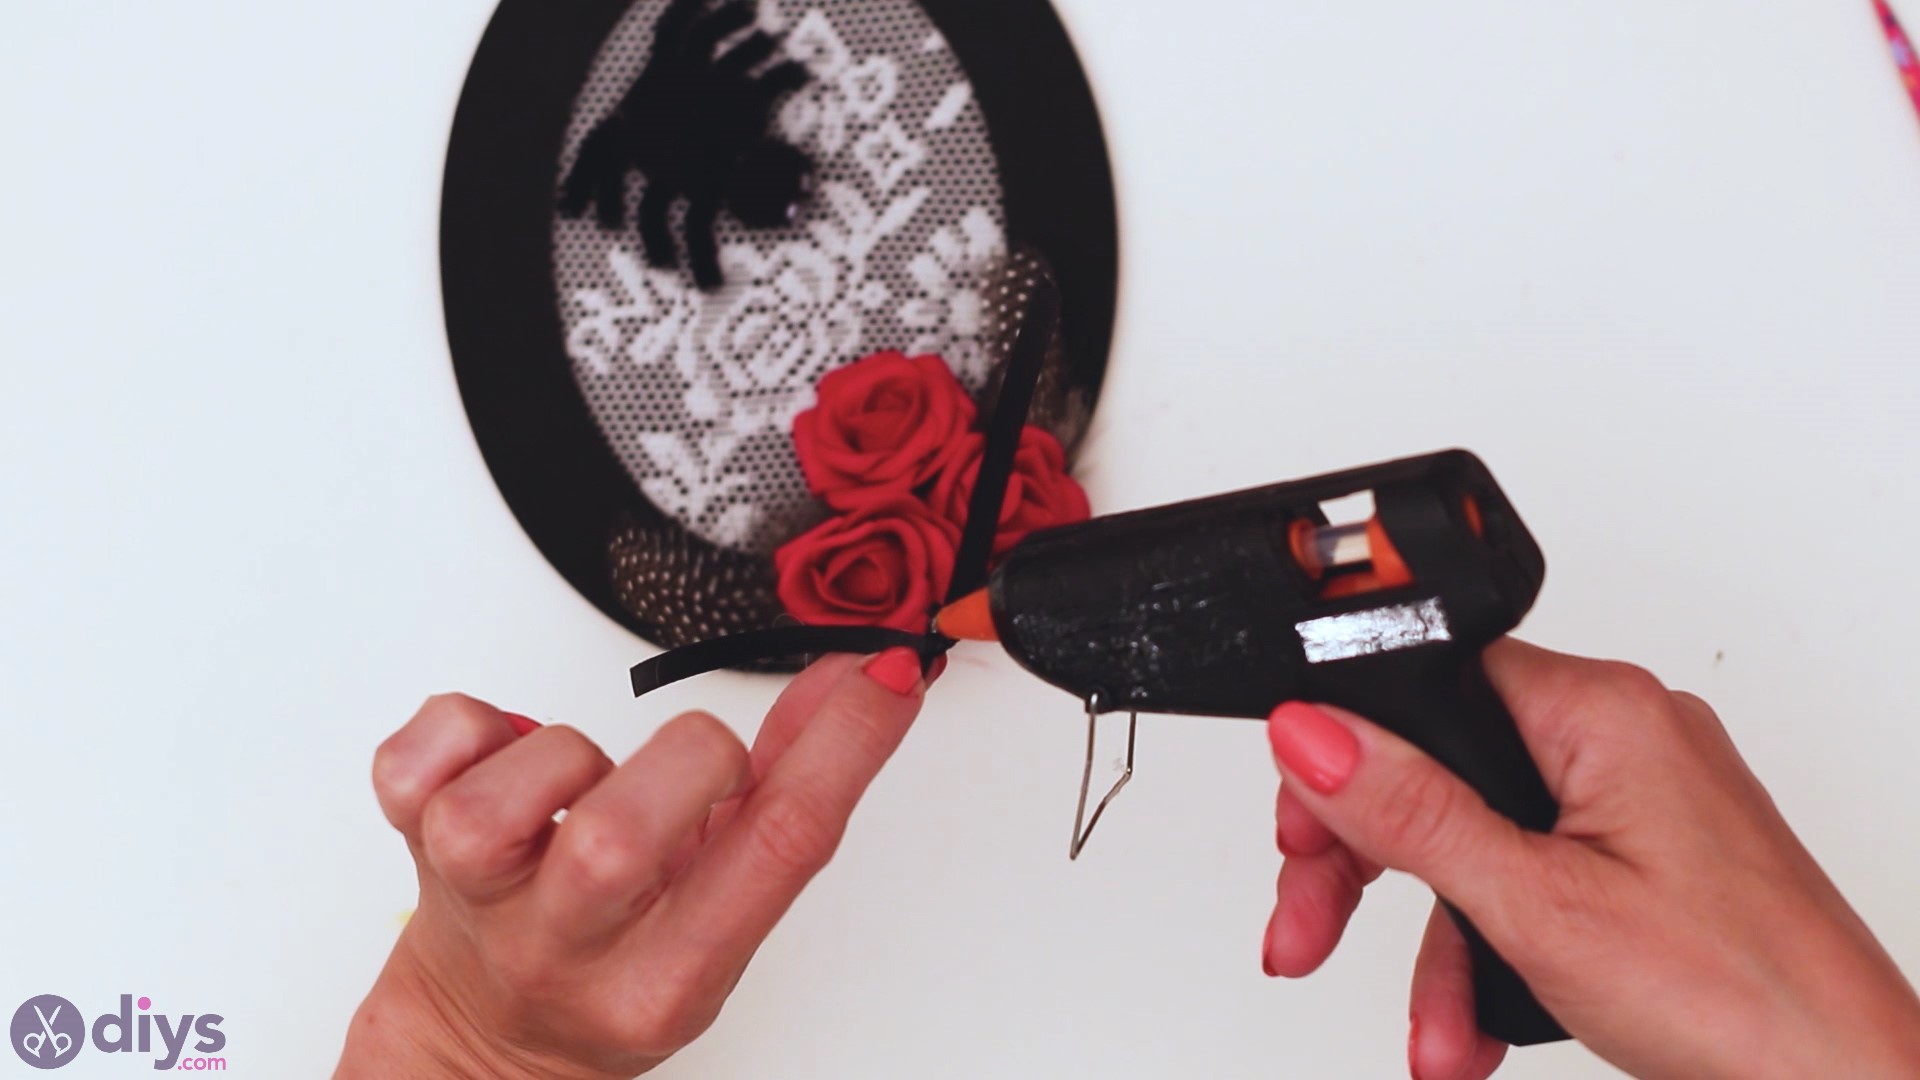
Get some hot glue and identify information technology on the middle of the bow before finding a spot for it. We went for just under the rose bouquet!
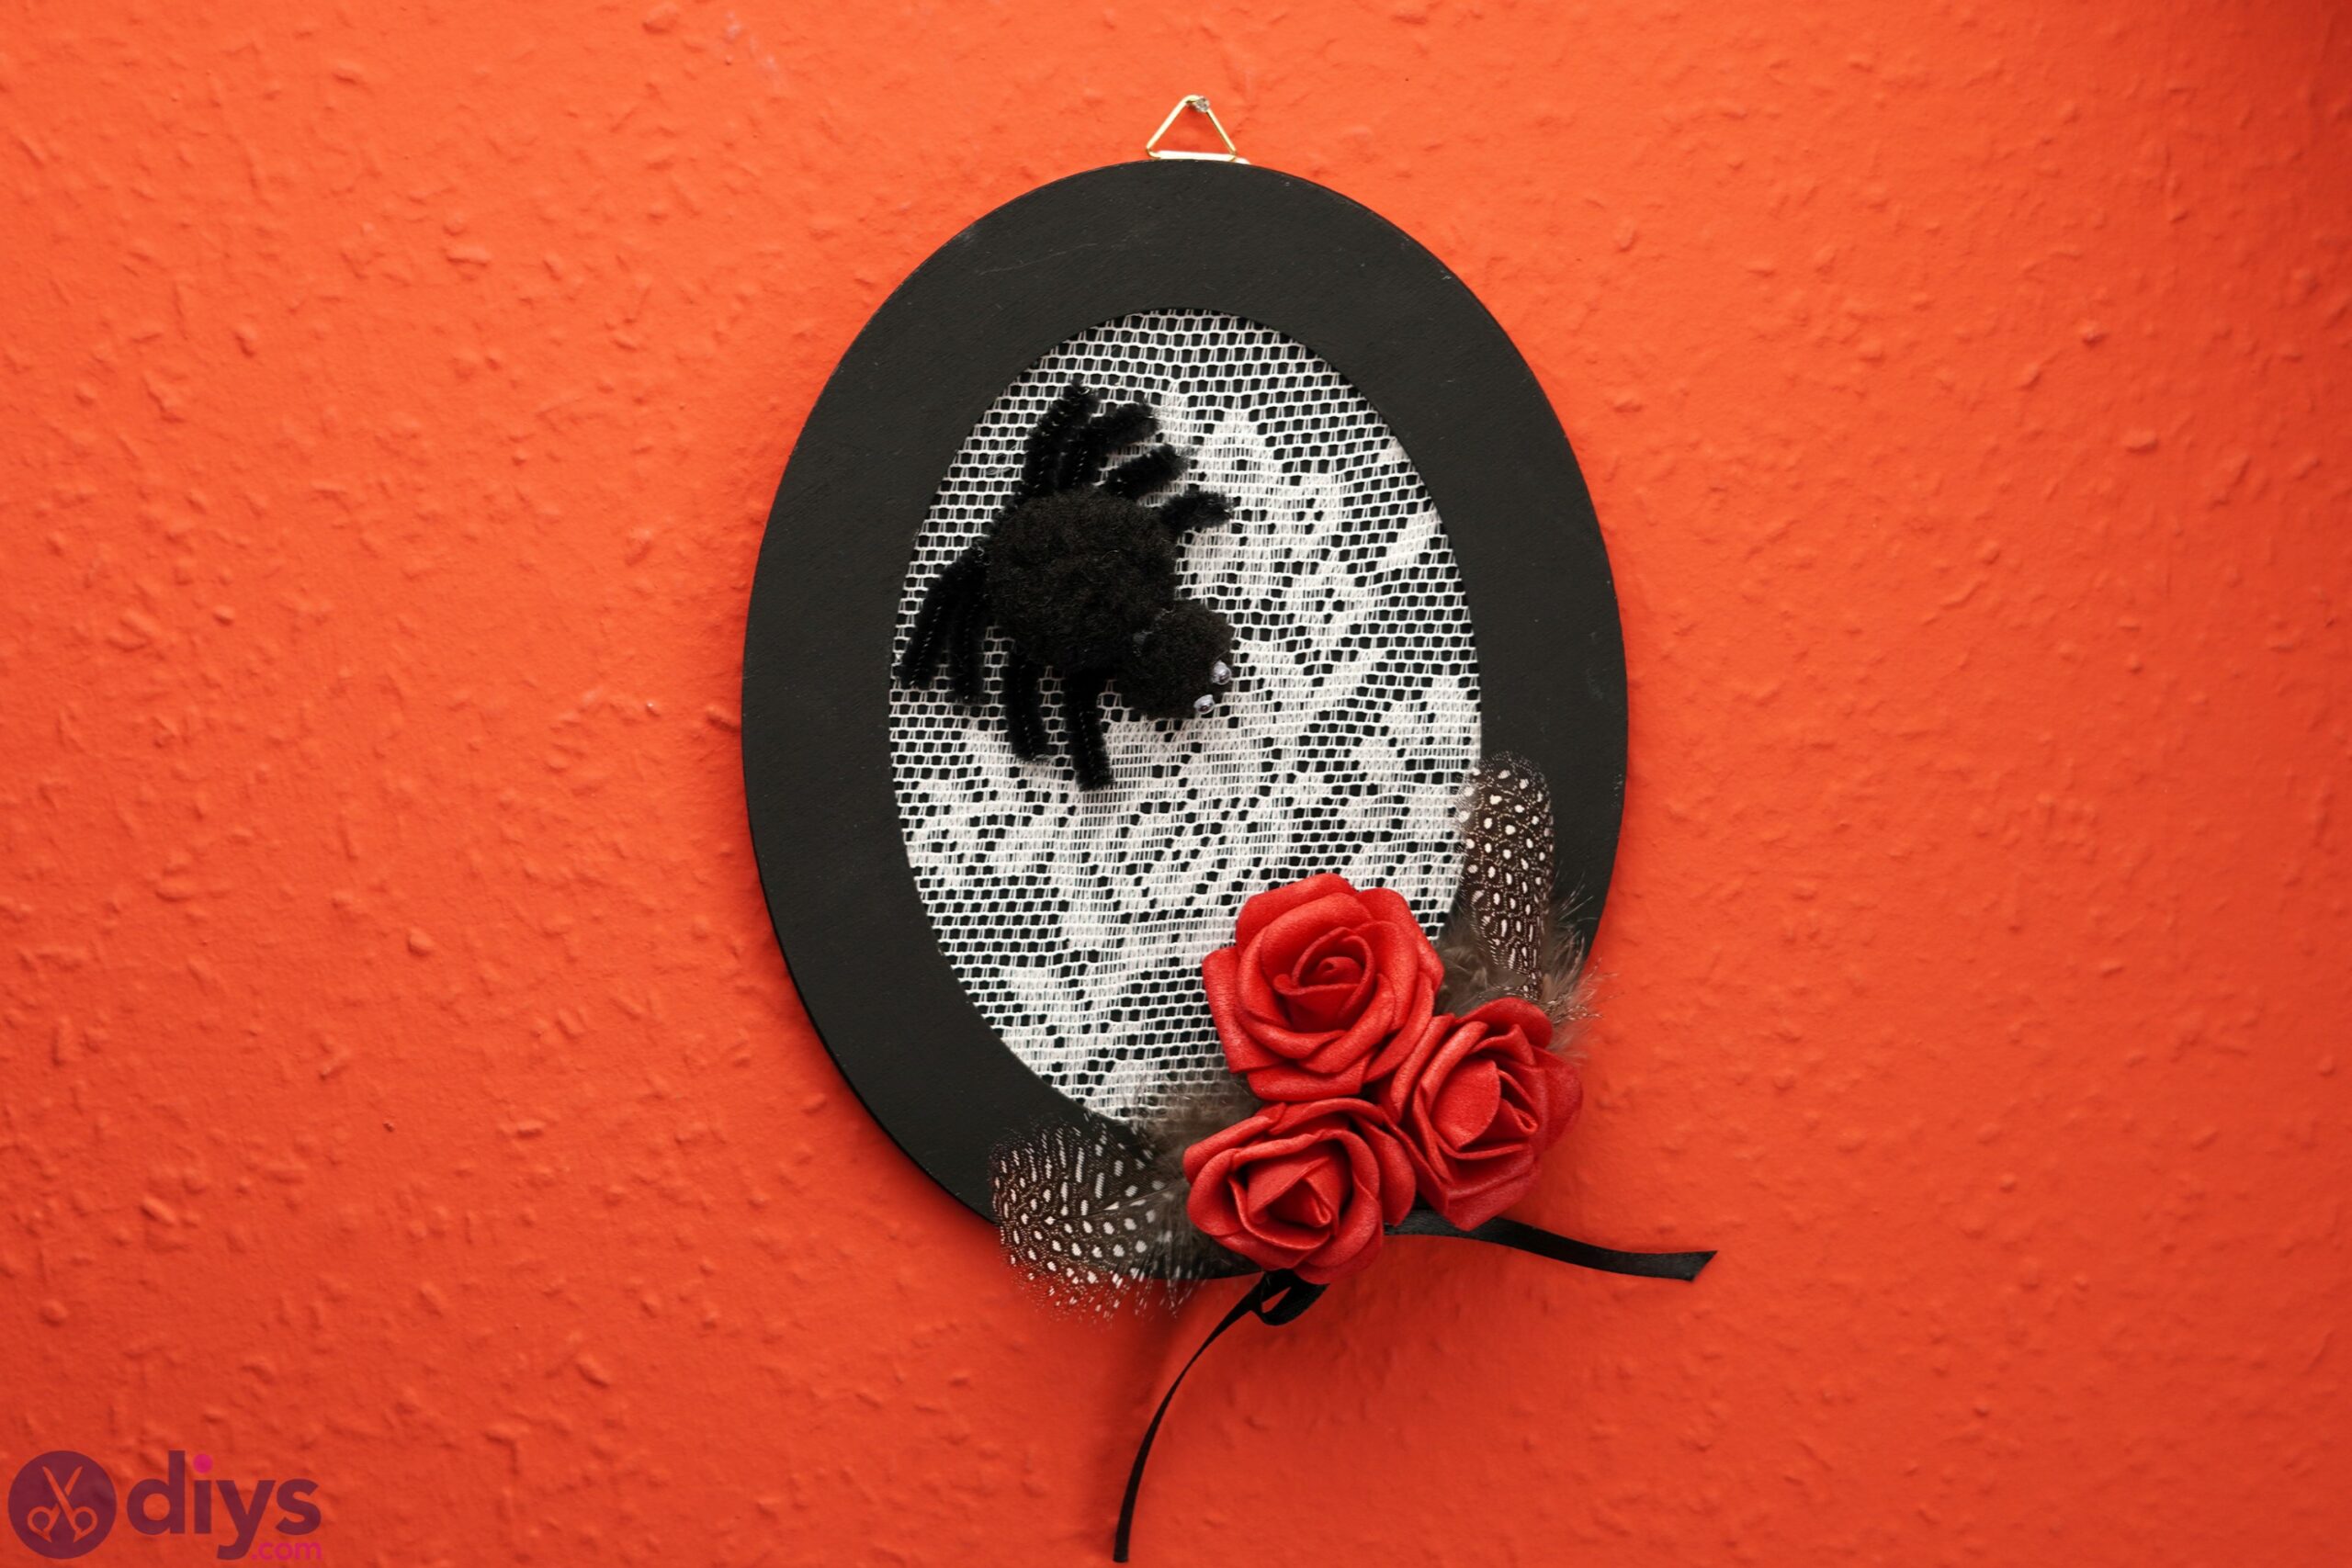
There we get! At present we have a beautiful Halloween Wall Art slice we tin hang anywhere. It's also a bang-up souvenir for anyone you may exist celebrating with.
flanaganlapet1987.blogspot.com
Source: https://www.diys.com/spooky-halloween-wall-art/
แสดงความคิดเห็น for "Get Ready for The Spooky Holiday with Halloween Wall Art"